

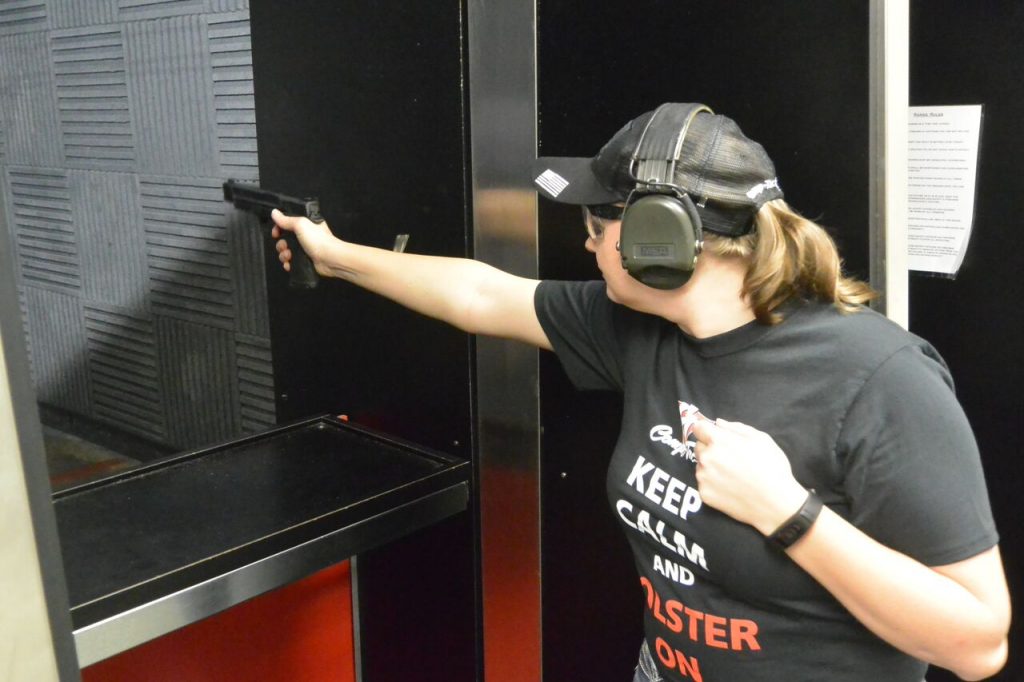
I love, love, love to shoot, but sometimes when I get to the range it’s hard to know what skills I need to work on. If you’re looking for something that will help spice up your practice and build some skills, here are 5 shooting drills that I use often.
Shooting groups
Being able to hit your targets is one of the most important first steps in learning to shoot well. A great drill that I’ve done during almost every practice session is to either start or finish with group shooting.
1.) Shooting groups is a slow-fire drill. You’re trying to hit the target — not go fast.
2.) You should shoot groups at lots of different distances. I suggest starting at 5 yards and moving out to 25. At 5 yards, you’re looking for accuracy. At 25 yards, you’re looking to keep all of your bullet holes in a space about the size of the palm of your hand.
3.) Trigger control is as important as sight alignment. To make sure that you’re squeezing the trigger and not jerking, dry fire a few rounds before live fire and after. While dry firing, the gun should stay perfectly still during the entire trigger pull.
Evil Roy’s 1, 2, 2 Drill
This drill was designed by my grandfather, and is a great way to make the most of a little bit of ammo. He originally designed it for Cowboy Action Shooting, which is why it only uses 5 rounds, but it works reasonably well for all firearms and all disciplines.
1.) Draw and shoot 1 shot on a target.
2.) Draw and shoot 2 shots on 1 target (double tap).
3.) Draw and shoot 1 shot on 2 targets (transition).
This drill makes you work on the 3 most fundamental parts of shooting. Drawing and hitting, double tapping targets and transitioning between targets. You do it all in only 5 rounds — a great way to get the most bang for your buck!
The Dump Drill
This is a drill that I learned when I started shooting Cowboy Action, but I’ve had others teach me variations over the years. In Cowboy Action, you will sometimes be required to shoot all 5 of your pistol rounds on 1 target. We refer to this as a dump. I learned that it is important to practice this because if you are used to shooting only 2 you can have a hitch or pause and not be able to hold a good rhythm for all 5.
When I started shooting IDPA and USPSA, I learned that this drill could be equally important in learning to shoot quickly. Many people want to increase their shooting speed, but aren’t sure how.
1.) To make sure you are getting faster, use a timer to track your speed as you shoot. Start this drill with a base line by loading 10 rounds, set up a target and time how long it takes you to hit all 10.
2.) Now, ignore your target and the time, instead, learn to shoot fast. To shoot fast you need to learn to work the trigger fast. Load up your gun with 10 rounds and just practice shooting really fast into the berm. Do this for 50 to 100 rounds.
3.) As you shoot the 50 to 100 rounds, you should notice that when you first start you aren’t seeing any sights, you are just pulling the trigger. As you shoot more and more, you should start to see the sight picture. It may not be a perfect sight, but you will see the way that the front sight lifts and then settles as you fire the rounds.
4.) After you have shot 50 to 100 rounds, as fast as you can, load up your gun, pull out your timer and time how long it takes to hit 10 rounds. This is the hardest part; you need to have the discipline to shoot when you have a sight picture to hit the target. Don’t purposefully go slow; shoot when you see the sight picture. Your time should be less than when you started, because you should be used to seeing the sights faster after shooting quickly.
5.) The key to this drill is keeping the discipline to use the sights when you need them, but allowing yourself to shoot faster. Sometimes, it can be tempting to let yourself go back to your old comfort speed. Don’t do it! Let yourself get faster.
The Moving Triangle
This drill is a great way to learn the relationship between moving and shooting.
1.) Set up a triangular shooting area using cones, sticks or any type of marking devices. Set up a minimum of 3 targets downrange. You will need a timer for this drill.
2.) Now, you get to be creative. You want to practice shooting the 3 targets as you move in and around the triangle. (Remember to keep your muzzle pointed in a safe direction at all times.) You can practice movement 2 ways: either run between corners of the triangle and shoot when you get there, or shoot while moving between the points of the triangle. This is a great way to learn when you should shoot on the move or if you should stand and shoot. It is also a great way to learn how to shoot on the move and what you need to see in the sights.
3.) A triangle makes a good shooting area, because you can move backward, forward and side-to-side, as well as at an angle. It is important to shoot (again, downrange) while moving left, moving right, moving forward and moving backward.
4.) You should set up this triangle at 10 to 25 yards from the targets, so you can learn those distances of when to shoot on the move or when to stand and shoot.
5.) Using a timer is very important!
One-Handed Drills
One of the most important things I have worked on over the years is a 1-handed drill — both right and left handed. It seems like this is always important, whether you are shooting a standards stage or shooting around a difficult barricade where you can only use 1 hand. Practice these drills using both your primary and support hand, individually.
1.) Shoot all of the above drills with 1 hand!
2.) This is a great way to spice up practice, because most people don’t like to practice 1 hand, but it will make you a much better shooter.
Drills are very important to my shooting practice, because they allow me to track progress and work on skills. If you only go out and plink, it can be hard to improve your time and accuracy. Have fun, work in some shooting drills and good luck at the range!

Randi Rogers is a shooter from the top of her head down to the tips of her toes. Working as the Sales and Marketing Manager for the holster manufacturing company Comp-Tac, Randi dabbles in hunting, fishing and the great outdoors but at the end of the day she wants to have a gun in her hand. For the last 18 years as a Smith & Wesson and Compt-Tac pro competition shooter, Randi has won over 50 world and national titles in action shooting sports such as Cowboy Action Shooting, IDPA, IPSC, USPSA and 3Gun. Randi fills her days concealed carrying in a Comp-Tac Holster, spending time practicing at the range, writing for different outdoor publications and finding new ways to help other women enjoy the recreation and entertainment of target shooting. View all posts by Randi Rogers
Randi: I don’t have access to an outdoor range. Do you have any suggestions for practice in the indoor range?
Thank you.
Pam
South Flordia
This the sort of concise information we women need. Please keep it up Thanks
Thanks for the detailed drills, Randi! That’s just what I’ve needed!


Pam- many of these same drills will work in an Indoor Range as well as an outdoor range. If your range does not allow drawing from a holster than you can practice picking up off the “table” or bench that they provide. Some indoor ranges also don’t allow “fast” shooting so if that is the case challenging yourself with accuracy drills is great practice. You can practice shooting groups at 5, 10, 15 or even 25 yards. One handed is also great indoor practice. Hope this helps! Thanks, Randi