Fall—the time of year when the weather turns cooler, the leaves change color, and people start feeling crafty. Anyone who knows me knows I’m not the artsiest lady out there. Sure, I helped with some awesome elementary school projects when my girls were little, but “crafty” isn’t exactly my middle name. At least, it wasn’t until I started seeing all of these wonderful ideas by my colleagues at Women’s Outdoor News. They inspired me to get out of my comfort level and try something new.

Armed and In Charge is sponsored by Lasermax.
Trying to get inspired, I spent a few days browsing Pinterest. I wanted to make something that I’d not only actually use, but, if it came out well, I just maybe could make a few as holiday gifts for my friends. With a few projects in mind, I fired up the truck and headed out to Michaels to gather the supplies I’d need; because I’m thrifty, I also printed out the store’s online coupons.
As I wandered the aisles, my head was flooded with images of the clever ideas I had been thinking of trying. Not wanting to set myself up for failure, I ended up with a plain shadowbox that I could embellish with some of my spent brass. It would be a great way to display some of the shooting-related patches and medals which are special to me. Bedazzling it with my own spent brass would make it unique.
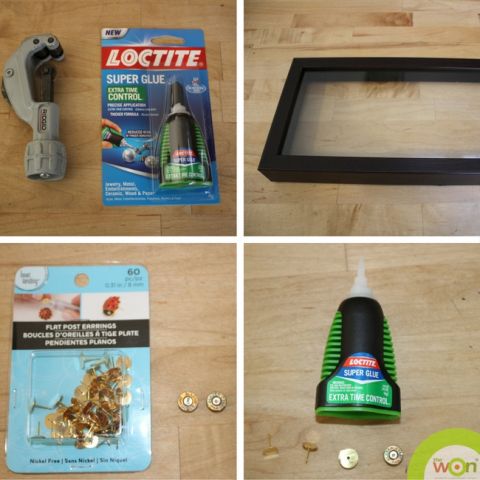
Here’s what you’ll need:
Clean, spent brass (see recipe to clean the brass below)
Shadowbox or frame (mine was on sale at Michaels for $8.99)
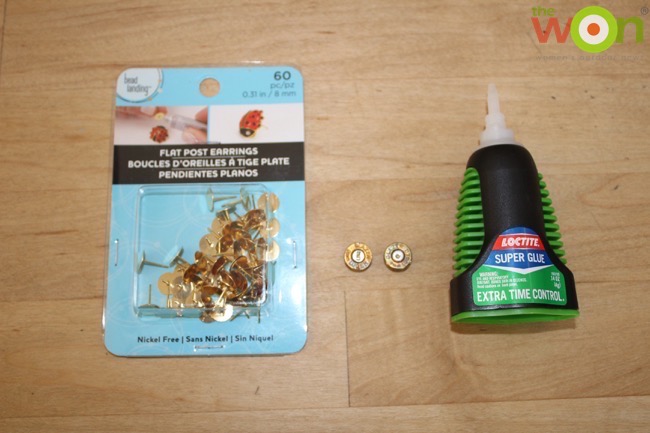
Loctite or glue suitable for wood and metal (MSRP: $4.99)
Pipe cutter (MSRP: $6.94; I got mine at Home Depot)
Grinder (optional)
Clean the brass: Anytime you’re working with spent brass, you’ll want to make sure it’s clean before repurposing it; lead is not something to mess with. As I’m not yet a reloader, I don’t have a tumbler to properly clean once-fired brass. Thank goodness for YouTube. I was able to find several videos on how to clean brass; I’ve outlined the basics below. Do this ahead of time, as you’ll need time for your brass to soak and then dry.
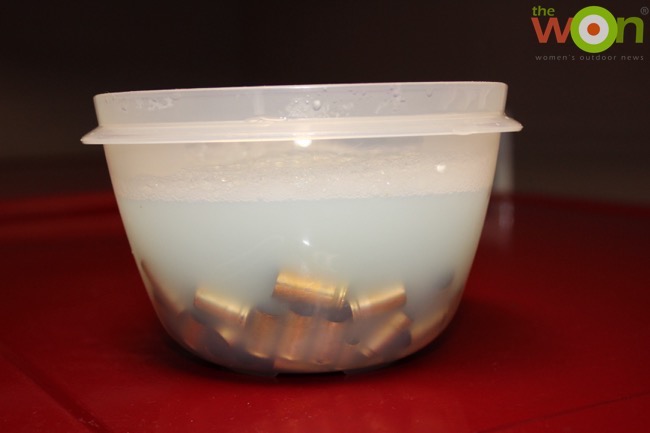
This recipe works well for cleaning about 200 rounds:
In a clean disposable container, mix 1 tablespoon of salt, 1 tablespoon of dish detergent, 1 cup of white vinegar and 1 quart of hot water. Add your brass and allow to soak for about an hour, agitating the casings about every 10 minutes or so. Rinse well and lay out to dry thoroughly.
Cleaning the brass was a simple process. After making sure it was rinsed well, I separated it onto an old towel and let the casings dry for several hours.
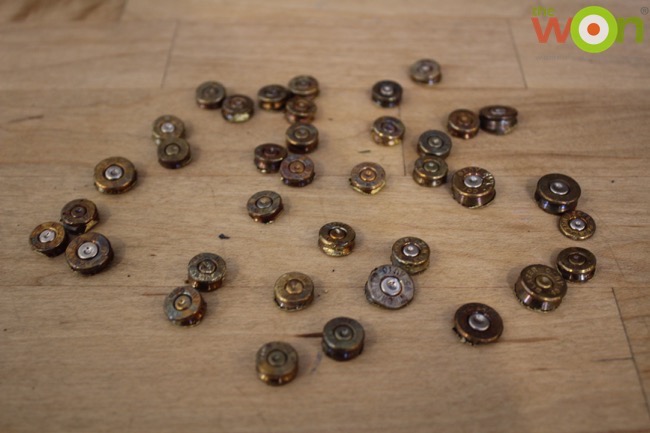
Cut the brass: The second phase of the project was cutting the casings to the desired length. This proved a little more difficult than anticipated. Everything I read online recommended using a small pipe cutter, and while it did work, it took much longer to cut each piece than I anticipated, so allow time and expect sore fingers. Tip: Putting a properly sized dowel inside the casing and using a vise will help hold the casing while you spin the pipe cutter. Several sites online also recommended using a Dremel with a cutting blade. If you have one, go ahead and give that a try.
File sharp edges: Once the casings were all cut, the hard part was over. On my husband’s advice, I ran a grinder over each piece of brass to smooth out any burrs left by the cutting process. This is an optional step, but I highly recommend grinding or sanding the backs of the brass tops. Even using a regular Emory board would be helpful to ensure no sharp pieces remain.
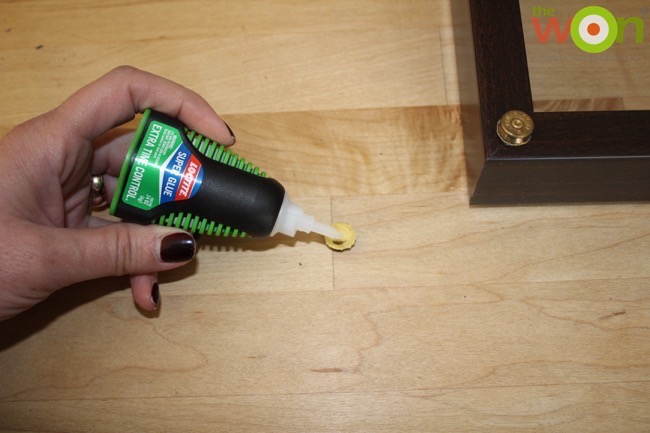
Glue the brass to the frame: I chose to affix my brass heads to my wood frame with Loctite. Anyone who has used Loctite on their sights knows this glue works great for metal; it turns out that it’s also recommended for gluing metal to wood.
Before gluing anything, I laid out my brass onto my frame to get an idea of how I wanted it to look. After deciding how many pieces I wanted to affix, I started applying a tiny bit of Loctite to the bottom of the brass, and firmly pressing the brass to the wood frame. Once all of the pieces were glued to the frame, I set it aside to dry.
While my project was drying, I gathered the trinkets that I wanted to put in my shadowbox. I’m proud to be an instructor for the NRA Women on Target instructional clinic so adding my patch and Clinic Director rockers seemed perfect. Each time I teach another clinic, I’ll place my new rocker inside.
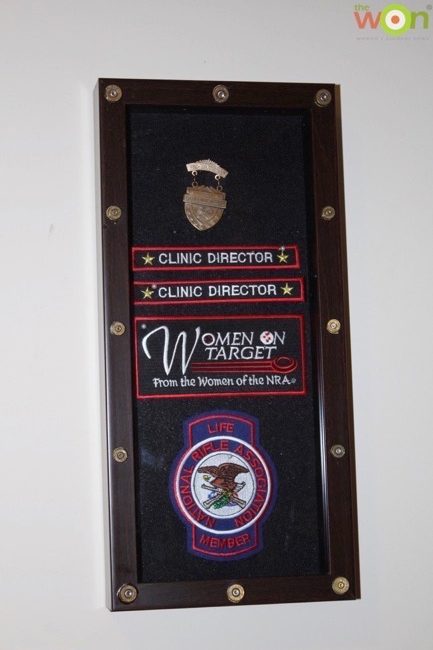
I’m quite pleased how my bullet-framed shadowbox turned out, and it’s now hanging proudly in my den. With the holidays coming up quickly, I plan to make a few as gifts for some friends. It’s unusual, practical and cute.
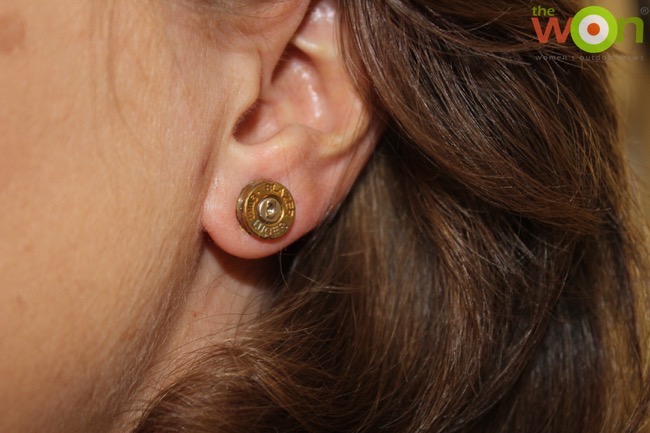
But I didn’t stop there. Inspired by how well my frame came out, and with extra brass I’d already cut, I decided I would also attempt to make a pair of bullet earrings. On my trip to Michaels I’d also picked up some earring posts and backs (MSRP: $2.99 each for a package of 60). With my Loctite handy, all I had to do was select 2 brass bullet heads that looked similar, glue the backs on and allow them to dry.
While no one will confuse mine with the beautiful, professionally made bullet jewelry some companies offer, I wanted to give it a shot, and I’m happy with my results. I’m thinking of collecting brass from each of the ladies I teach at future Women on Target clinics and making a pair for each of them as a thank-you for taking the class. Since for many women these clinics are their first shooting experience, I think a pair of earrings made from casings that they personally fired would make a memorable souvenir.
I’ve again been pushed out of my comfort zone by my peers at Women’s Outdoor News—this time by creating something crafty. I’m proud with how both of my projects turned out. Trust me when I say that if I can do it, you can too. Get a jump on the holidays and start making some gifts that will be treasured by your friends and family.

Annette Doerr is a freelance outdoor writer and business services consultant living in suburban New York. This married mother of two is an NRA Certified Pistol Instructor and Range Safety Officer. Annette is not only passionate about the sport of shooting, she also loves helping new shooters get involved, especially women and teens. An active equestrian, she enjoys riding her American Quarter horse, Cody. She volunteers in greyhound rescue and adoption, and shares her home with Casper, a rescued racing greyhound, along with her her cat, Tony, and her husband, Bob. Visit Annette at WeShoot2.com, her personal blog. View all posts by Annette Doerr