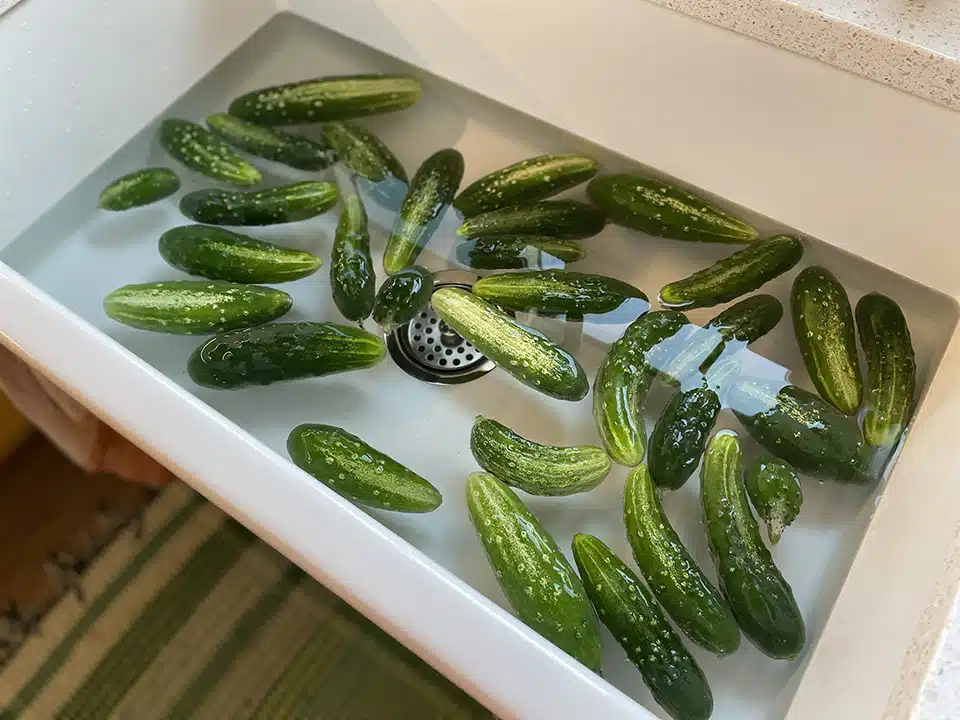
Many years ago, I canned my own pickles. I had trouble eating the fruits of my labor, because the end result was a batch of mushy pickles – not appetizing. This year, with an abundance of cucumbers growing in my garden and children that love to eat pickles with most lunches, I set out to make pickles that we would enjoy eating. Below I describe how I can pickles so they are crunchy.
As I researched this topic, I found common suggestions from one blog to the next for making crunchy pickles at home. They are as follows:

The recipe that I use as my guide is from Little Yellow Wheelbarrow, and is called “How To Make Perfectly Crunchy Homemade Dill Pickles.” The author describes how she found a 100-year-old homesteading book at a garage sale, which she purchased for a dollar. Inside, she discovered the recipe that she claims makes the perfect pickle: Mrs. Evans’ Homemade Dill Pickle Recipe. And, after following this recipe and eating these pickles, I would tend to agree with her.

I used the following items:


I followed the steps prescribed by the Little Yellow Wheelbarrow blog. In my later batches of pickles, I added a pinch of turmeric to make the overall color of my pickles brighter. This doesn’t effect the end flavor.
In the first batch of pickles, my husband and I made whole pickle, spear and chip varieties. After sampling the various jars, for me, the dill chips became my favorite pickle to eat. I highly recommend buying a crinkle vegetable cutter to make the dill chips. We experimented with both thick and thinner slices; the thin slices were my preferred size, but I’d imagine everyone will have a different opinion there.


This doesn’t effect how crisp the pickles turn out, but I believe that using fresh dill is a must for the best flavor. Just a few sprigs go a long way for adding a huge punch to the pickles’ taste.


We made these pickles on repeat over the summer. I hope that you try to make them, too. Let me know if you do, and how they turn out!


Jackie Baird Richardson is an interior designer, editor at The WON and avid junker. Watch for her design tips and occasional crafting ideas, bringing the outdoors indoors. View all posts by Jackie Richardson