
Some of my friends said, “She’s suffering from a midlife crisis.”While others said, “No, it’s just something off-the wall-that Michelle would do.”I admit, it was a long weekend and I had some free time to spend surfing the Internet. The insanity started when I booked a vacation for my 20th wedding anniversary. Although, my husband, Chris, and I discussed Europe or an all-inclusive resort, to his surprise, I booked a 3-day kayak trip on the coast of Virginia. We were going to become kayakers.
You’re probably thinking, “She must love kayaking!”Actually, I have a slight fear of the water, especially in boats that can tip. Once, years ago, while attending Ohio’s Becoming an Outdoors-Woman workshop, I took a kayaking course to help fight this unreasonable anxiety. Somewhere, deep down, I must have enjoyed something I experienced that day. So, I figured I should get in shape, and get some practice time in a kayak before I am stranded for 3 days on our vacation.
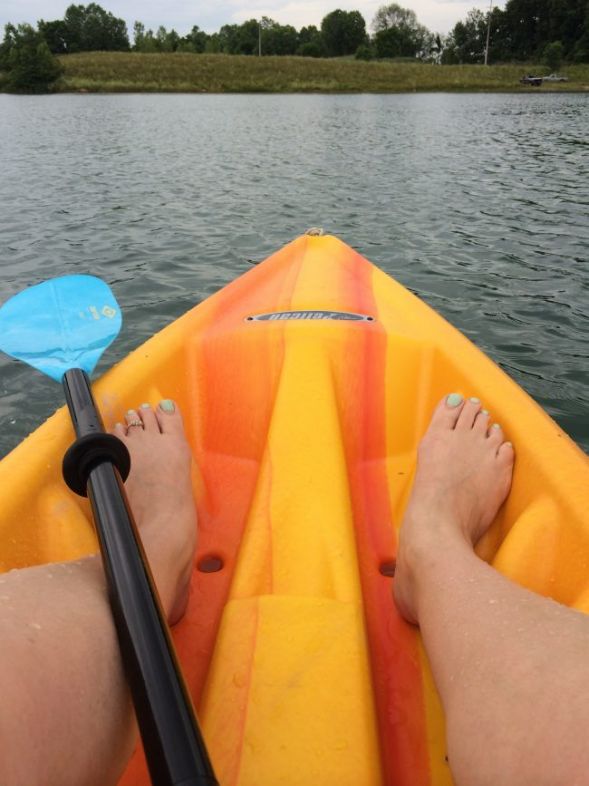
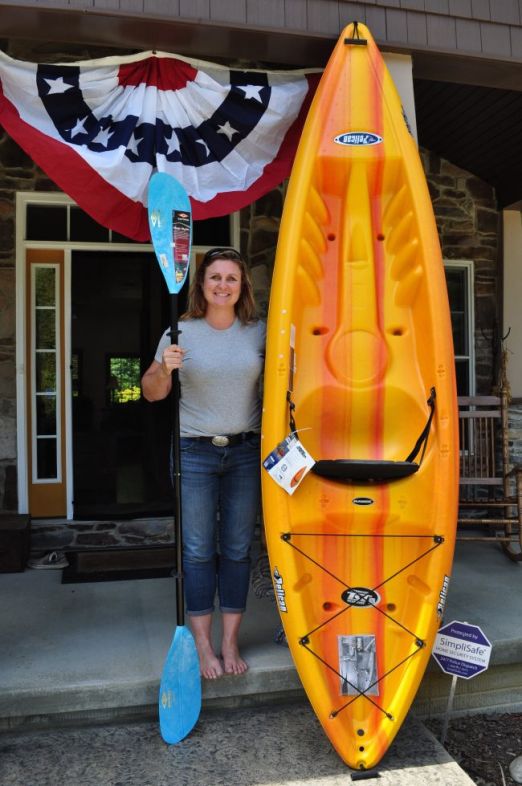
I wanted a basic, sit-on-top kayak. Something I could use to cruise around the Metropark lakes, while discovering the sport of paddling. The kayak needed to be lightweight and easily manageable. With some online research, and the luck of a local sidewalk sale, I found my kayak at MC Sporting Goods. The Pelican Sport Apex 100 (MSRP $279.99) is 10-feet long and weighs only 40 pounds. Transporting it in the bed of my truck is no problem at all. Included with my kayak is the Magic Mystic Paddle (MSRP $59.99), made of fiberglass reinforced polypropylene blades. Luckily, I kept a life jacket from my waterskiing days. I was all set, or so I thought. It seems I needed a refresher on how to paddle a kayak. Back to the Internet.
The parts of the paddle
When moving yourself through the water, the convex (or smooth) part of the blade should face toward you. The writing on the blade is right-side-up.
Grip
Proper hand spacing can make or break the strength in your stroke and how quickly you tire. Position your hands on the shaft, roughly shoulder-width apart. If your hand spacing is too wide, you will have more power, but tire rapidly. Likewise, if the spacing is too narrow, you will have little strength in your stroke.
Hold the shaft of the paddle with a relaxed grip. Fingers slightly open, with your thumbs and index finger touching and knuckles up. This will help create a loose handhold.
Strokes
The forward stroke uses both upper arms and core muscles. Below are the different phases of the stroke.
1. While winding your torso into the stroke, dip your paddle into that same side of the water, roughly parallel to your feet, and catch a blades worth of water.
2. Unwind your torso as the blade pushes the water behind you. While doing this step, think of it as moving past your blade in the water. Also, push the blade with your muscles rather than pulling it. The blade should end up approximately parallel to your hip.
3. As that side of your paddle pops out of the water, your body is already wound up for the stroke on the opposite side. Repeat from step 1.
The sweep stroke is used for turning, while sustaining momentum. Sure, you could just put a blade into the water on the same side you want to turn, but that will slow you down.
1. Extend your paddle forward, and dip the blade into the water on the opposite side of where you want to turn.
2. Sweep the blade in a wide arc to the rear of the boat.
3. Once the paddle touches the back of the boat lift it from the water.
The reverse forward stroke can be used for stoking or paddling in reverse.
1. To slow your momentum, drop the blade into the water on one side of the boat, then the other.
2. Reverse the forward stroke and back paddle as needed while rotating your torso the same way.
Tips
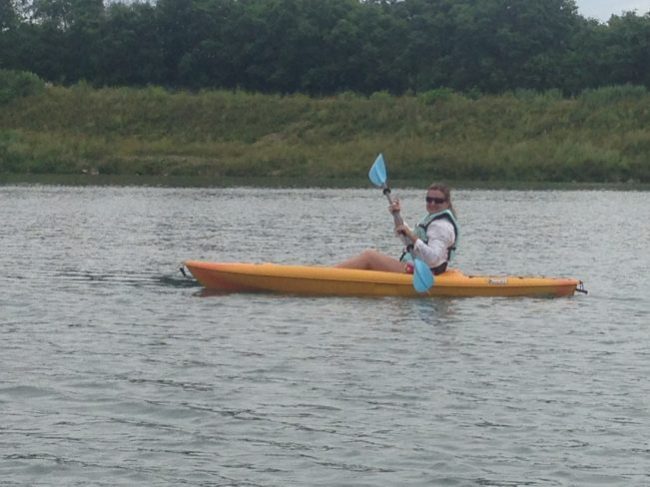
With the knowledge of how to paddle, I cast off on my maiden voyage. A private, 30-acre quarry, filled with bass and bluegill, seemed to be the perfect place to start. With a blue sky, light breeze and 73-degree temperature, the setting appeared perfect. I began a forward stroke and coasted out to the middle of the quarry. I paddled around a bit, practicing the different strokes until I felt comfortable.
While my husband fished from his kayak, my son Alex and I explored. A large family of geese glided past, while 2 great blue herons flew overhead and a cormorant dried his wings in a treetop that emerged from the quarry. This was when I realized why I started my kayaking adventure: out here, on the water, there is nothing to do but relax. Something I don’t do very often, but will have to opportunity to do now, in nature.
This Retro WON,”Tips for Beginning Kayakers,” first appeared July 25, 2014.

Michelle Cerino, aka Princess Gunslinger, first entered the firearms industry in 2011 as co-owner, president and trainer at a national training company. She immediately began competing in both 3-Gun and NRA Action Pistol, becoming a sponsored shooter. Michelle is currently a columnist and Managing Editor of Women’s Outdoor News, as well as owner of Pervenio LLC. She also manages social media for Vera Koo and GTM Original. Michelle encourages others to step out of the comforts of home and explore. View all posts by Michelle Cerino
I’m glad you found the tips helpful. Enjoy your kayaking adventure!


Great article. As a beginner it’s very helpful for me. Thanks for your tips.