The Eastern wild turkey is a beautiful creature, noteworthy for its striking fan and wing feathers. Turkey hunters who successfully bring home a bird might want to save more than just its meat. Turkey feather art can add texture and elegance to any home, plus they are a great talking point to share a passion for hunting and the outdoors with others.
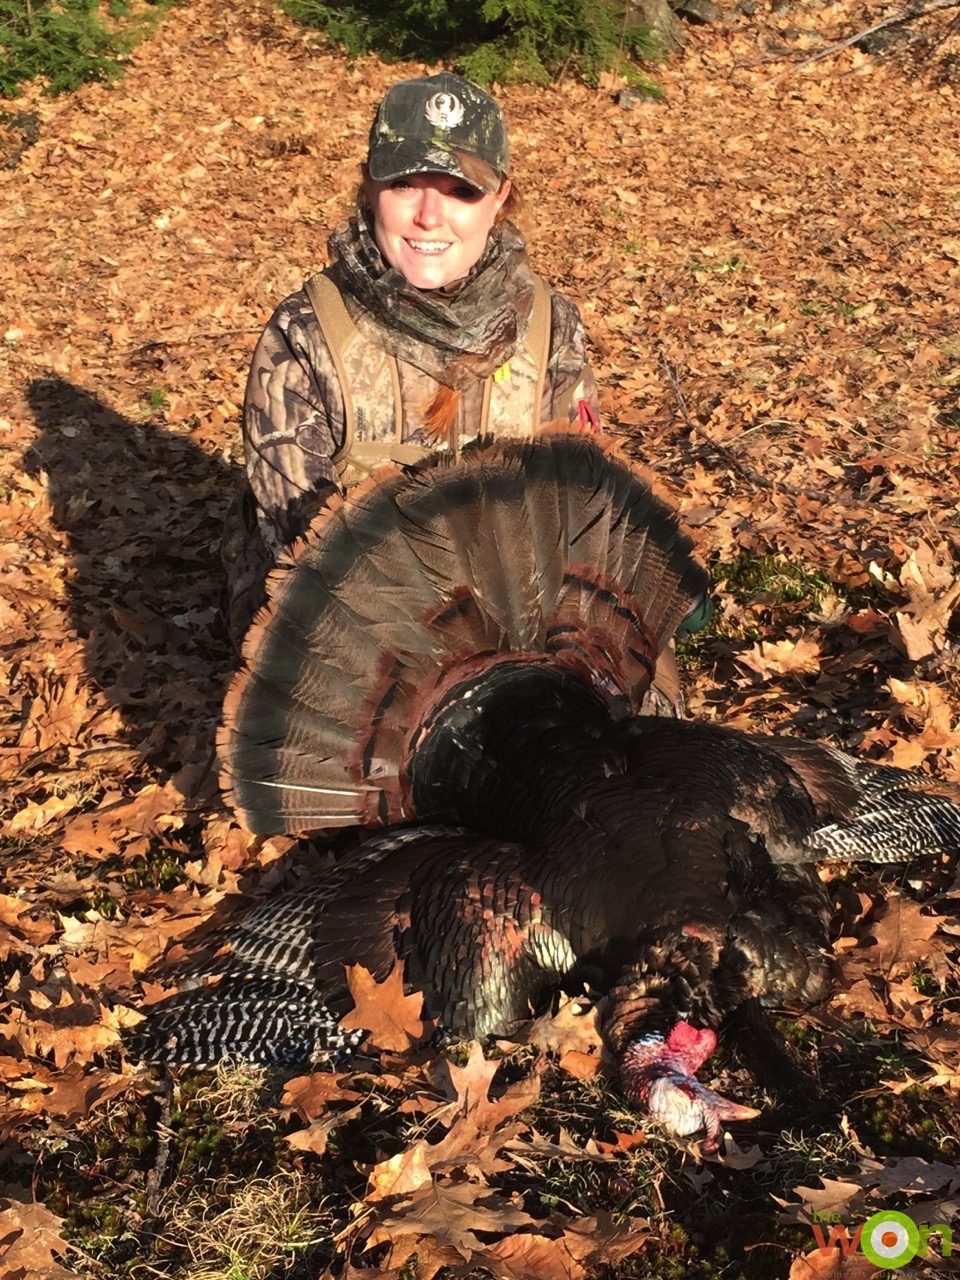
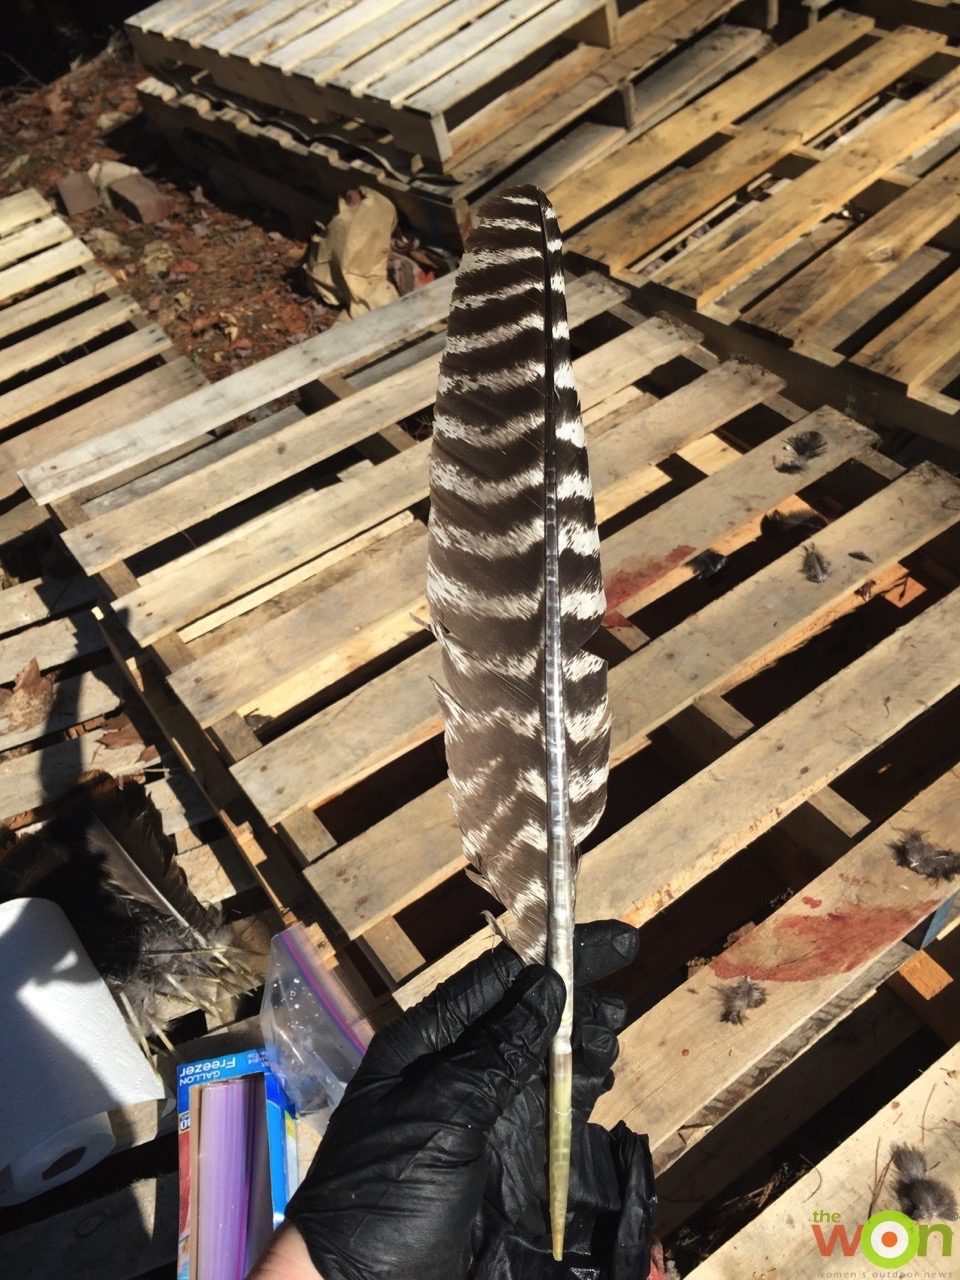
When I tagged my first turkey in May 2015, I saved the entire fan and most of the wing feathers from my 20-pound tom, knowing I wanted to make something with those feathers. My mother-in-law is a calligrapher and she requested that I save most of the wing feathers for quillwork, which I happily did. So I took the 5 wing feathers I had left to make a piece of wall art, using a “dip-dye” method to add some color to the otherwise black-and-white feathers.
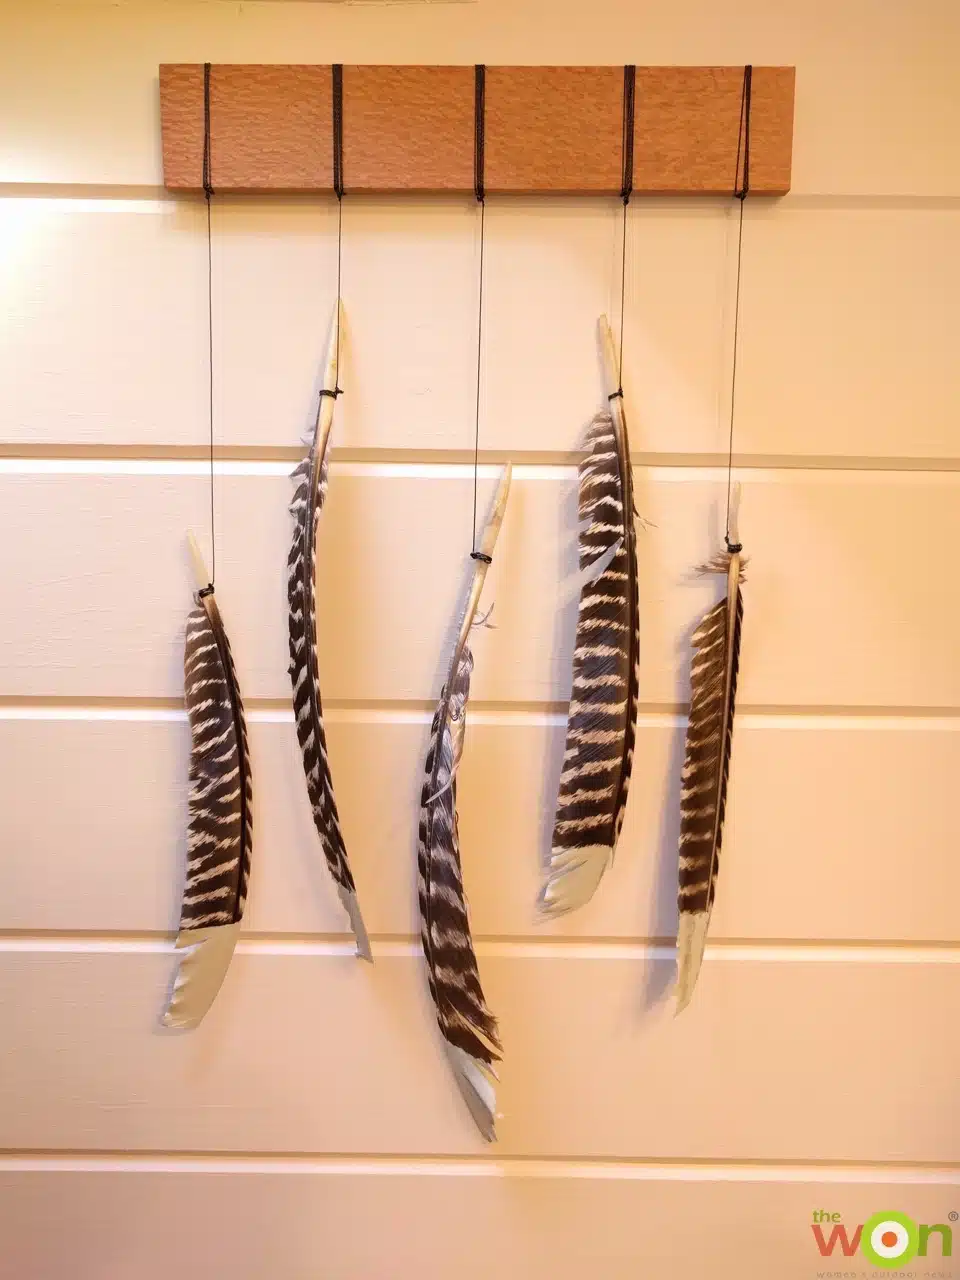
There are a lot of variations to how this DIY art project could turn out for you, and the best part is that customization is just as unique as the feathers you’ll use. For me, the coolest feature of the feathers I had is that the tips of 4 of the feathers are flattened, from the tom strutting and rubbing the feathers on the ground. I love how this project turned out – it adds texture and beauty to the wall it is hanging from. This could wind up as a piece of wall art, or a baby’s mobile, or outdoor décor. There are a lot of options to make it your own.
Since the feathers I used were from a 2015 harvest, they had plenty of time to dry out. I removed any tissue when it was fresh and placed the quill of the feathers in a cup full of salt to dry out anything that remained. If there are any down feathers or other dangling parts near the quill, this is a good time to remove them carefully with a knife or scissors. I highly recommend that you don’t skip this cleaning step, even though it might delay the project a bit while the feathers dry out.
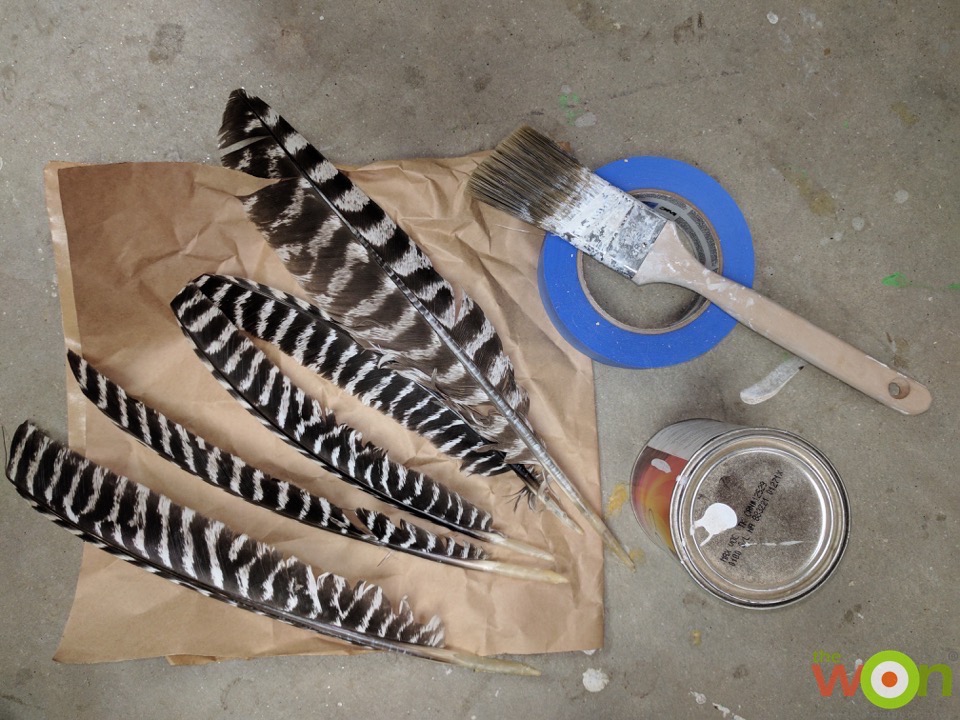
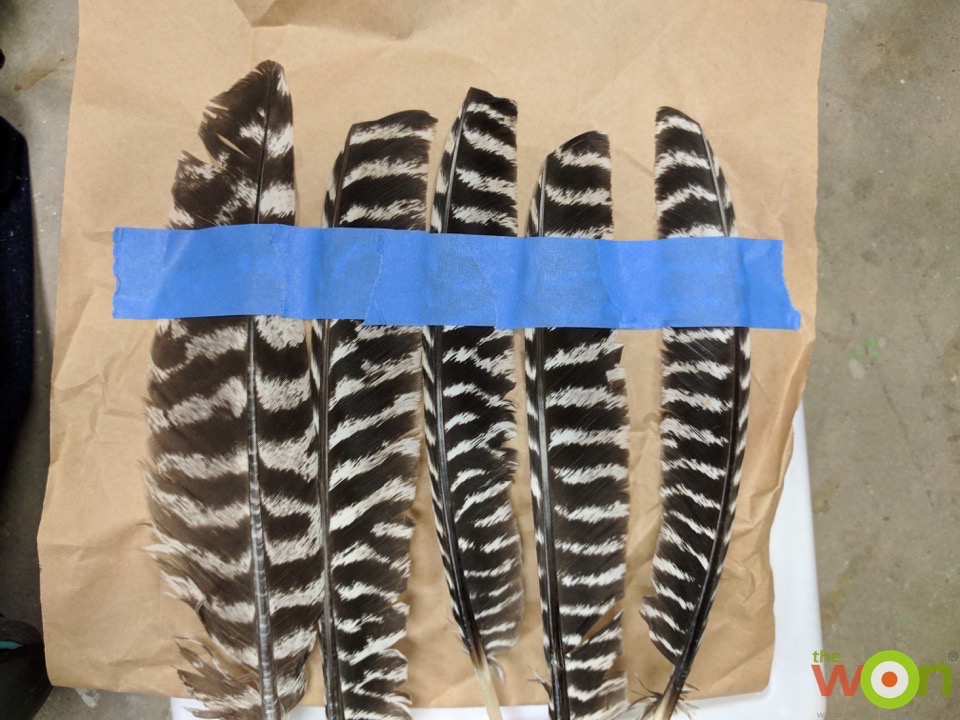
Being careful with the feathers, place painter’s tape near the tip where you would like to have the paint applied. I placed my tape straight across the feather about 2-to-3 inches from the tips. If you wanted to try a chevron pattern, stick the tape on the feathers in a v-shape.
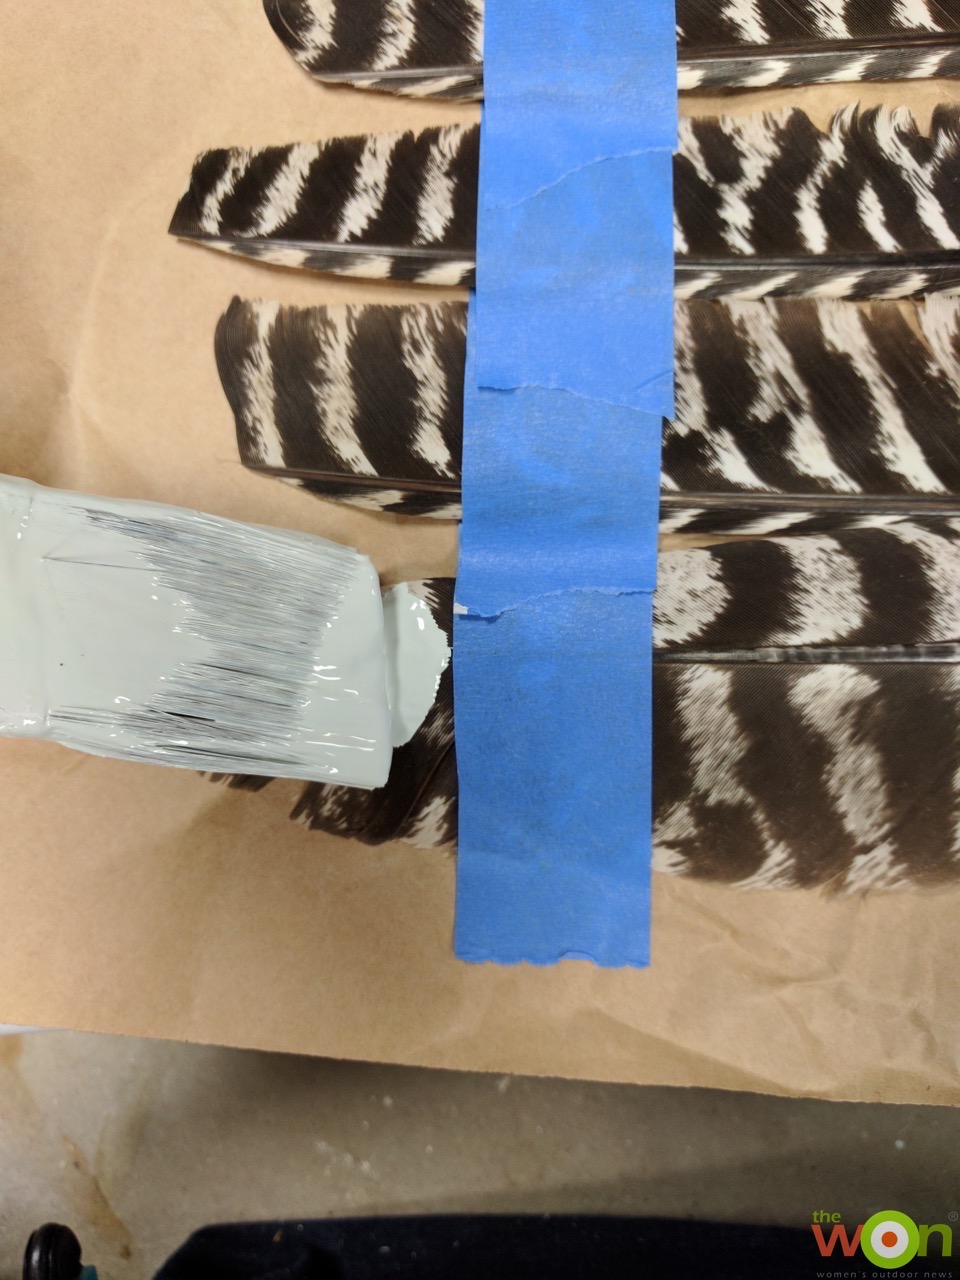
Make sure you are working on a surface you don’t mind getting paint on, such as a drop cloth or newspaper. Dip a clean paintbrush into the paint can so that a manageable amount of paint is on the brush. If you can, avoid getting excess paint on the brush; that helps keep paint only where you want it (the feathers, not the floor!). In clean strokes following the direction of the vanes, apply paint to the feathers on 1 side.
I laid out my feathers and left them lying on the piece of scrap paper I was using to protect the floor from paint. This allowed me a solid surface to paint on and made it go pretty quickly. It took about 2 hours for the first coat of paint to dry on the first side of the feathers.
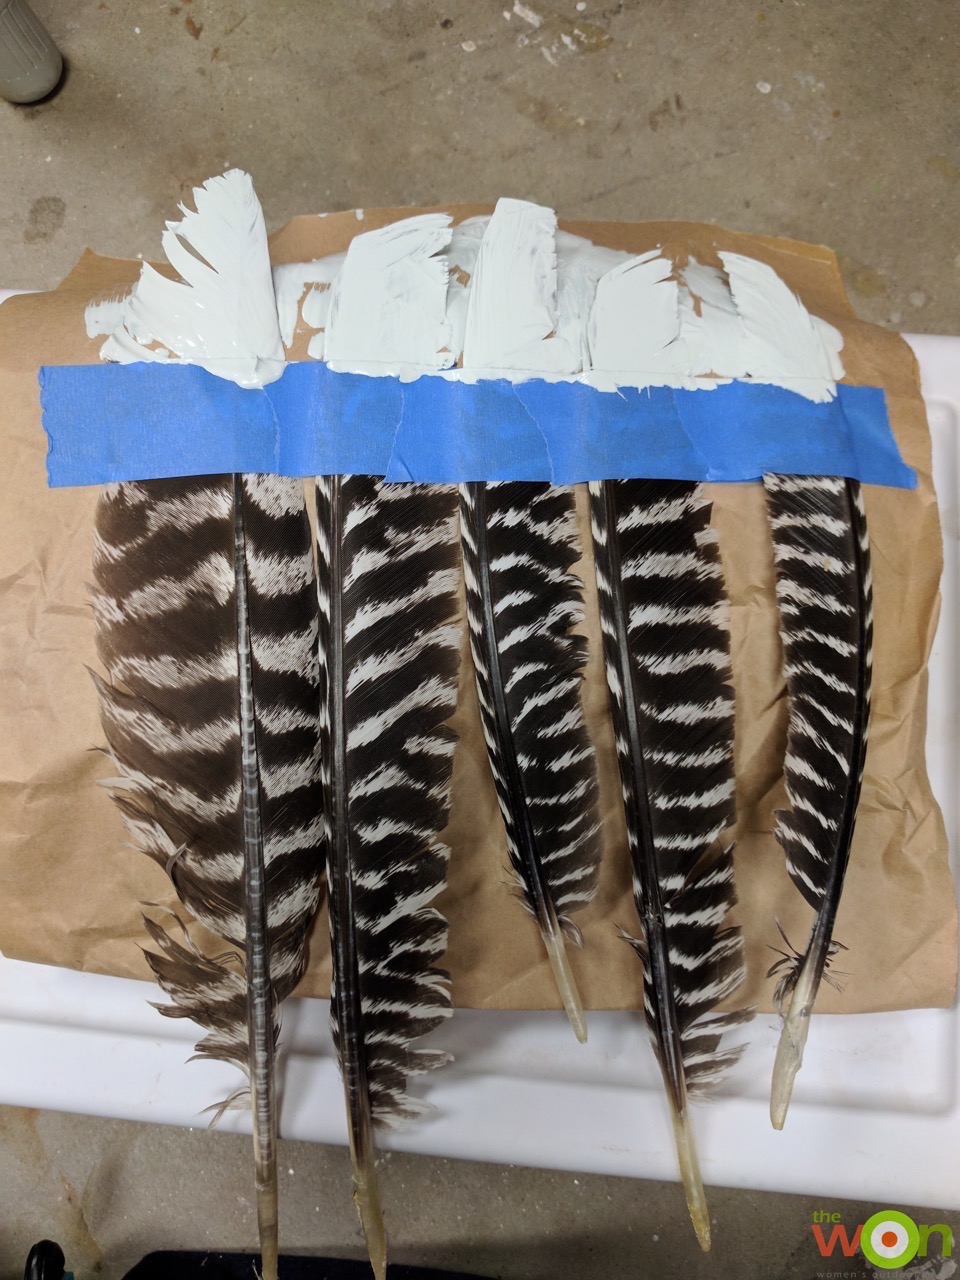
The first coat of paint was enough coverage for my taste, but if it appears thin or if you want a bolder color, then apply a second coat. Wait for that final coat to dry on the first side of the feather, then flip it over to paint the other side.
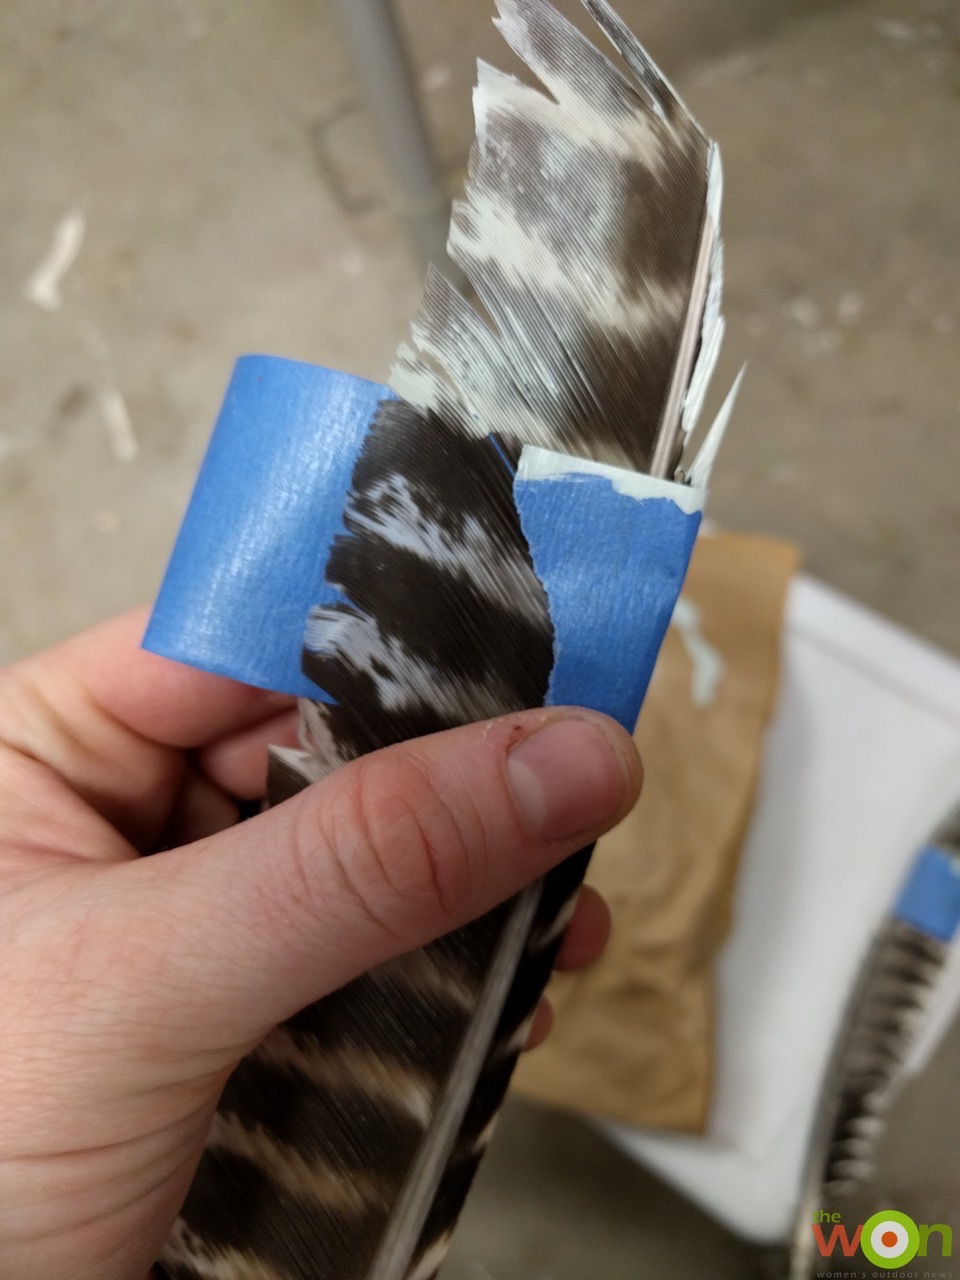
This technique helps achieve a “dip-dye” look without the vanes of the feathers getting oversaturated with paint, which can cause them to become ragged looking.
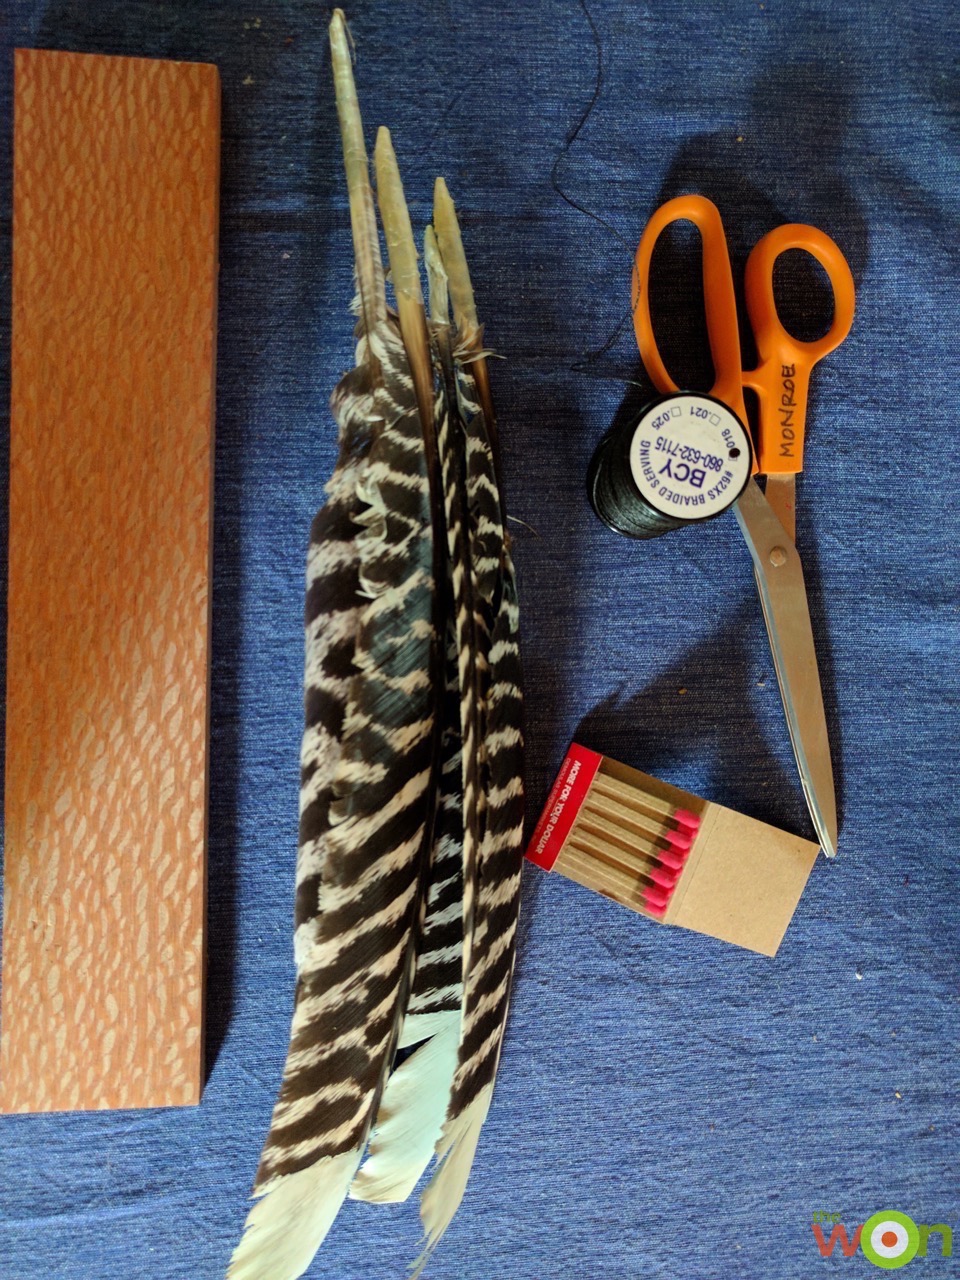
If you are using a dowel for a mount and want to paint or stain it, then do this now and allow it to dry. An antler or a piece of wood like I used might not need anything except a good dusting before attaching string.
Determine how long you want your feathers to hang down, and cut about a foot extra string so that you have enough material to wrap around your mount and tie to the feathers. I used serving string from my archery supply kit, because I thought it fit well with the hunting theme of this project. For my project I used about 2 feet of serving string per feather, or about 10 feet total.
Since I was using serving string, I took the opportunity to practice some knots that I used when I was serving on my peep sight to my compound bowstring. Really, any type of knot will work to attach the string to the feathers. I wrapped the string around the feather base and tied a knot at each half-wrap of the string to make sure it was tightly secured.
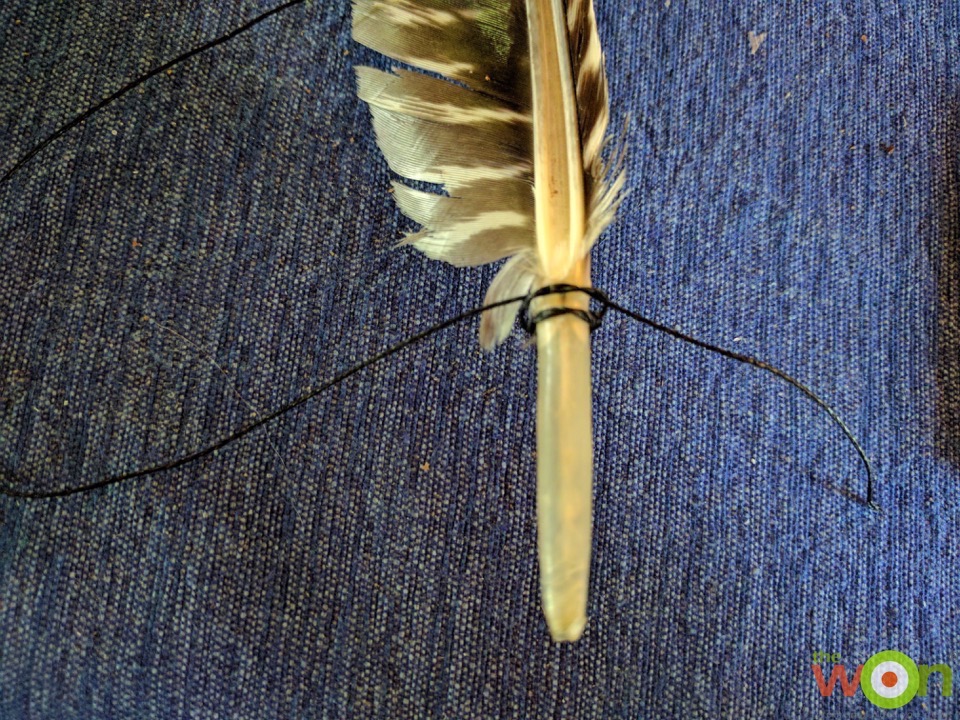
Then I used a match and carefully burned the excess off the end of the string, just like I would with my peep sight. This is a completely optional thing to do – if your string is different than serving it might not be a good idea to light it on fire.

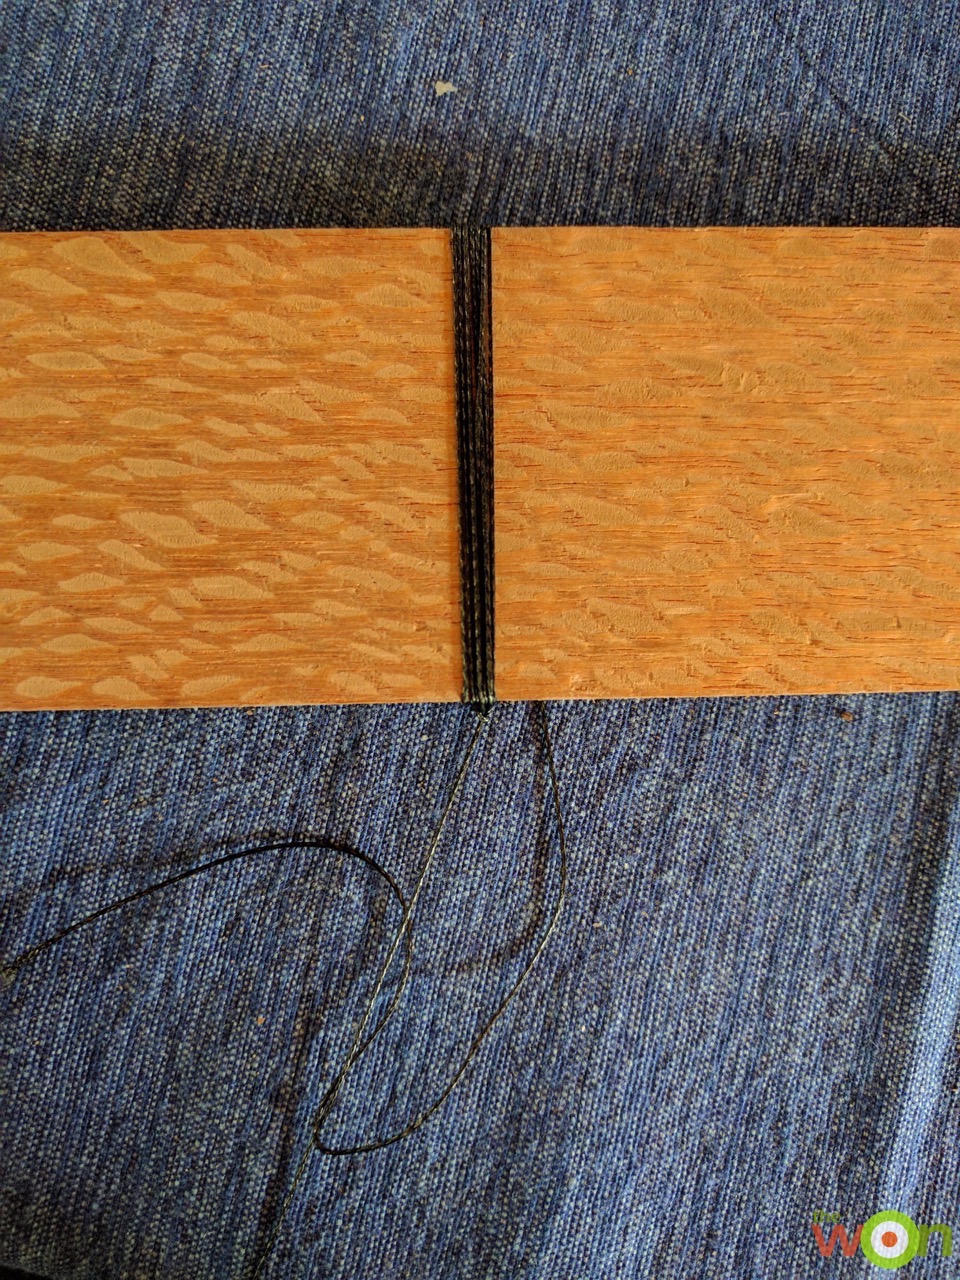
After securing the string to the feathers, I wrapped it around the string around the wood mount about 5 times, alternating left and right loops around the string to keep the feather centered where I wanted it. Then I tied off the string at the bottom of the loop using the same serving knot as before, with a match to burn off the excess string.
I am pleased with how this DIY art project turned out. For now my feather art is secured with command strips on the wall that are on display for when anyone ascends the stairs. I love the texture and color it provides, and it has become a bit of a conversation piece. Enjoy your own version of this project – however and wherever it might end up!

It started as sibling rivalry and grew into a lifelong passion. Target shooting is at the core of Emily Houston Monroe's past, present, and future. A decorated junior and collegiate rifle shooter, Emily now works as an engineer at a leading firearms manufacturer where she can bring her passion for firearms to a new level. In her blog The “How-To” Gun Girl, she will share her experience in various shooting sports. From targets to turkeys. From smallbore rifle up to .338 Lapua Magnum. From 10 meters to 1600 yards. If it is a shooting sport, the "How-To" Gun Girl will try it out and explain it all. View all posts by Emily Houston Monroe