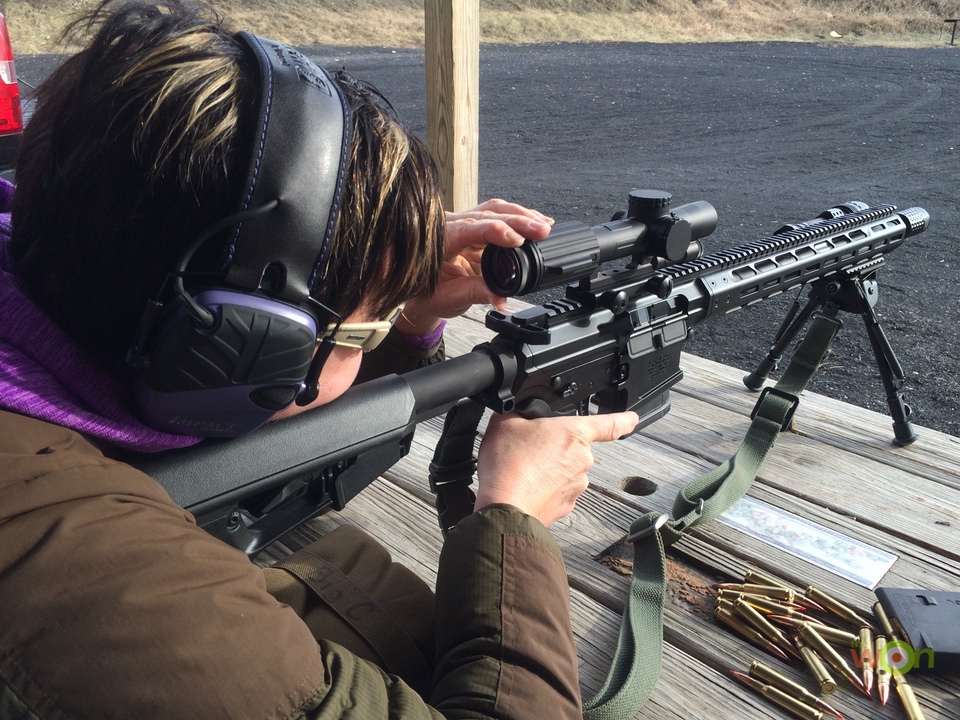
Riflescopes come in many different configurations and sizes. Thankfully, they pretty much all have the same basic parts. With knowledge and understanding of these parts, you can easily figure out and use any riflescope, regardless of the brand. However, I have to admit I’m not big on technical words. Yes, I often say, “Turn this dial,” or “Press this button” or even, “Yes, that thing-a-ma-jig over there.” I know perfectly well what I’m talking about and doing; however, often those around me prefer proper terminology. Hopefully, after reading this article (and me writing it), we will both have a better understanding of riflescopes and be able to speak more intelligently about them.
Princess Gunslinger is sponsored by Trijicon
The following list of verbiage isn’t always easy to understand or explain. However, it’s really important to know.
Eye Relief – The distance you need from the ocular lens and your eye to see a full picture. All scopes are different and it’s usually measured in inches. When using a scope on a hard-recoiling rifle, a sufficient amount of eye relief keeps you from getting the dreaded “scope bite.”
Exit Pupil – An exit pupil is the disc of light you see when holding a scope at arm’s length (about 10 inches from your eye) at a clear sky. A larger exit pupil means a brighter view through the scope. This allows more movement when you position your eye behind the scope. However, as magnification increases the exit pupil becomes smaller and requires your eye to be centered on the scope. Note: The pupil of a normal human eye will dilate to a maximum diameter of 5 to 7 mm. A larger exit pupil allows you greater freedom of range of movement behind the lens.
Parallax – This optical phenomenon occurs when your eye moves behind the scope. The reticle appears to move in relation to the target causing shot placement to change. By placing your head in the exact same spot on a rifle stock you reduce the effects of parallax. A good cheekrest helps. Most riflescopes are set up to be parallax free at 100 yards. Reflex sites, aka red dots, are parallax free at all distances.
Lens Coatings – The coatings on optics reduce glare, maximize light transmission and reduce loss of light due to reflection. They also add some scratch resistance and minimize water accumulation on the lens.

Parts of the scope are important to know and identify, especially when you’re interested in buying one. It’s good to know the nomenclature and terminology.
Ocular Lens – The lens closest to the shooter’s eye and at the end we look through.
Eye Piece – Holds the ocular lens in place and usually has a focal adjustment ring as part of it.
Power Ring – On variable magnification scopes, this numbered ring changes the magnification of the scope.
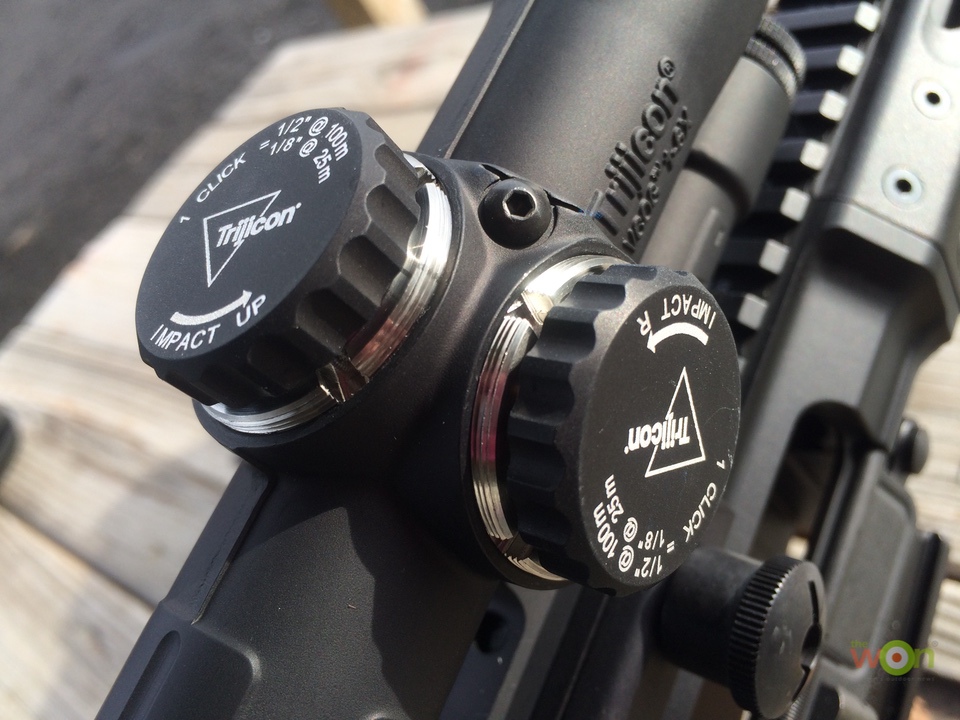
Elevation Turret – Located on top of the scope and often covered by a cap, this knob changes the vertical (up and down) adjustment of the scope.
Windage Turret – Located on the right side of the scope and covered by a cap, this knob changes the horizontal (left to right) adjustment of the scope.
Illumination Adjustment – On an illuminated scope, it’s usually on the eyepiece or on the left side of the scope body. It all depends on the manufacturer. Turning on the illumination creates an adjustable light point that provides greater accuracy in shadows and low light situations.
Parallax Adjustment – This adjustment is quite often built-in, but with an adjustable parallax scope the knob is usually found on the left side of the scope body or a numbered ring on the objective lens.
Main Tube/Body – Typically 1 inch or 30mm wide, this tube bridges the objective lens and ocular lens. There are even 34mm bodies for maximum light transmission.
Objective Bell – This is the part of the scope that houses the objective lens through which light enters, and as you may have figured, it is at the far end of the scope – away from your eye.
Objective Lens – This is the piece of glass housed in the objective bell.
Reticle – When looking through your riflescope, a reticle is the aiming point or crosshair in your field of view. Adjust the eyepiece until the crosshairs are sharp by aiming at a blank background. The lines show where the bullet should go when the trigger is pressed and there is no other movement.
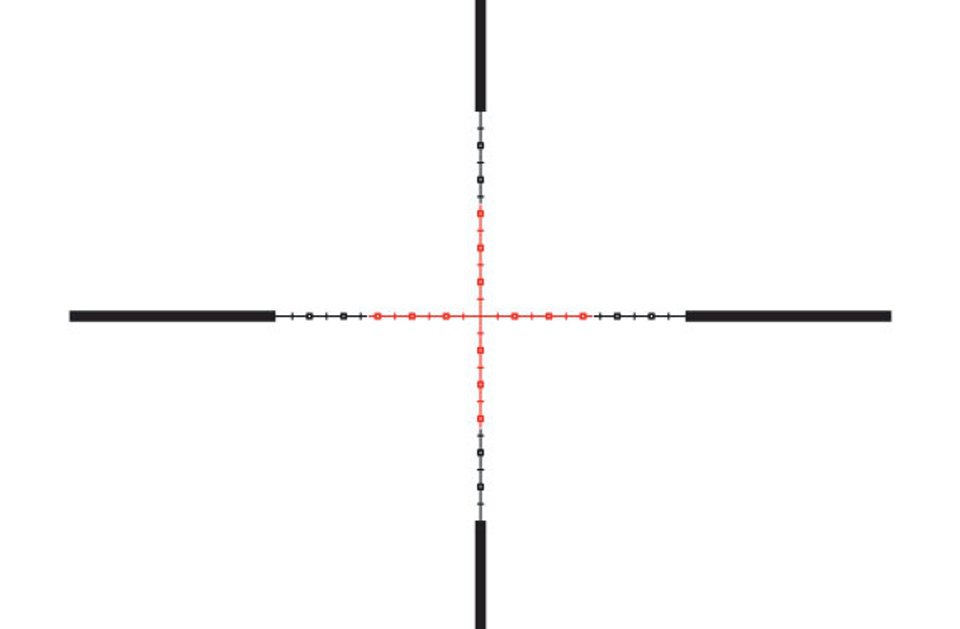
MIL-Square reticle
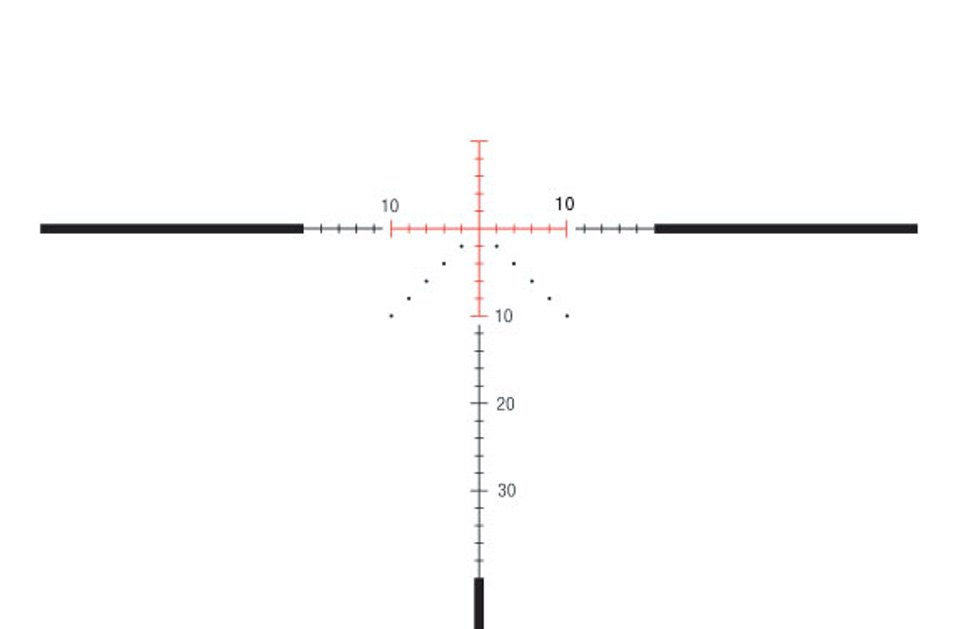
MOA Crosshair reticle
Scope Rings – A 2-piece design generally sold in sets. Scope rings are sized to the main tube and sold as 1inch, 30mm or 34mm. Always note the size of the scope rings you’ll need for the scope purchased, as the 2 rarely come together in a package and you must order rings separately.
Scope Mounts – A 1-piece mount that can add height to a scope and allow it to be moved farther forward. Usually stronger than rings, a scope mount also adds weight.
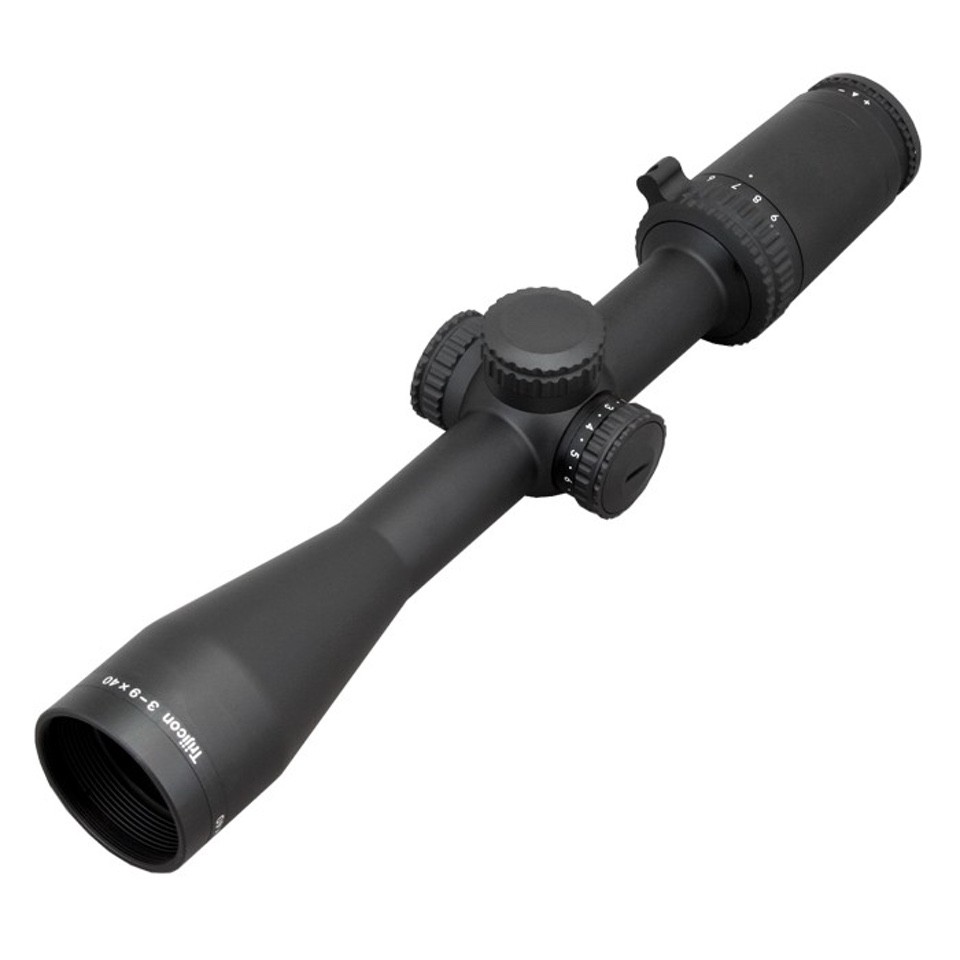
The name and model number of a scope (found on the underside of the scope) usually tell you all you need to know. For instance, a scope labeled 3-9 X 40, means it has magnification range starting at 3 and goes to 9 times magnification and it has a 40-millimeter objective lens. On this scope you’ll have an adjustable power ring located either on or just in front of the ocular lens to shift between 3 and 9 with ability to adjust anywhere in between to meet your needs. The bigger the diameter of the objective lens, the more light it lets in to the scope. That means you’ll have a wider view and better low light vision. Cloudy days, early mornings or late evenings in the woods can make it hard to see and identify your target. Although a bigger objective lens helps, lens coatings and other materials the scope is made from, also determine its brightness.
If the model number only has only 1 number before the X and the objective size, it means there is no variable magnification and therefore, it is not adjustable. For instance, a 4 X 32 scope has 4x magnification, meaning the objects through the lens appear 4 times closer. Generally, as magnification increases, the picture inside the scope darkens so, a high magnification scope usually has a larger objective lens. (For instance, my long-range scope is 3-18 x 50.)
The last number, 32, stands for the diameter in millimeters of the objective lens. Lower-powered magnification optics usually have smaller objective lenses.
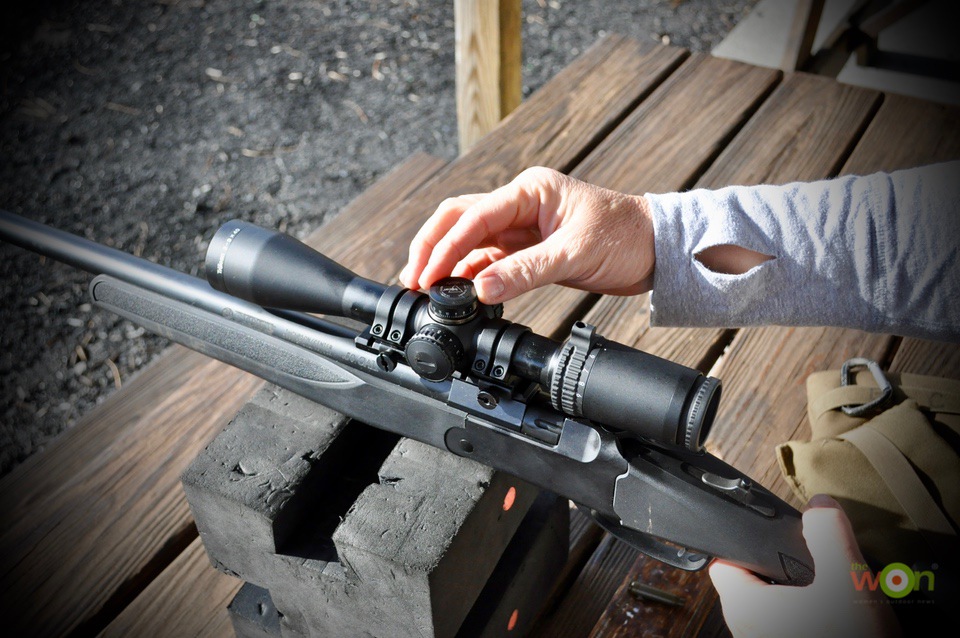
As with anything else, it’s time on task that breeds knowledge. I still have to orient myself to the controls when I pick up a new scope. When you have time take a look at the scopes you have or some displayed in the store and try identifying the parts. While you’re at it, pick them up, look through them and make adjustments. Hands on is the best way to learn.

Michelle Cerino, aka Princess Gunslinger, first entered the firearms industry in 2011 as co-owner, president and trainer at a national training company. She immediately began competing in both 3-Gun and NRA Action Pistol, becoming a sponsored shooter. Michelle is currently a columnist and Managing Editor of Women’s Outdoor News, as well as owner of Pervenio LLC. She also manages social media for Vera Koo and FASTER Saves Lives. Michelle encourages others to step out of the comforts of home and explore. View all posts by Michelle Cerino