If you have ever worn a custom-tailored dress or suit, you know how good “custom” can feel. With a firearm, we might be tempted to defer to a “gun tailor” to get a custom feel. While there are definitely things I want a gunsmith to do for my rifle (rebarreling, for example), there are 4 ways that a little DIY can make a big difference in terms of getting a custom fit.
Swapping the stock is my favorite way to begin a custom rifle project. You could even say I invest in the “stock market” (pun intended, as always)! As a gun industry “insider,” I unfortunately have to say that with a small number of exceptions, most production rifle stocks are built for the average man. That can leave many of us shooters who lack a Y chromosome feeling like our rifles are too big, or else looking to the “youth” stock size to find something that works for us. Paying an expert to make a custom stock is always an option, but before you go that route, consider trying some of these tips I use when I am customizing my rifles.
The first and easiest stock DIY project is to buy a stock that is more appropriate for your needs and replace your current stock. This is totally doable with just your instruction manual and a hex wrench. There are several aftermarket rifle stock manufacturers, including Boyd’s and Hogue, that offer variations in size, color, and material that can make a rifle look and feel custom.
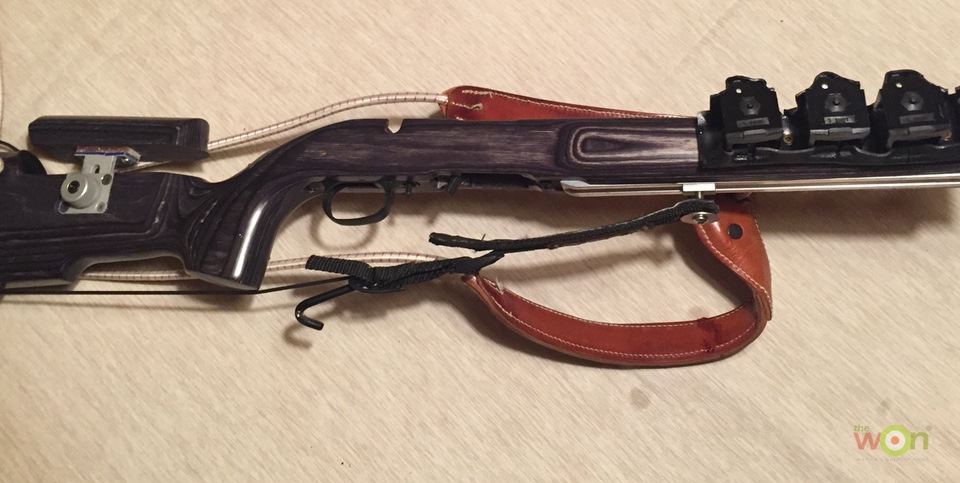
In my quest to build a biathlon rifle for myself, I started with a Ruger American Rimfire and added a Boyd’s Pro Varmint stock (MSRP $137) in place of the standard plastic stock. I prefer the more aggressive pistol grip on the Pro Varmint stock to the “swept back” feel of the standard American Rimfire stock because of the positions I have to shoot in when doing biathlon.
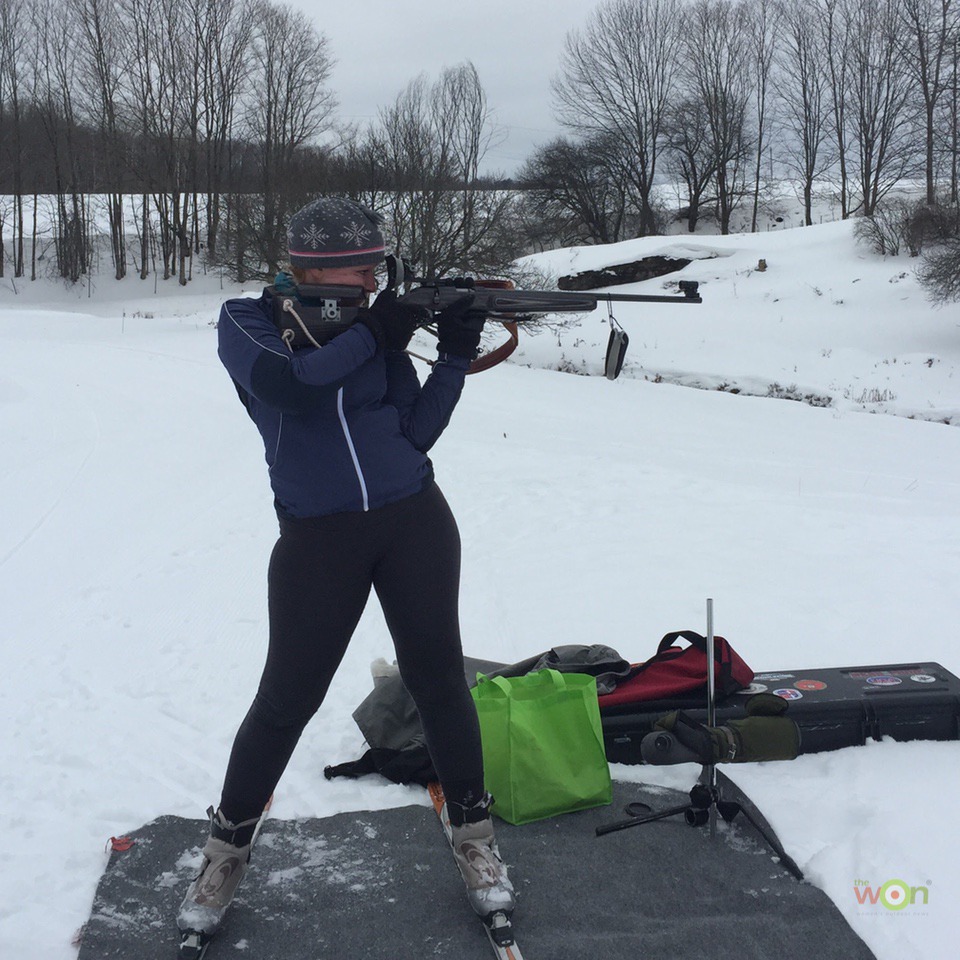
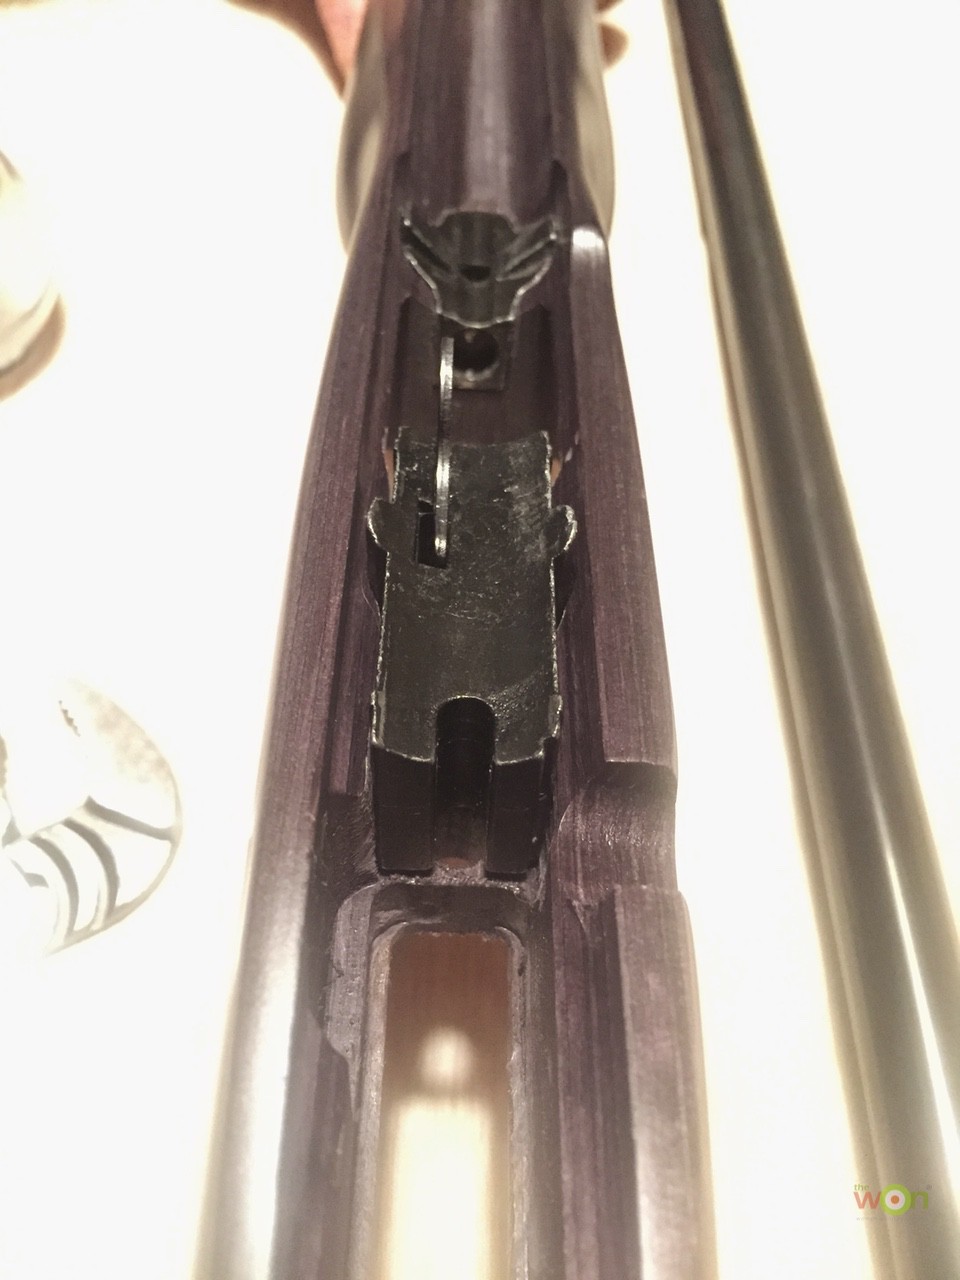
The stock swap was easy on a rifle such as the American Rimfire. I loosened the 2 stock screws using a hex wrench and removed the “power bedding” blocks from the Ruger stock. Those fit well into the Boyd’s stock and I could screw the action into the stock. While the stock was certainly an upgrade, there was more that I wanted to do to it to make it suit my biathlon needs … which leads me to a second option to customize a stock: Cut it!
If the stock is made of solid material (such as wood), then you can cut it to fit your frame. This is most easily done with the help of a friend, preferably a friend who is good with tools and can help you see how much material to remove. The “measure twice, cut once” mantra is fitting when trying to fit a stock to your body, because it can turn into an expensive venture if you cut too much.
Before making any cuts, determine the length of pull you would like out of your stock. You can do this by referencing a stock that you already know fits you well, or by taking off material a little at a time from the butt end of the stock and trying the fit in your shoulder. Typically the length of pull is optimized for you when the butt of the rifle is firmly in your shoulder and the hand that corresponds with your dominant eye (right hand for right-eye dominant rifle shooters) is comfortably placed around the pistol grip, with your finger exactly where you want it on the trigger. Before making any cuts to the butt of the stock, remove anything currently attached to the butt, like a pad that might be screwed into the stock. Cutting through wood with a table saw or hand saw is not complicated, but cutting through hardened steel screws can be a nightmare!

Take your time with the cuts. I highly recommend taking off small amounts until you reach something that feels comfortable to you. Then you are ready for my next custom rifle DIY project: Upgrading the butt pad.
Depending on the type of shooting you are doing, an upgrade to the rifle’s butt end can make a big difference. It’s time to get your rear in gear! Have the guts to change the butts! Don’t give me sass, think of the rifle’s … Anyway, the butt of the stock is one of the primary points of contact your body makes with the rifle whether you are shooting in a position – such as prone or offhand, or from a bench. Getting a comfortable fit with the butt end of the stock will make a big difference in how good the rifle feels to you.
One of the easiest butt pad upgrades to consider DIY-ing is a rubberized recoil pad. There are several varieties that could fit your needs, depending on the activity. I own a .450 Bushmaster rifle (because why not?) and that round is fondly referred to as “Thumper” by people who have shot it. To make the experience more comfortable, I purchased a slip-on recoil pad from Limbsaver (MSRP $28.99) that fits right over the stock. Adding that pad is a great way to add comfort with minimal effort!
Another great DIY option is to add a cheek pad. This can dramatically increase comfort and precision for shooters who struggle to position their faces behind a raised optic like a riflescope. While I do not personally own this one, I have shot hundreds of long-range rifle rounds with this cheek pad at FTW Ranch. That cheek pad definitely helped me be more consistent with how I looked through the scope during a week-long training course, and it was super easy to install; just loop it around the rear of the stock and secure with Velcro! This cheek pad from BLACKHAWK! (MSRP $15.71) appears to be similar to the one I used in training, and I highly recommend it.
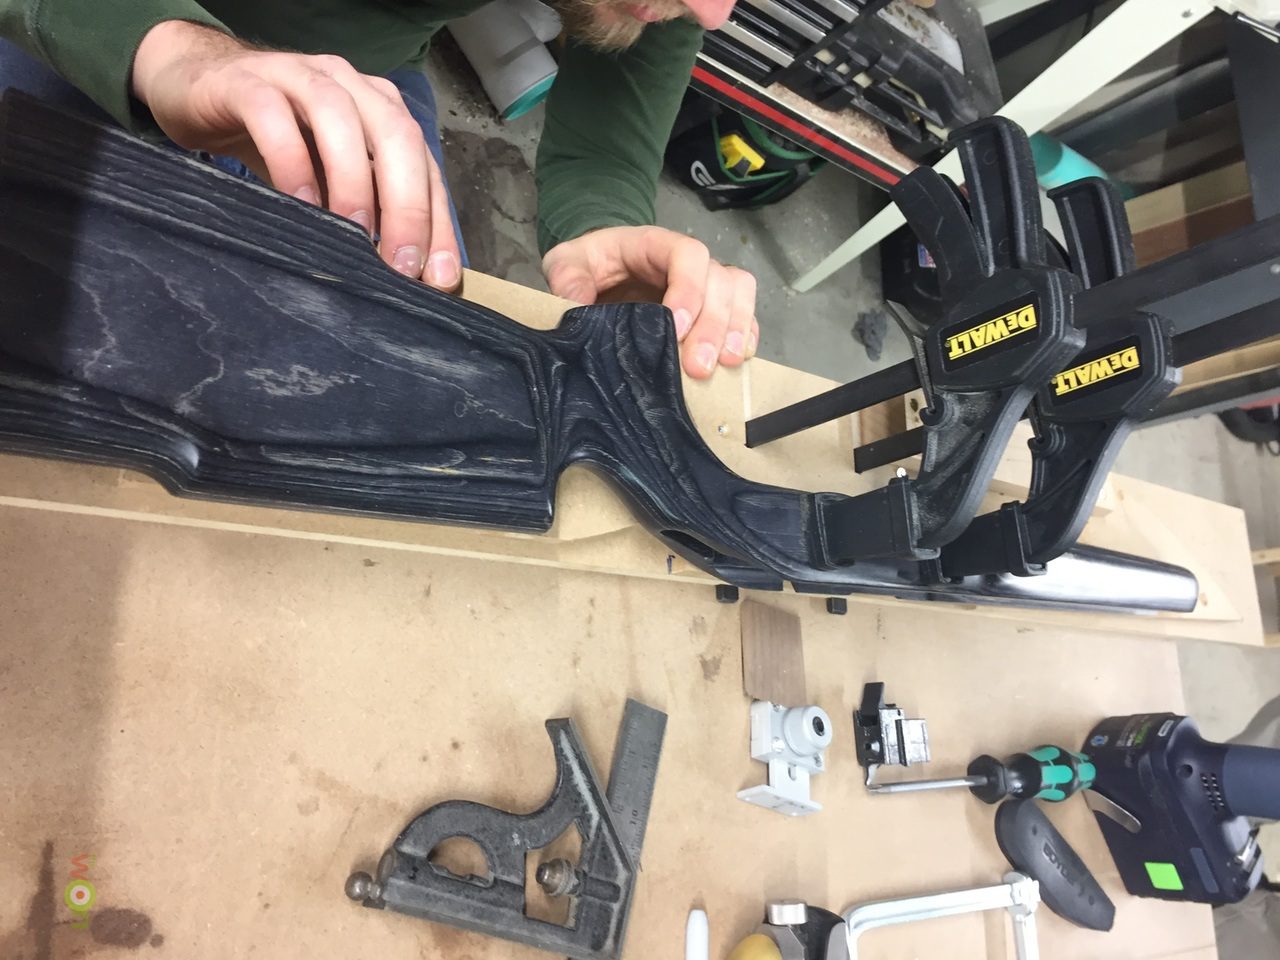
I have also made use of adjustable cheek piece and butt plates from a small shop in Pennsylvania. Earnest Shooting Products is a 1-man shop without an online store, but he makes some nifty adjustable options for stocks. I opted to install his adjustable cheek piece (MSRP $60) on my biathlon rifle stock. This was “next level” DIY from the slip-on options I mentioned above, but totally doable with a bandsaw or jigsaw and a drill. I drew on the stock with marker to cut out the portion I wanted to have as an adjustable cheek piece, then traced the marker lines with the bandsaw.
It is worth noting that when using this kind of equipment, I recommend wearing safety glasses! My woodworker husband showed me how to use a chisel to remove the material I needed to fit the adjustable cheek piece portion into the stock, though I could have installed it right on top of the cut surface. I then drilled holes to attach it to the stock, and screwed it into place. I then attached the portion of the stock that I cut to form a cheek piece, and voila!, a stock with an adjustable cheek piece was created. If you don’t feel comfortable doing this kind of thing yourself, there are several options for aftermarket stocks that feature adjustable cheek pieces; see tip #1.
A great way to get your rifle exactly the way you want it is to add an optic. The optic might have magnification, feature an illuminated reticle (crosshairs) or show a red dot. There are a ton of options with regard to optics, and TeamWON has covered a lot of the aspects of DIY optics in the following articles:
To give you an idea of some of the options you have for a custom fit, I will share some of my custom optic choices. For my AR-15, I chose to add a modified red dot with a Vortex Spitfire 3x (MSRP ). The reticle, or what I see when I look through the scope, is illuminated and magnified, and it has both red dot “point-and-shoot” capabilities, plus some built-in holdover lines for the 5.56 NATO round. I like it because the 3x magnification makes it easy to see my target, and the holdover lines simplify getting on target at varying distances.
On my main hunting rifle, I chose a more basic scope to keep my life simple in the field. The Vortex Diamondback 3-9×40 (MSRP $269.99) has non-illuminated crosshairs, and that’s all folks! I wanted a basic setup so that there would be less to adjust and less to maintain in the woods. A crosshairs-only reticle will work well for game of varying size and distance.
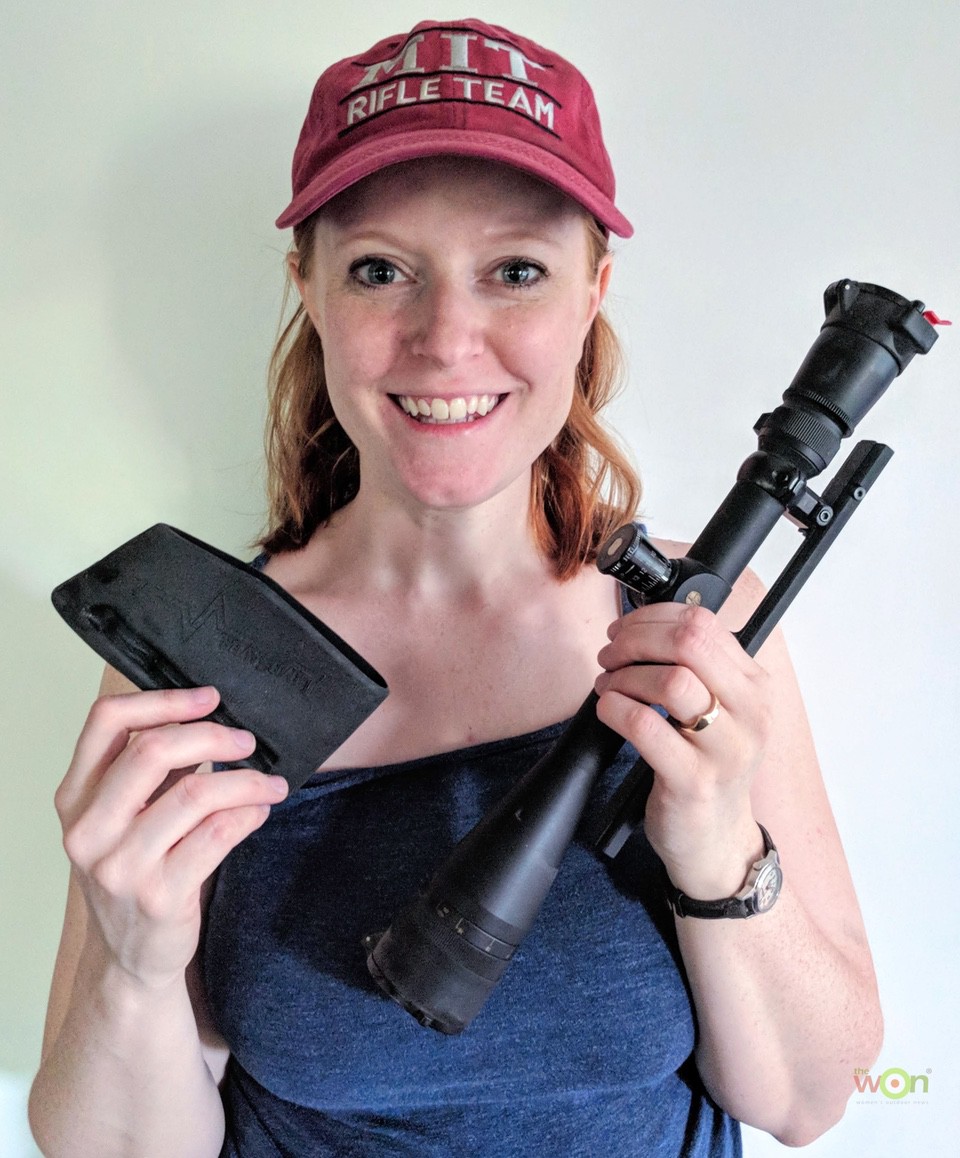
On my competition smallbore rifle, I also have a non-illuminated reticle, though it is much more specialized with a circular reticle. It is a Leupold that appears to no longer be for sale. It can magnify up to 20x, which makes a big difference at the relatively short 50 yard distance of most smallbore matches. The reticle on my competition optic is a hybrid crosshair-dot to help with aligning on the circular smallbore target.
Each choice of optic on the various rifles I own helps me fit my rifle to me. The optics are specific to my needs and are a great way for me to customize my rifles. Putting on an optic that fits your needs is an easy DIY way to get that “just for you” feel out of your firearms.
I hope these tips help you get started with some DIY projects on your rifle setup! Share some photos with us on Facebook and Instagram, tagging Womens Outdoor News and #whonphoto when you do.

It started as sibling rivalry and grew into a lifelong passion. Target shooting is at the core of Emily Houston Monroe's past, present, and future. A decorated junior and collegiate rifle shooter, Emily now works as an engineer at a leading firearms manufacturer where she can bring her passion for firearms to a new level. In her blog The “How-To” Gun Girl, she will share her experience in various shooting sports. From targets to turkeys. From smallbore rifle up to .338 Lapua Magnum. From 10 meters to 1600 yards. If it is a shooting sport, the "How-To" Gun Girl will try it out and explain it all. View all posts by Emily Houston Monroe