Looking to improve your archery technique? Incorporating a few specific skill-building drills into your practice time can seriously boost your accuracy and confidence. In addition to drills, setting some goals for yourself will help you direct your practice time. Even if you only shoot for a few minutes a day, if you use that time with intention and purpose you will be amazed at how quickly you improve. I make it a habit to have a goal in mind at every practice session, and most of the drills I perform relate specifically to those goals. Here’s what I mean.
Goal: I want to shoot more center shots.
Drill: Build a shot plan by focusing on one thing at a time, like back-tension release or sight picture, until it becomes second nature.
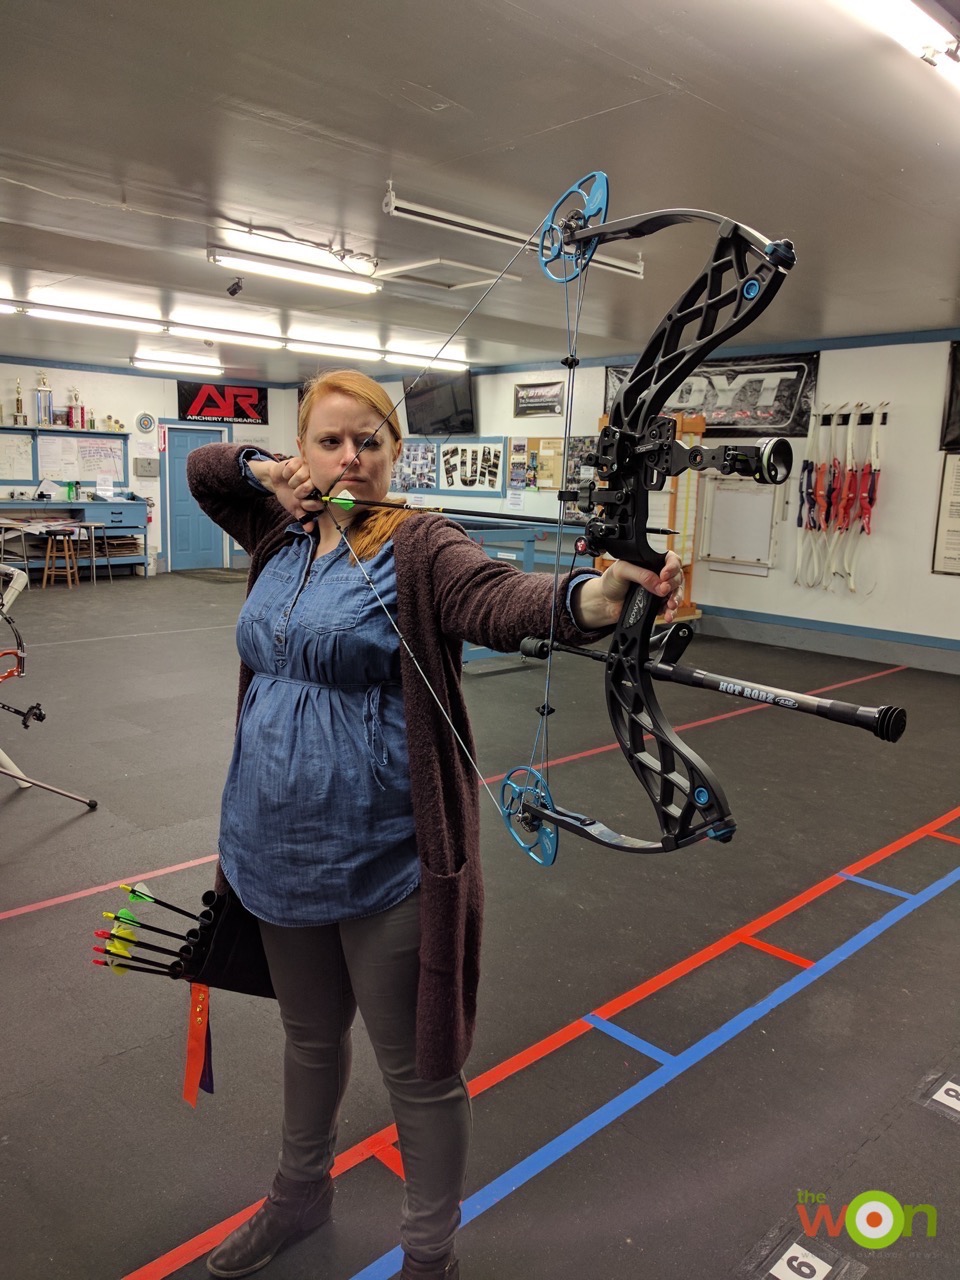
This is a universal truth in the shooting sports: Spend time building a shot plan, and once it is second nature you will be able to quickly improve your shot placement.
What is a shot plan? It is a list of steps to run through each time you shoot, whether you are actively thinking about it or not. For example, this is my shot plan for my compound bow, which I adapted from the basic structure of my shot plan for precision air rifle:
If I feel like it (or can see it) I will look at where my shot went after following through with the shot. Moving too early to look for an arrow can affect shot placement. Often in training I do not look at where each arrow landed, because I want to focus on the process, not the result. I will be able to see how I did when I collect my arrows. If I don’t look at where the arrow landed, then my next step after “step 10” is to return to the beginning: looking at my feet and adjusting if necessary.
Working through a shot plan lets each archery shot become a training opportunity.
It took me a while to build my shot plan up to the point it is now. I spent months working on this and I still tweak it if I find a better way to do any aspect of it. I use a similar plan for my air rifle and small-bore rifle shooting, and while it took me some time to establish it, I spend a lot less time actively thinking about how to shoot a well-placed shot because of it. My brain power is free to work on other things I want to improve, like my sight alignment or back tension.
Start your shot plan by pretending to shoot. Just close your eyes and think about it. Walk yourself mentally through what you do when you shoot your bow. Write each step down, breaking it into small parts separated by the breaths you take. Writing down your shot plan may seem silly, but it helps you stick with it and improve it. With your written plan in hand at your next practice, go slowly through it, step by step, as you shoot. Is what’s on paper similar to reality? If there are differences, write them down. Edit the shot plan until it looks like how you shoot. Then, think through it and look at it each time you shoot. Doing this over a period of several days or weeks will enable you to mentally “write” your shot plan into your subconscious.
Just like riding a bike or driving a car, you can get your shot plan down to the point where you don’t have to actively think about it. This means you will shoot more consistently and you can pay better attention to the specific elements of the process that will get you into the center of the target more often.
Goal: I want to be confident in my ability to make an ethical, well-placed shot while bowhunting.
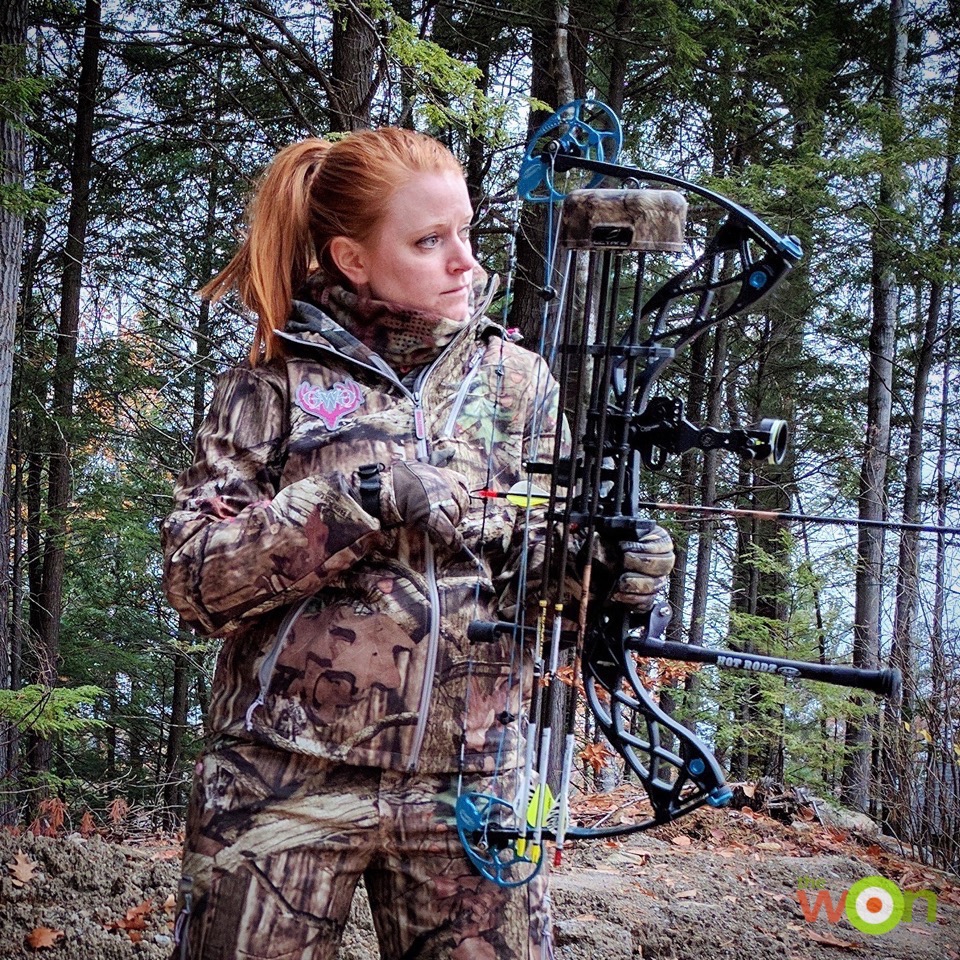
Drill: Practice executing shots with increasingly long holdbacks.
I worked up to 2 minutes of holdback on my compound bow in preparation for last fall’s archery hunting season. This is an extreme—I sincerely hope to not be in a position where I am close to a shot but need to hold for 2 whole minutes. But by holding that long in practice, I gain the confidence that when I get the shot I can make the shot, even if the animal isn’t making my job easy. Will I be more patient in the field, waiting until I get the ethical shot I want, knowing that I have practiced that long-hold draw before? You bet.
The best way to work up to something like a 2-minute holdback is to start small. It took me a few weeks of deliberately holding long on 5 shots at the end of my weekday training session before I could hold for longer than a minute and still get a quality shot off. Go at your own pace, and don’t push so hard that you risk injury. If it seems like too much, don’t worry about it. Any time behind the bow is better than no time behind the bow.
Practicing holding for long periods of time helps build confidence in the field; you never know when a shot opportunity might require a long hold.
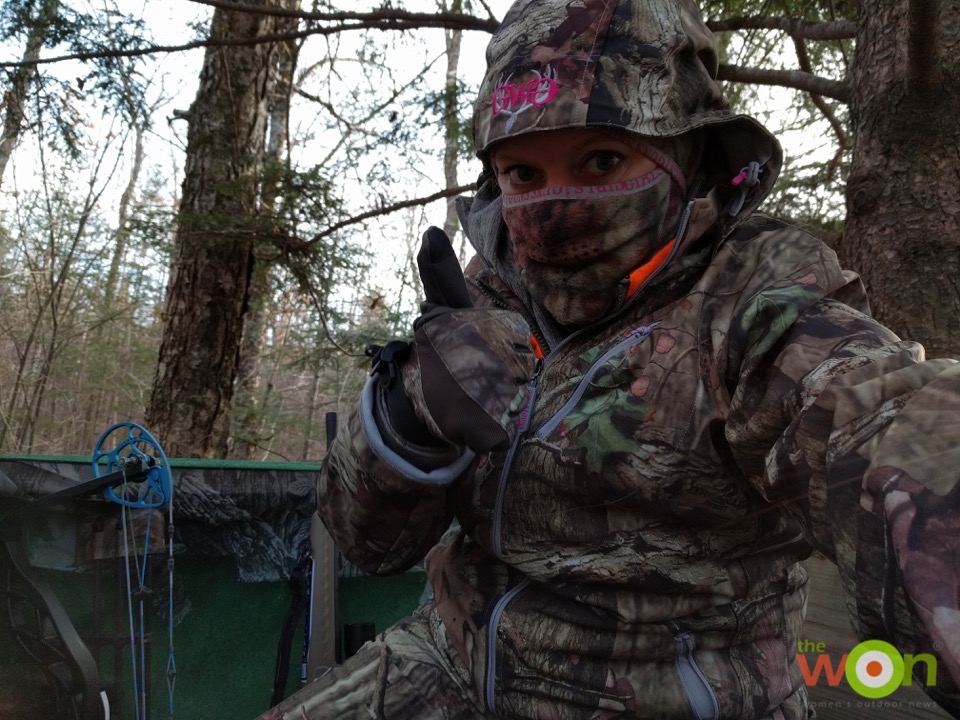
To start building up my endurance, I set a timer on my phone for 30 seconds then drew back my bow like normal. I simply held the shot until I heard the timer go off; then I would really focus on aiming and executing the shot. Repeating this 4 more times, for a total of 5 shots at 30 seconds, marked the completion of the drill for that practice period.
At the next few practice sessions I repeated that process, shooting my bow almost daily at my house. This allowed me to build up both the long-hold endurance and the “lots of shots” endurance. After I felt comfortable and confident with 30 seconds, I raised the hold length to 60 seconds and repeated the process. When I was comfortable at 60 seconds, I upped it to 90 seconds, and then again to 120 seconds. Each time I worked on this for only a portion of my training, and I waited until the end before I did the drill, which I knew would wear me out. It really helped build my ability and confidence with those long-hold shots. I hope I won’t be in a situation where I have to hold on a target for that long, but I know that if it happens I’ll be ready.
Goal: Add some pressure to the training session to mimic what it might be like when my adrenaline is flowing in a hunting scenario.
Drill: Play “tennis” with your training buddy.
Dialing up the pressure by calling out scores with a training partner can add a new level of intensity to any archery training session.
There’s no better simulation for shooting under pressure than to add a competitive aspect to your training. To play “tennis,” line up next to somebody willing to try this with you. Each shooter takes a shot at her target, then you each call out your score. If you have the same score, or if your target doesn’t have rings, just determine who shot closer to the center. The person with the best-placed shot gets 15 points, just like tennis, bringing the “score” to 15–Love. Shoot again, and add to the score just like tennis: 15, 30, 40, Game Point, Game. I usually stop after 3 games, because that’s a lot of arrows! But if you are dedicated, you could keep going through 6 games for the set, and through 2 sets for the win.
This kind of competition can add a lot of variety to your training, and it also puts the pressure on. Nothing gets the nerves up quite like a game point (or “pointed game,” #punintended). Each shot counts, which is true in a bowhunting situation as well.
I hope you enjoy these drills. What matters most is that if you set goals at each practice and use your time purposefully, you will see improvement. Comment below if you have any questions or suggestions for your favorite archery drills.
This Retro WON first appeared May 4, 2017.

It started as sibling rivalry and grew into a lifelong passion. Target shooting is at the core of Emily Houston Monroe's past, present, and future. A decorated junior and collegiate rifle shooter, Emily now works as an engineer at a leading firearms manufacturer where she can bring her passion for firearms to a new level. In her blog The “How-To” Gun Girl, she will share her experience in various shooting sports. From targets to turkeys. From smallbore rifle up to .338 Lapua Magnum. From 10 meters to 1600 yards. If it is a shooting sport, the "How-To" Gun Girl will try it out and explain it all. View all posts by Emily Houston Monroe