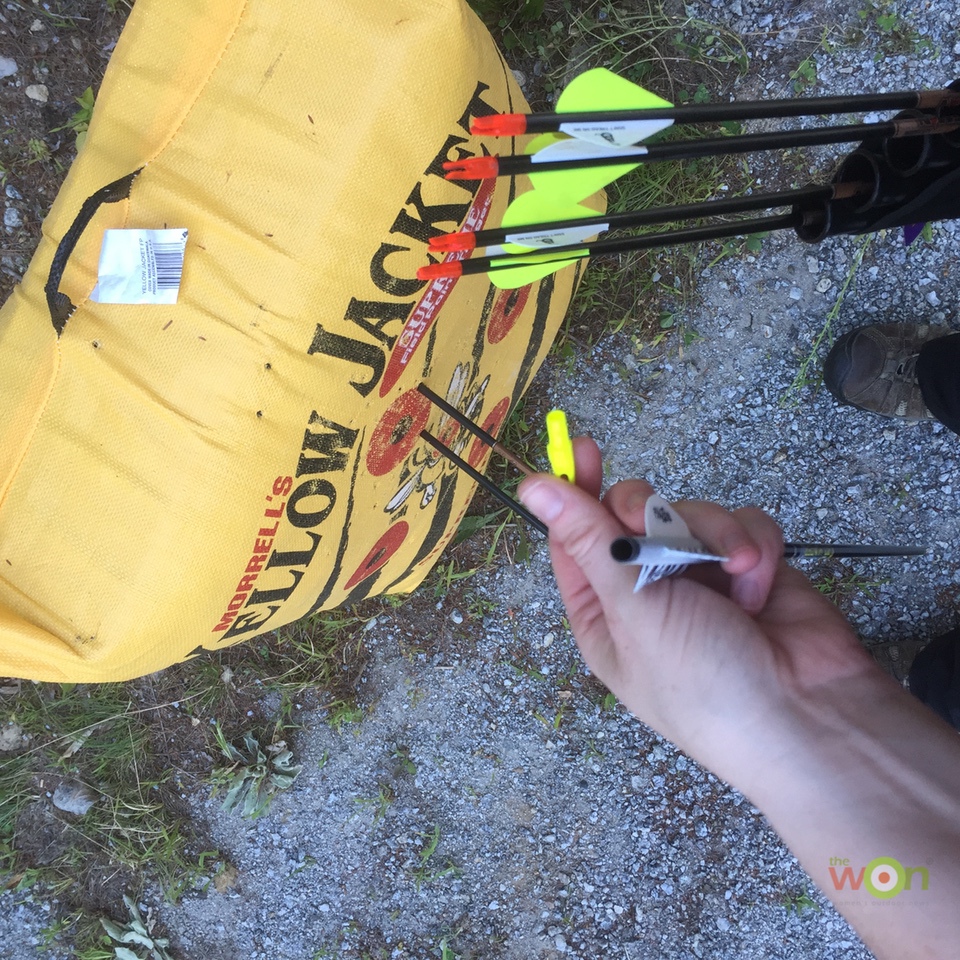
Ever shot one arrow through another? If you are serious about archery or bowhunting, I bet you have. Once you get consistent, your shots start to get closer and closer together until – bam! – a vane or nock gets ruined by shots too close together.
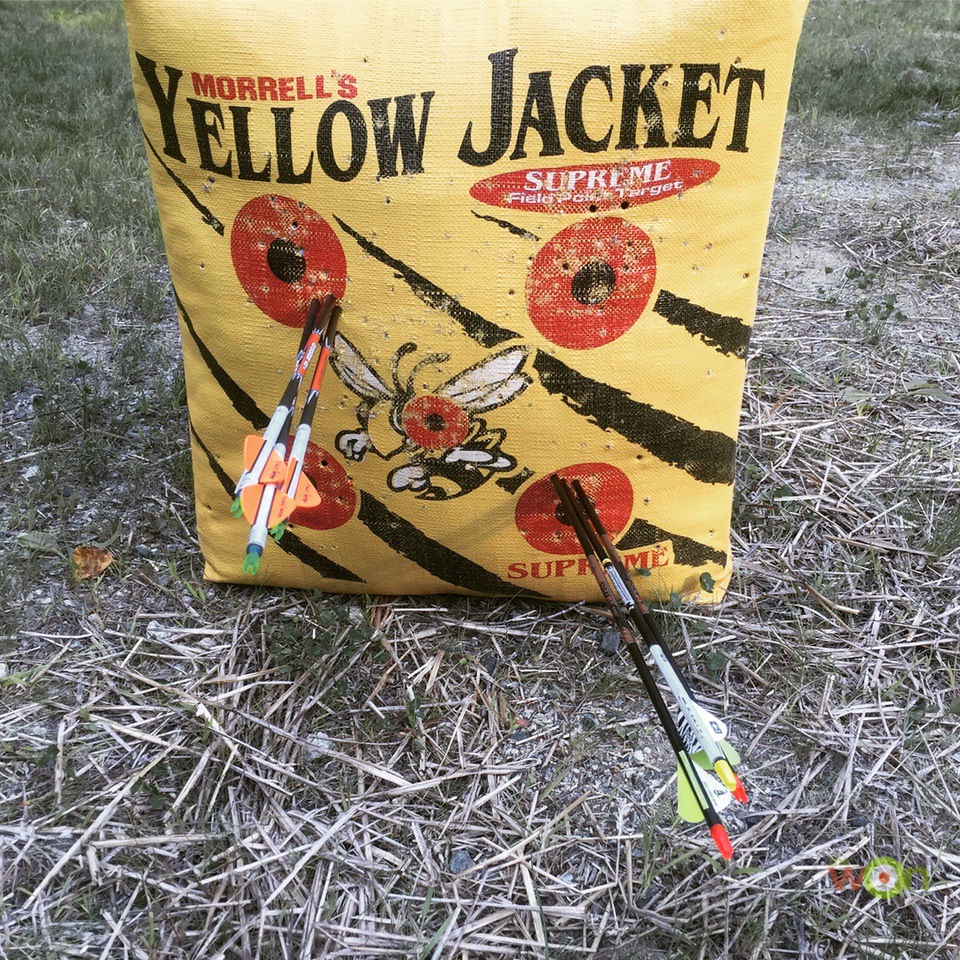
Arrows with damaged vanes can fly differently than intact arrows, and shooting an arrow with a damaged nock can be dangerous. If your quiver has some arrows with damaged fletchings, I highly recommend you learn to prepare your own arrows. Not only can it reduce your arrow replacement costs, but also it can increase your accuracy if you learn what works best for your bow setup.
Assembling your own arrows takes some time to do, but the results are worth it. Since arrows are very customizable to each archer and each bow, I encourage you to dive in and start figuring out what works for you. Here is a handy outline of how to get started.
![]()
First, let’s learn the same lingo. The arrow shaft is the long part of the arrow, typically made of wood, aluminum, carbon fiber or a composite of those materials. All other parts of the arrow attach to the shaft. Arrow shafts are measured in length, diameter and stiffness. I will not get into the differences in those variables in this primer, but those are some key things to look into for different archery applications. The arrow shafts that work well for target archery indoors will be different than the arrows used for bowhunting big game.
The term “fletching” refers to the feathers or vanes that help an arrow spin in flight and maintain accuracy. I use vanes on my arrows, as do most bowhunters who are shooting a compound bow, so I might use “vane” and “fletching” interchangeably. Vanes can be attached to the arrow in a variety of patterns, with 3 or 4 straight (non-helical) vanes being the most common option. One vane in particular, called the “index vane,” is oriented to align the vanes in the arrow rest.
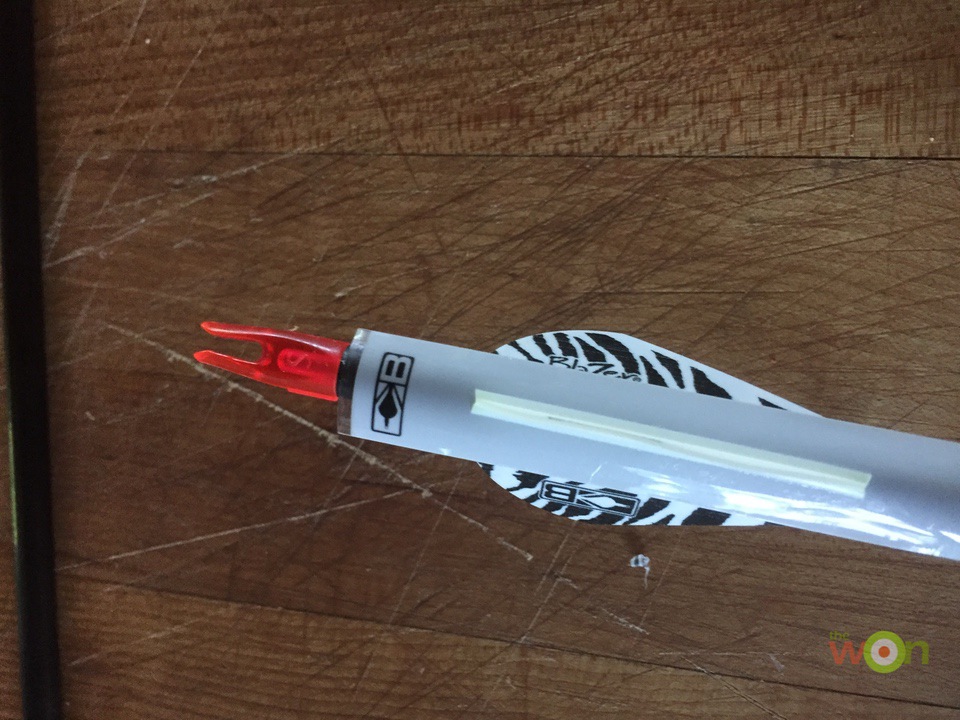
A “nock” is the insert in the back of the arrow that is u-shaped. The nock is the part of the arrow that fits onto the bowstring. Typically, the nock is oriented with the index vane so that the archer knows how to insert or “nock” the arrow so the vanes clear the arrow rest. Nocks are typically glued into the arrow shaft. Nocks for bowhunters are typically plastic. Some even have LEDs inserted to make tracking an animal a little easier. If the nock has any damage at all, it should be replaced. A broken nock could result in the force from the bowstring being transferred to the nock rather than the arrow, which could cause damage to the bow.
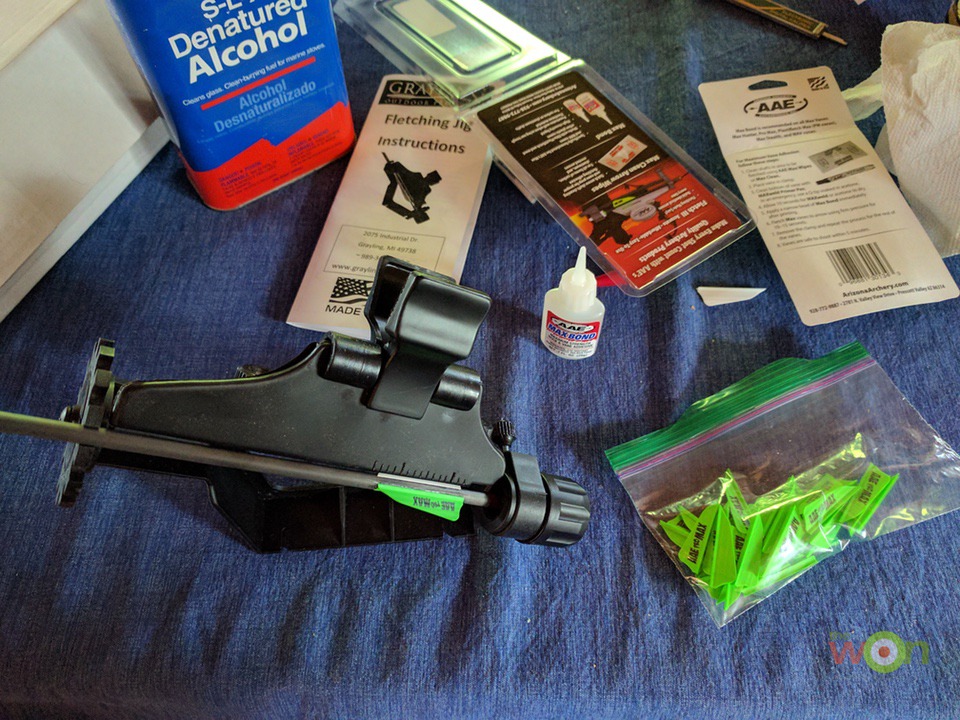
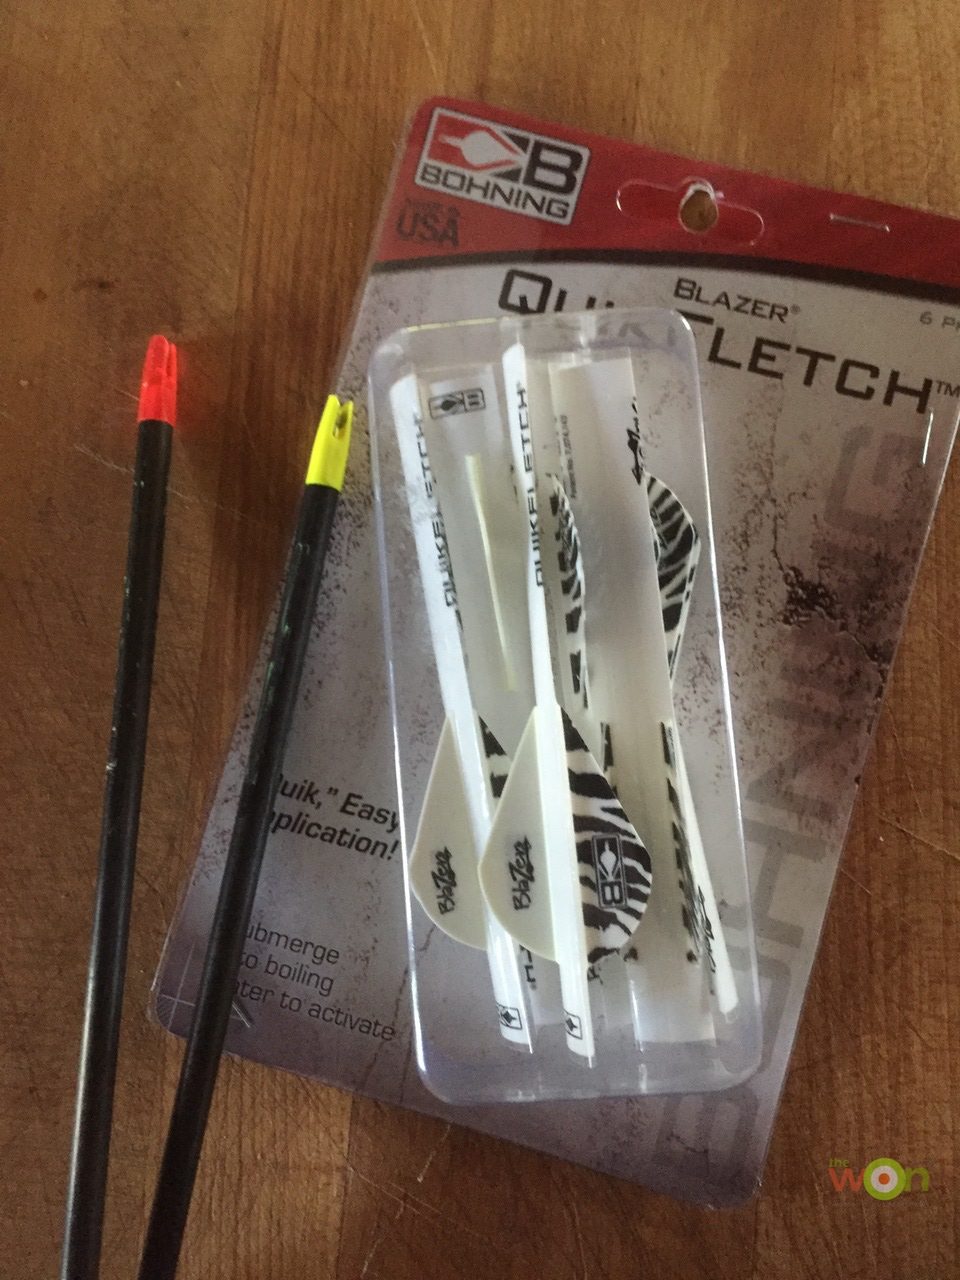
Your choice of vanes/quick fletch, nocks, or arrows is completely up to you. Quick fletch products are easy to apply, but when they need to be replaced, you have to replace all 3 vanes at once. With standard vanes, you can replace vanes as needed. Reliable, high quality supplies come from reputable manufacturers (AAE, Bohning, Easton, Flex-Fletch, etc.) and established retailers, such as Lancaster Archery Supply or your local archery pro shop.
If your arrow shaft shipped without nocks installed, install the nock using hot melt or another glue of your choice. I used Bohning “hot melt.”
If you are using quick fletch, do this step last so you can orient your nock to the quick index vane. Plus, installing the nock last will help avoid any thermal damage to the nock from the boiling water.
Clean the surface where you will be applying the quick fletch or vanes. I used acetone, but there are other arrow-specific arrow shaft cleaners out there to try.
Each jig operates a little differently here, so consult your manual or YouTube for specific “how-to” tips for your fletching jig. My jig has 3 separate positions, one for each vane, so I have to start with the jig in a specific position to correctly orient the index vane to the nock. In my jig, which is made by Grayling, I can install the arrow by “nocking” it in the jig and placing it on a rest.
![]()
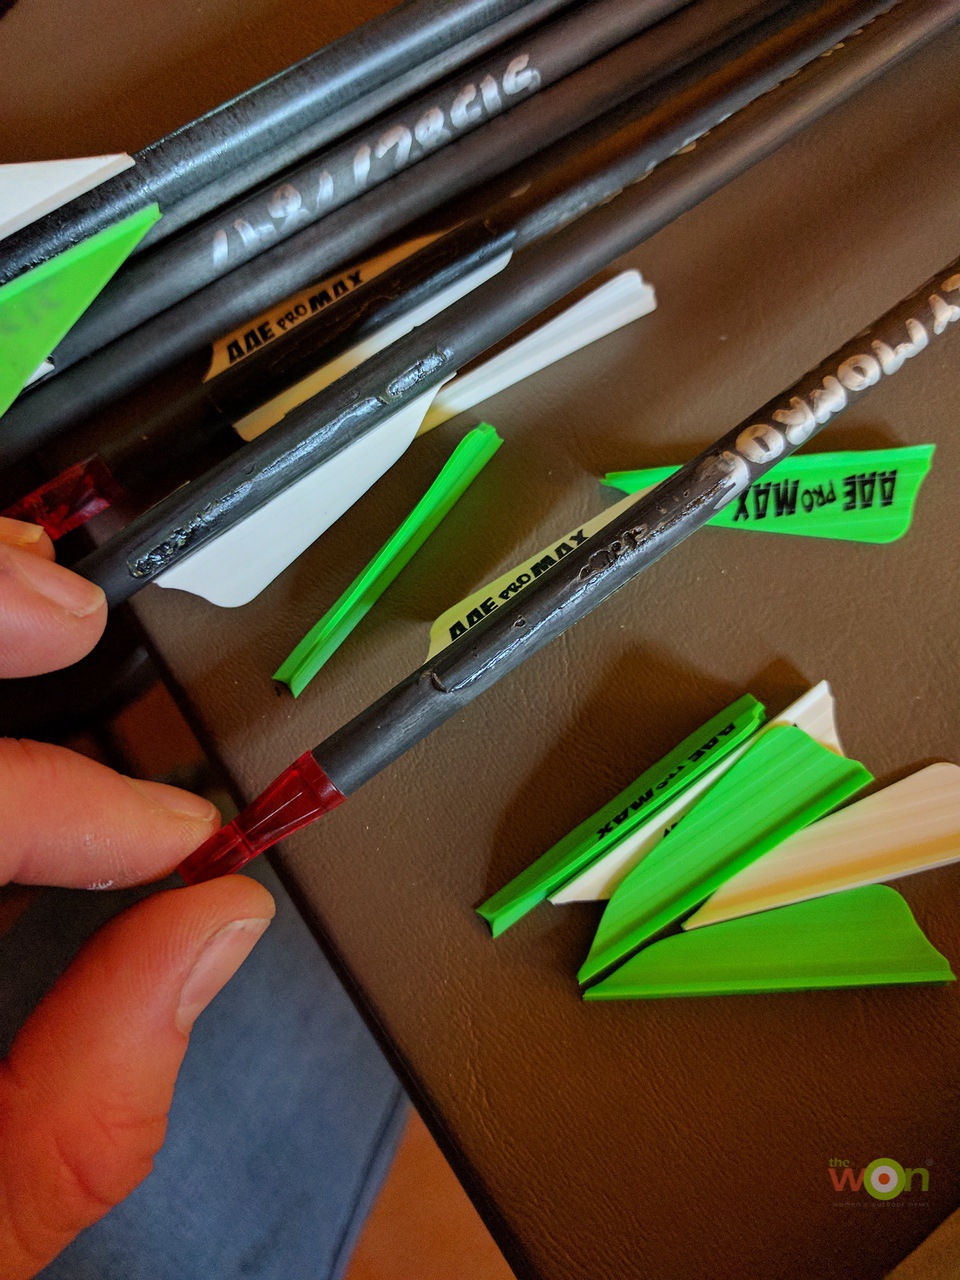
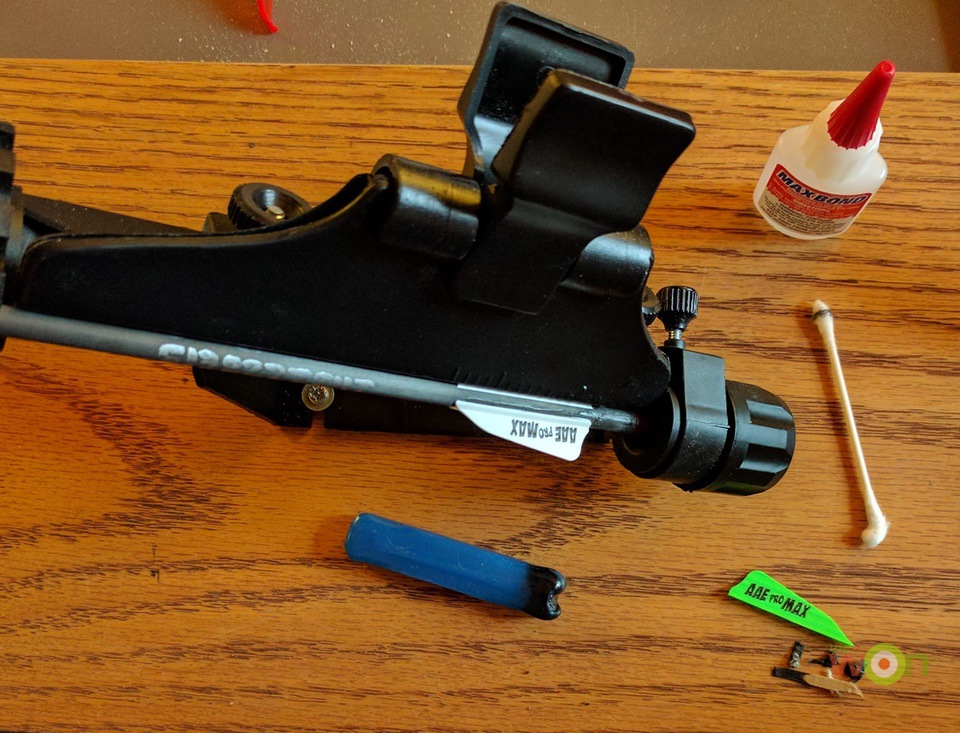
If using a jig and applying individual vanes, do the following: Carefully apply a single bead of glue to the base of the vane where it attaches to the arrow shaft. Try not to overload the vane with glue, since you might end up cleaning up the excess. My glue bead looked like a continuous line of glue the whole length of the vane, about 1/16-inch thick. Location of the vane matters. You want to be consistent with the axial and radial position of the vane on the arrow shaft, and this is a great place to experiment to see what works best with your bow. Put consistent force on the vane when placing it onto the shaft. Once the vane is on the shaft, don’t touch it again until it has cured.
If using quick fletch, bring a pot filled with about 4 inches of water to boil. Slide the quick fletch material over the end of the shaft near the nock, aligning the end of the quick fletch film and the end of the shaft. Hold the film to the shaft by gripping it on the end of the film that is closer to the arrow tip. Lower the arrow nock-end first into the water and hold it there for about 3 seconds while the film shrinks and adheres to the shaft. Once it has started adhering, you can shift your grip off the quick fletch and dip the whole film into the water. Submerge the quick fletch film underwater for about 10 seconds, then pull it out and let it dry.

Let either the glue or quick fletch cure for the prescribed time, usually 10 to 20 minutes.
Rotate the jig to the next position and repeat steps 4 through 7 as needed. If you are using quick fletch, you can skip this step. After the cure time is up, you can shoot your arrows.
Results may vary. Fletching your own arrows is a great first step into the customization of your archery setup. Whereas bow customization can cost a pretty penny, arrows and vanes are relatively less expensive for the trade-off to your results. Plus, if you learn how to repair your own vanes, you will be able to get more life out of each arrow. You can simply glue a new vane on each arrow rather than waiting until the next trip to the archery pro shop.
This Retro WON first appeared November 6, 2017.

It started as sibling rivalry and grew into a lifelong passion. Target shooting is at the core of Emily Houston Monroe's past, present, and future. A decorated junior and collegiate rifle shooter, Emily now works as an engineer at a leading firearms manufacturer where she can bring her passion for firearms to a new level. In her blog The “How-To” Gun Girl, she will share her experience in various shooting sports. From targets to turkeys. From smallbore rifle up to .338 Lapua Magnum. From 10 meters to 1600 yards. If it is a shooting sport, the "How-To" Gun Girl will try it out and explain it all. View all posts by Emily Houston Monroe