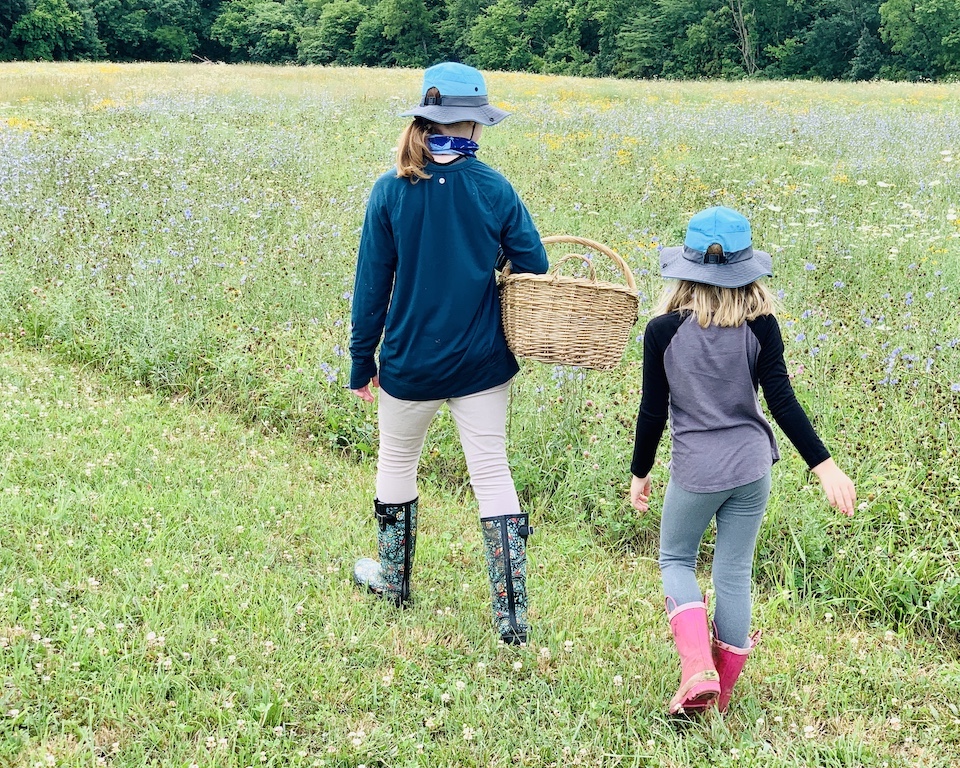
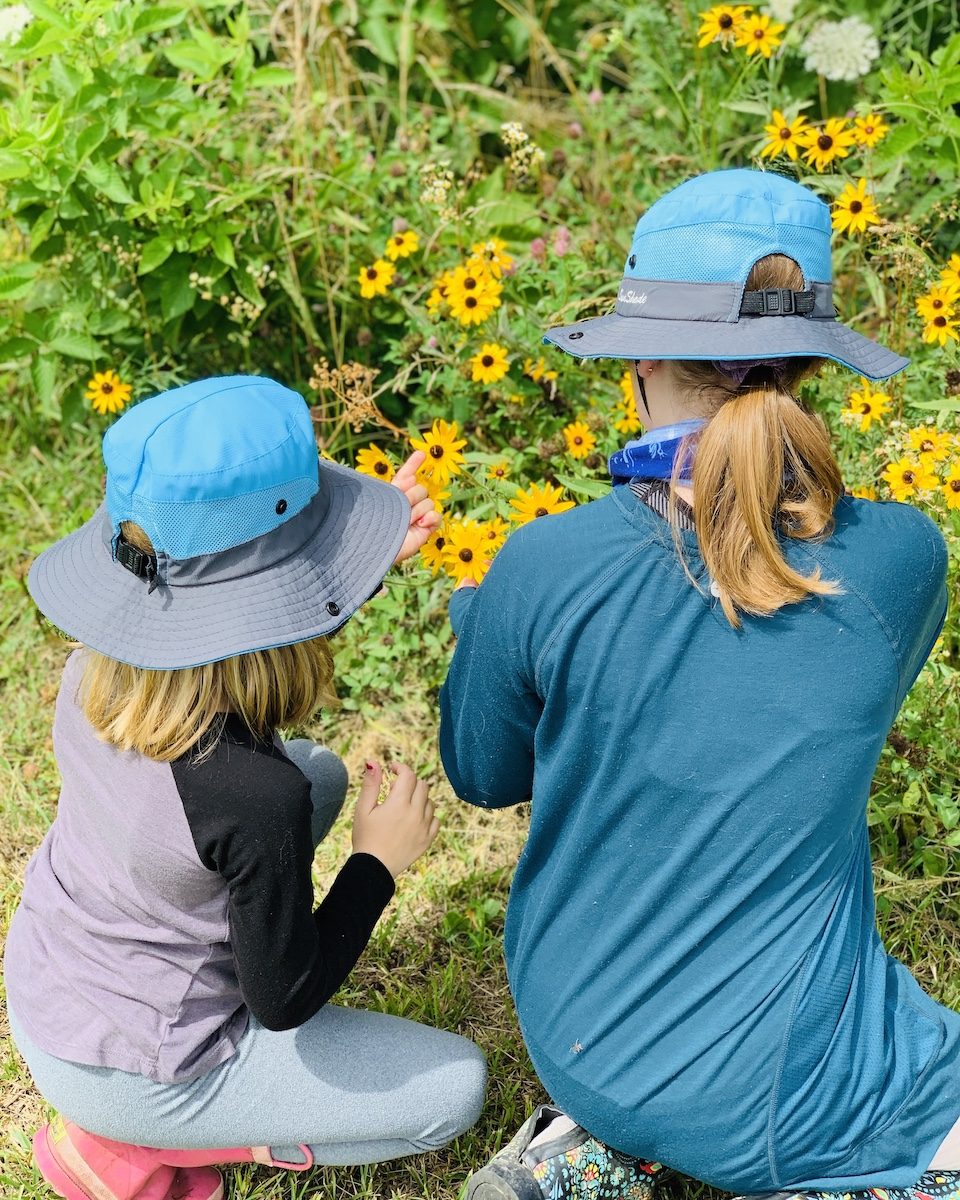
Whether you live in the country, or the suburbs and urban areas, you likely have access to flowers and foliage from a garden or even along the side of the road. This easy craft is a project that you can tackle over several days, and it’s one I enjoyed with my daughters. Not only did we have fun collecting a variety of wild flowers and brainstorming design ideas for our bookmarks, it was a learning experience. It was also a way to help them prepare for the upcoming school year, and instead of me writing about it, here to tell you more and how to make your own pressed flower bookmarks is Anna, my 12 year-old:
This simple project can be altered to make pressed flower mosaics, or you can make bookmarks similar to ours! Being creative is fun, especially when working with flowers.
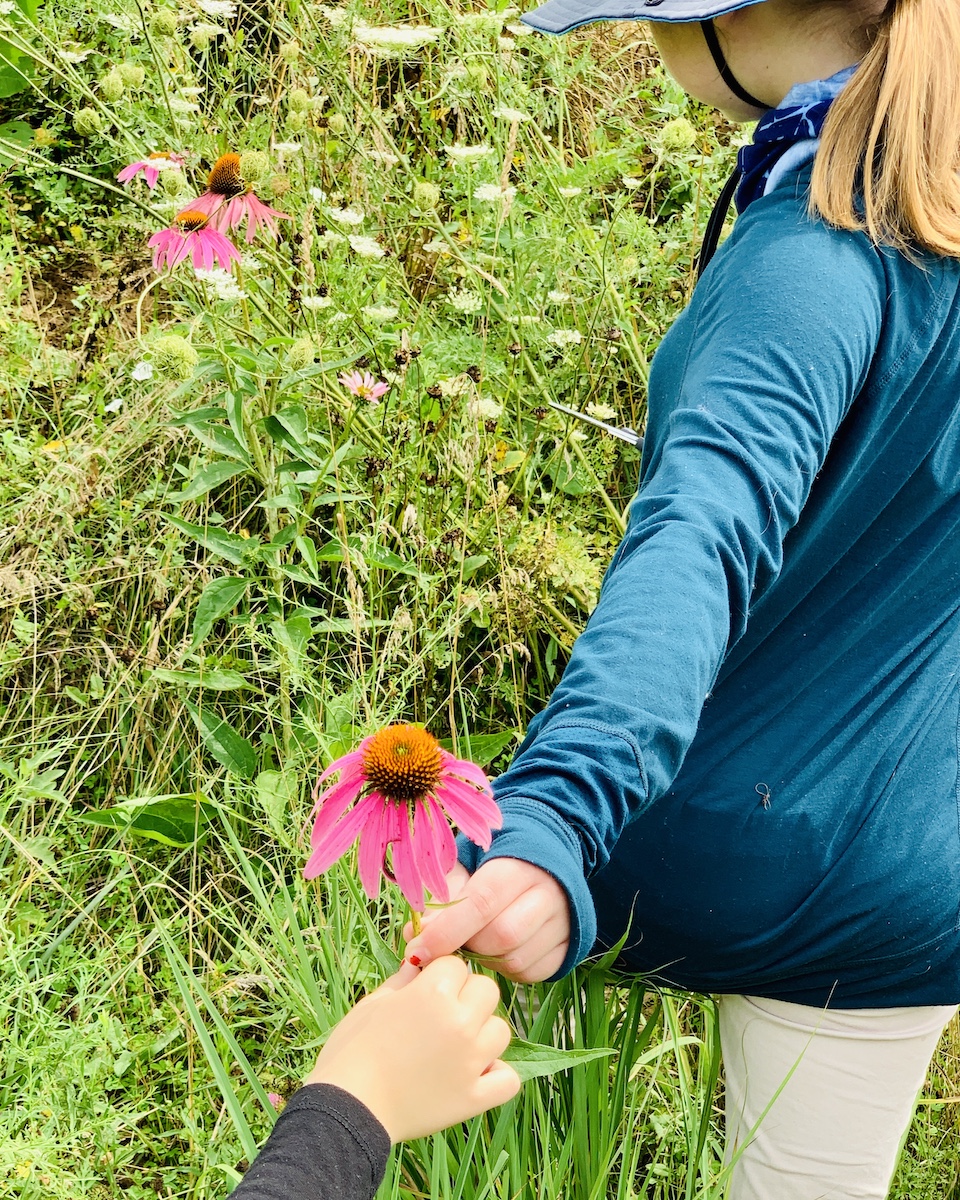
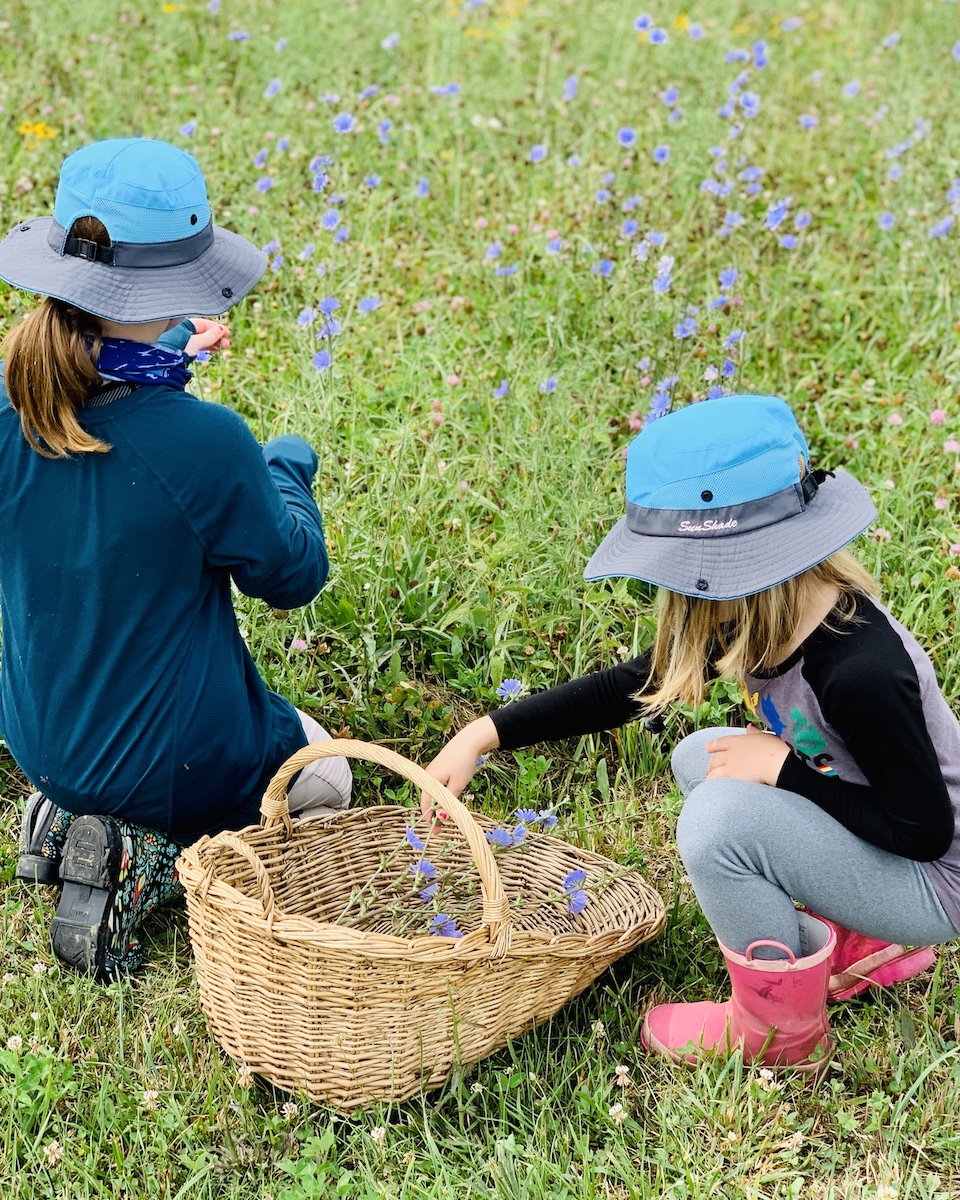
On the day we collected the flowers, we took a walk outside and first found several black-eyed Susans. Then we walked around the field looking for different shaped flowers, petals, and leaves. I found a ferny plant I thought would look good dried, so I snipped several sprigs of it. Rose (my little sister) found some tiny pink flowers that she loved, and she picked a bunch of them. We also picked clover flowers and three-leafed clovers. On our way back to our crafting area, we spotted some pink cone flowers and picked some of them too. Then we went inside to continue the craft.
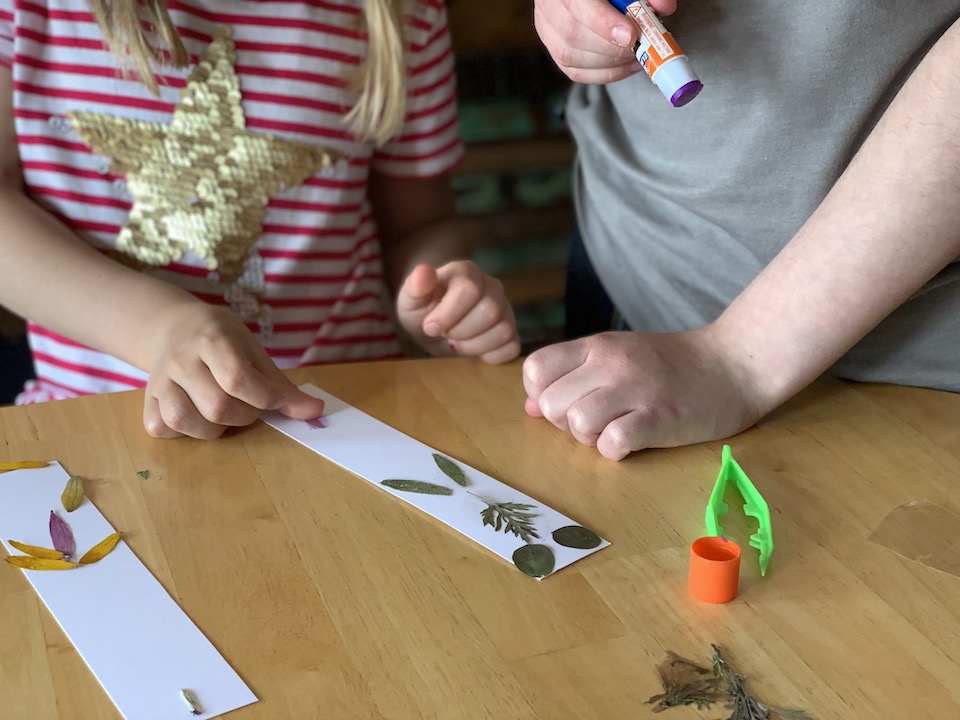
“I think the most fun thing was the choosing of the flowers and designing of the bookmark,” Rose, age 7, describing the experience.
Materials needed:
Instructions:
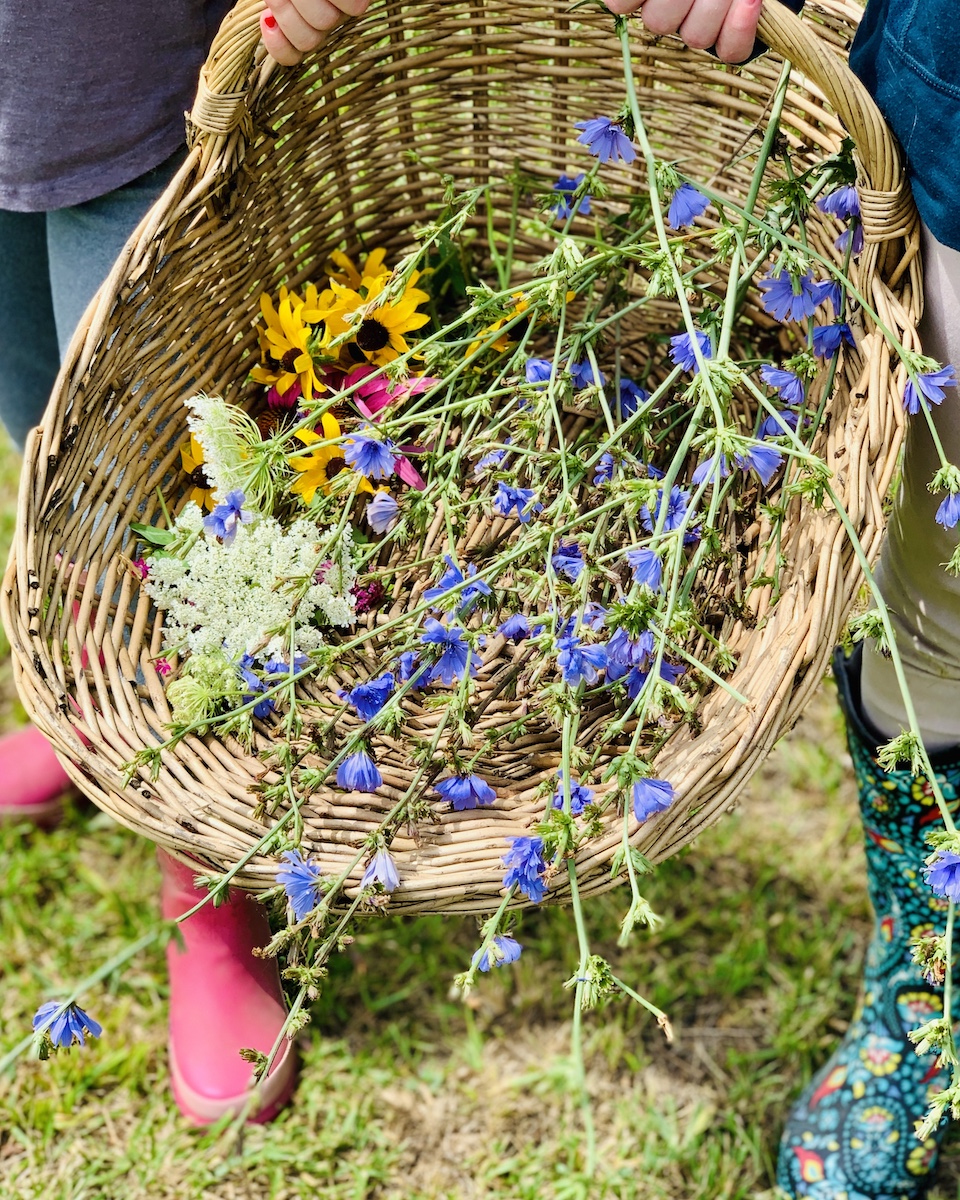
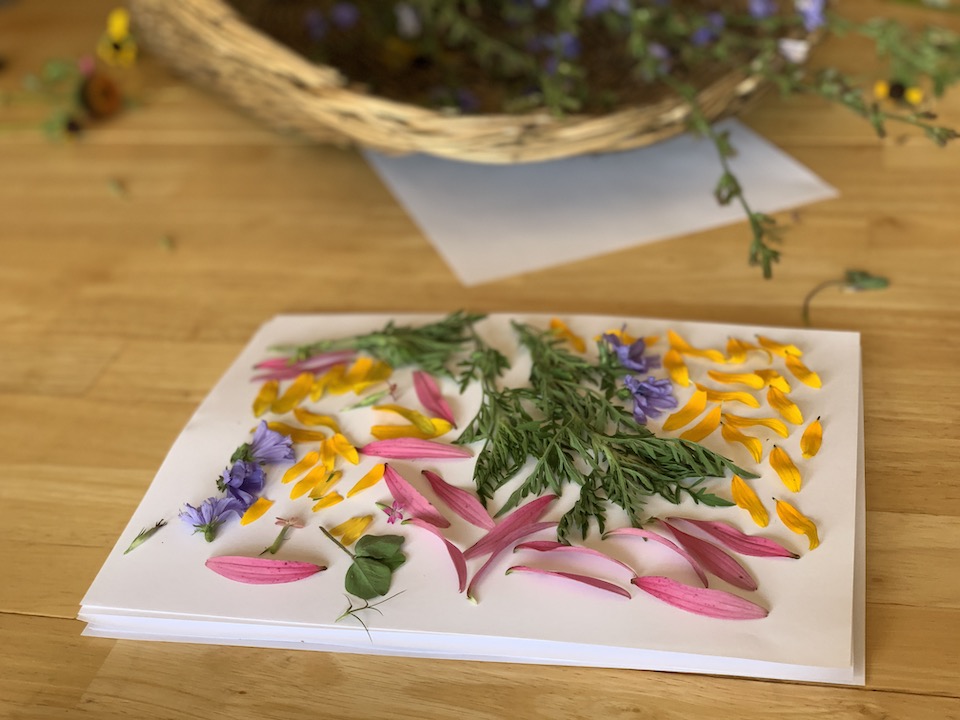

TIP #1: Pick lots of flowers! Keep in mind that certain flowers do not dry flat, such as Queen Anne’s Lace, clover or chicory. The more flowers and greens you pick, the more options you have! Flowers can also change color, so even if you think a flower is ugly when fresh, it may look pretty when it has been dried.
TIP #2: Use scissors to cut the flowers and a basket to collect them. Try to pick your flowers quickly and hurry back to your workspace because the flowers may start to close and wilt.
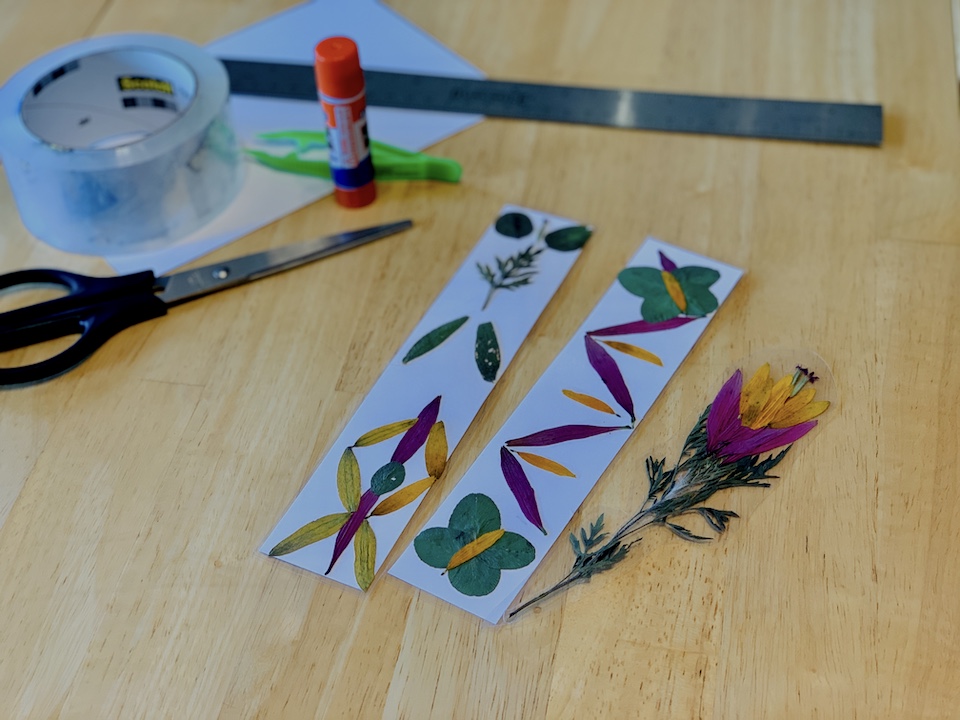
TIP #3: When making your bookmarks, if you choose the first method of adding directly to the tape, we found that the flowers stick well to the tape, unless you plan to layer petals. If you layer, the upper petals (those not stuck on the bottom tape) have the potential to stick to the top piece of the tape when it’s added, which can potentially ruin your masterpiece. So, when layering the petals, be sure to take extra care and have some patience when completing the top part of the tape “sandwich.”
For another way to make your own flowery bookmarks, check out this post at The WON, Dried Flower Bookmarks: How to Make Your Own.

Madeleine Golob, formerly “Anna,” is our intern at the “Women’s Outdoor News,” and manages the “Gal Gab” column. She also pens features and takes care of our Pinterest activities. Madeleine is a high school student who loves to write, read, study her family’s genealogy and play any musical instrument she can get her hands on. She also enjoys working Action Pistol matches while her parents compete and dreams of becoming a historian and writer. View all posts by Madeleine Golob