
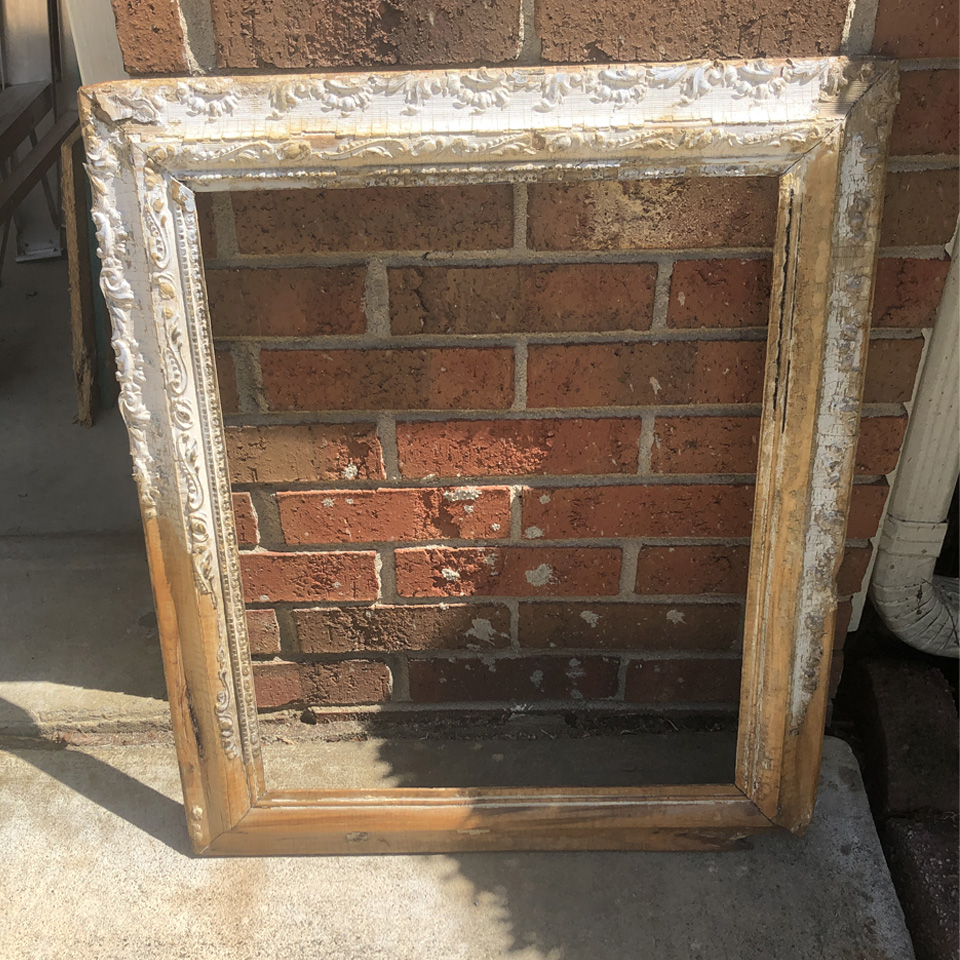
This week’s craft requires a little elbow grease, and some imagination. During a recent visit to my grandparents’ home up north, my mom rescued a few old picture frames out of their detached garage.
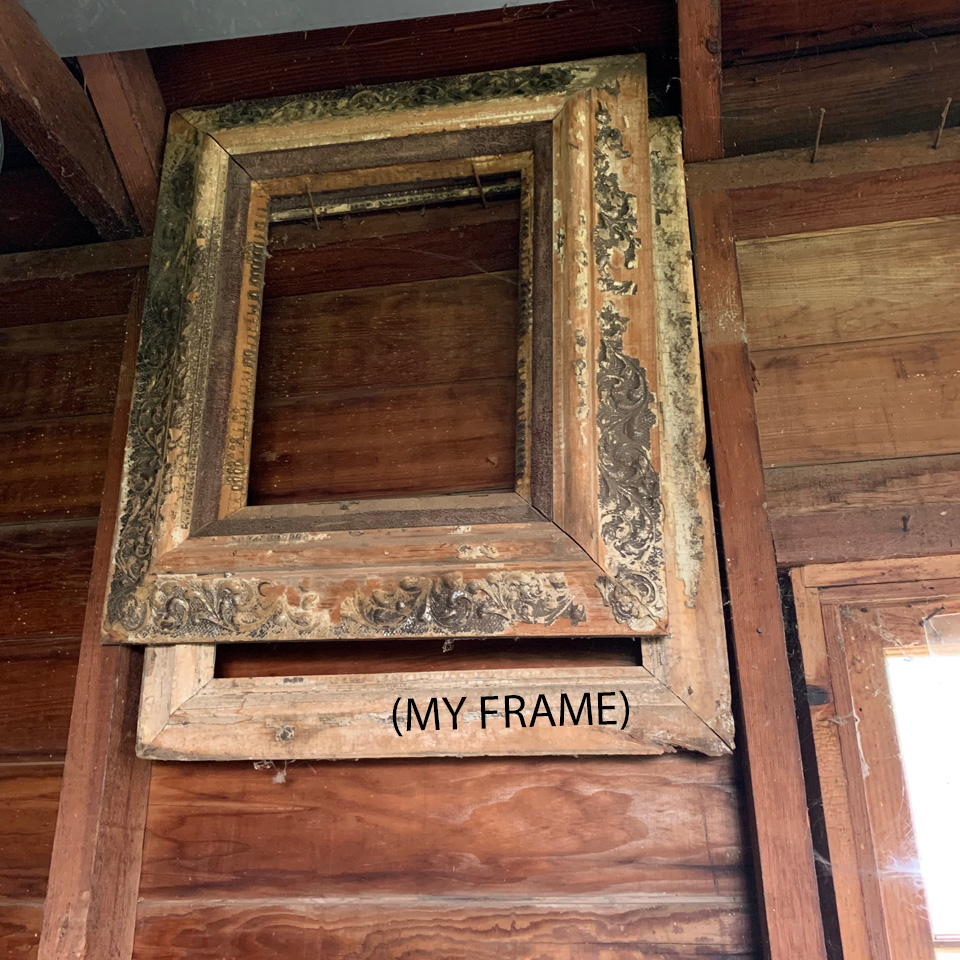
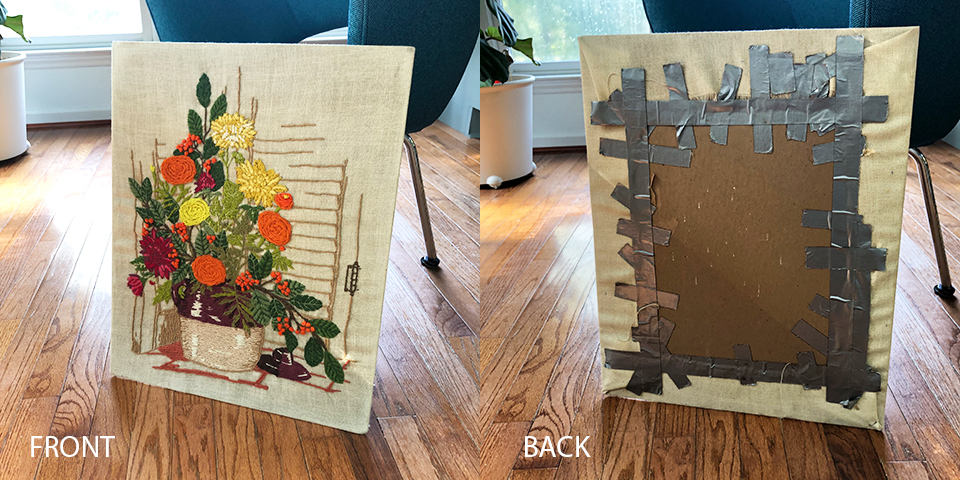
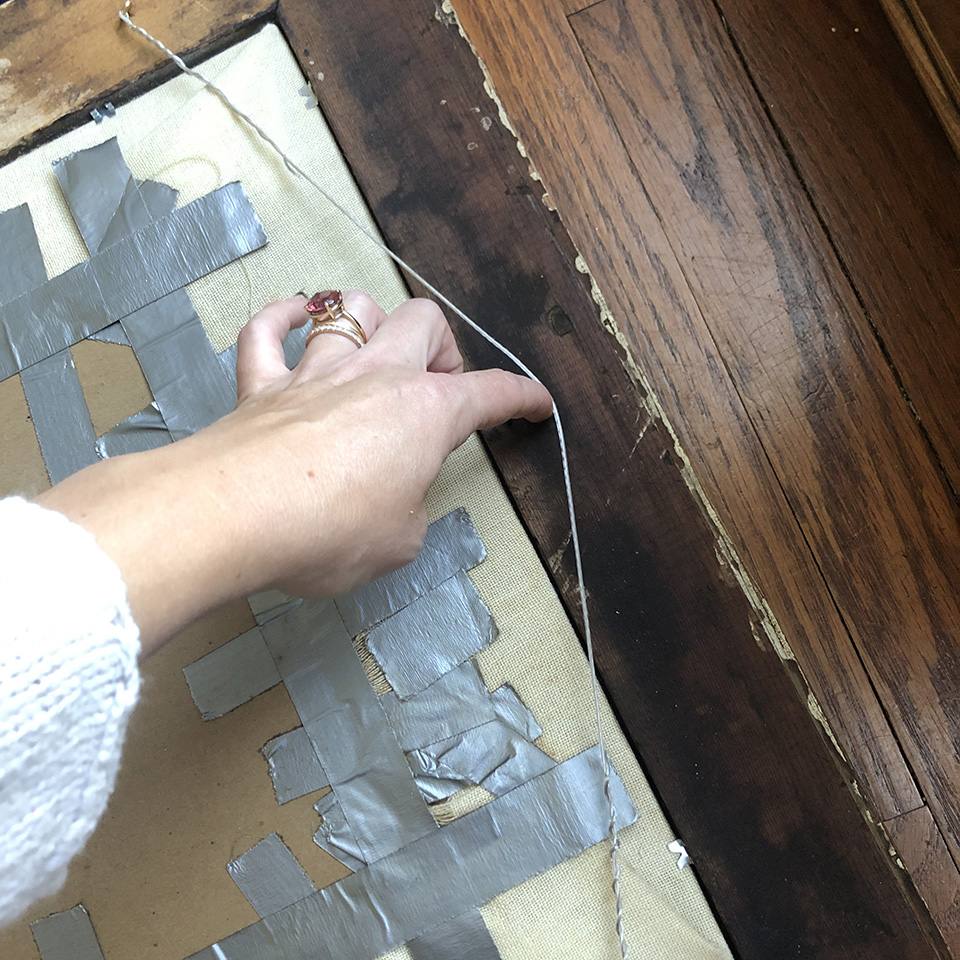
She believes these frames came with the purchase of the house, and had been stored in the garage ever since. Because of this, they arrived at my house in North Carolina in a state that I love – dusty, crusty but with oh-so-much potential! One of them, just perfectly, is the right size to be used as the frame for some yarn art from my other grandma. Her husband, my grandfather and true child of the Great Depression, used duct tape to fix everything. True to form, he secured her art to a board using his signature tape, and it’s one of my favorite parts of the piece.
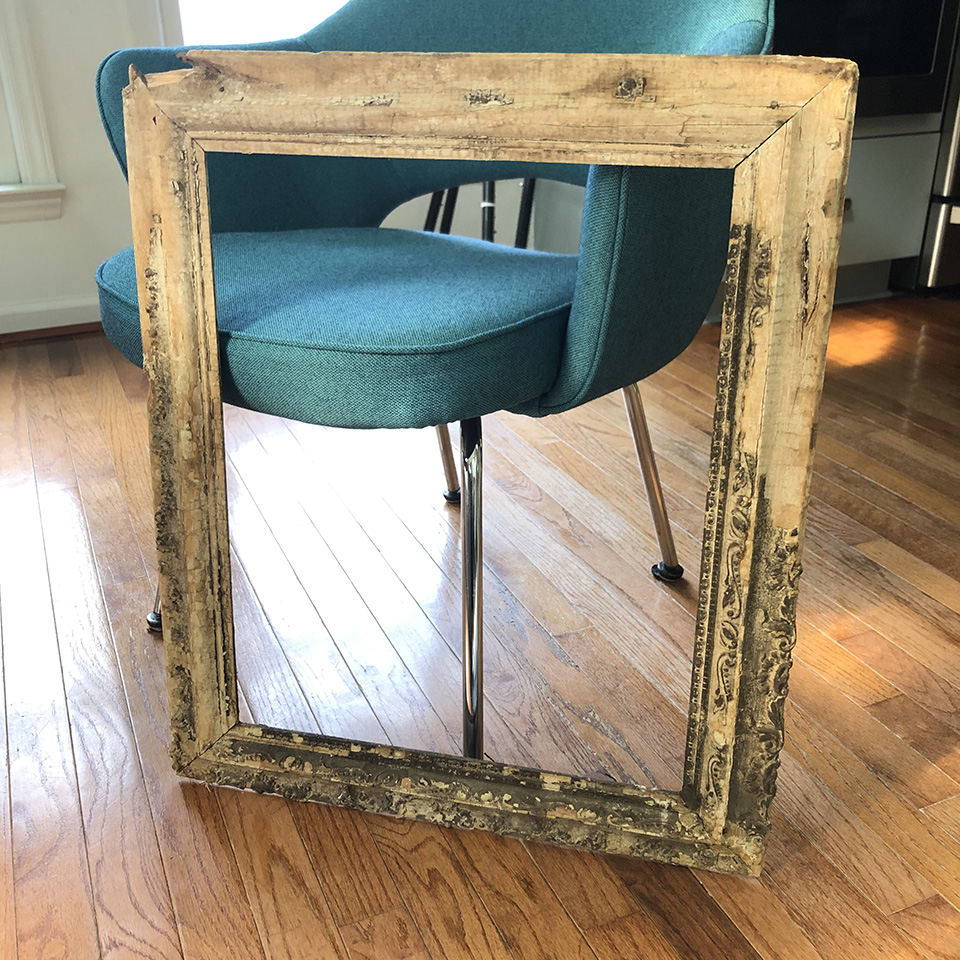
Going back to the dusty, crusty state of frame affairs – I needed to remove some of the flakey, scaley and dirty aspects of the frame, so that it could be returned to glory before being matched with my yarn art. Because of the depth of the yarn art, I decided to forgo installing glass in the frame. Below, I’ve listed my process for transforming this frame from flakey to fab.
Begin by laying down your drop cloth or old bed sheet, to protect your work area. Because my frame was super dirty, I first used my vacuum with brush attachment to carefully remove some of the worst cobwebs and dirt from the back of the frame.
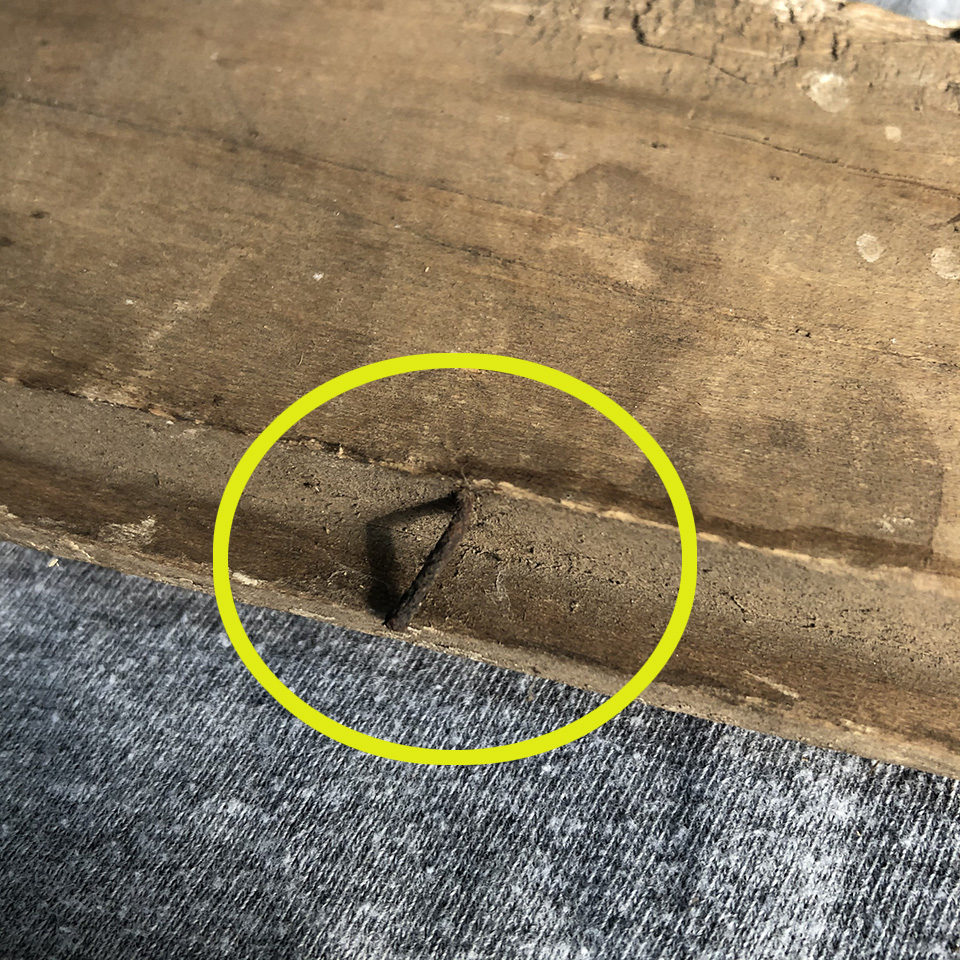
First, use needle-nose pliers to carefully remove any existing nails or busted hardware in the back of the frame. We’ll replace these items with new versions at the end of the project.
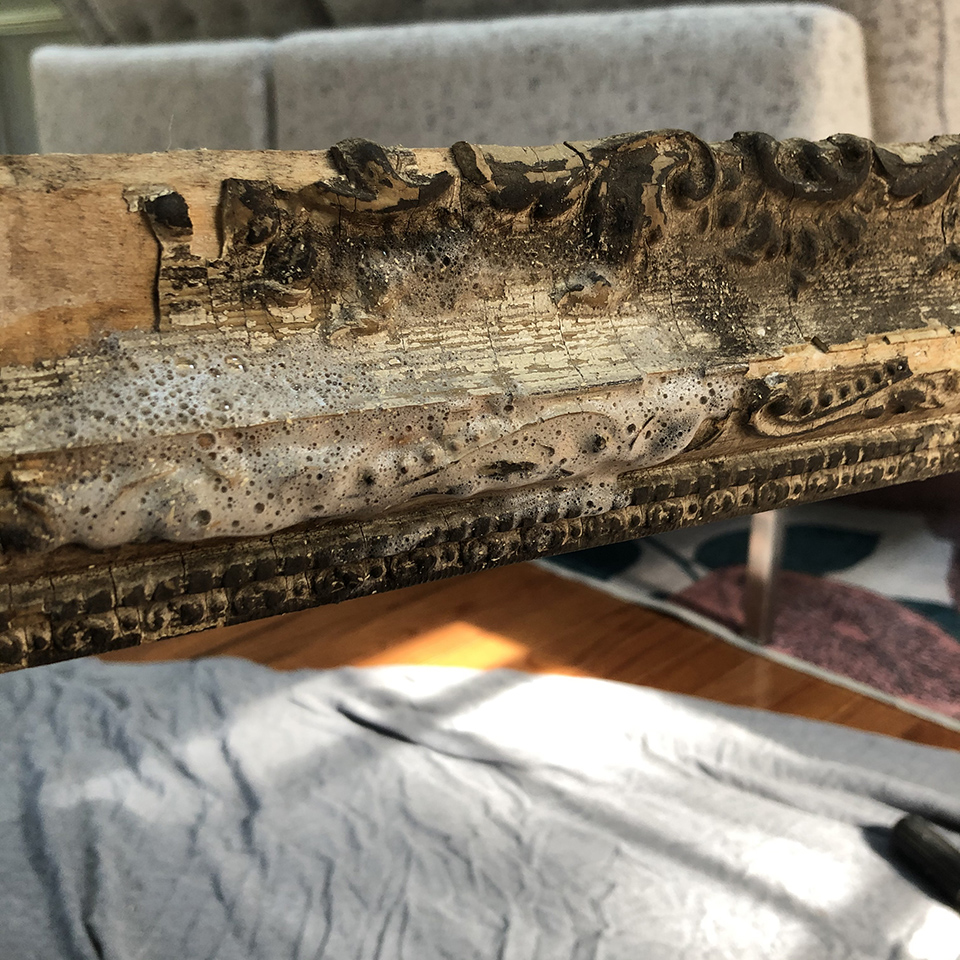
In your small tub, create a diluted wash solution using a squirt of dish detergent and some warm water. Take a clean rag and brush as much dirt from your frame as possible, then carefully use the toothbrush to apply small amounts of soapy water to the frame. Moving in small, circular scrubbing motions, free the dirt and debris. Work in small areas, taking time to replace your wash solution when it becomes dirty.
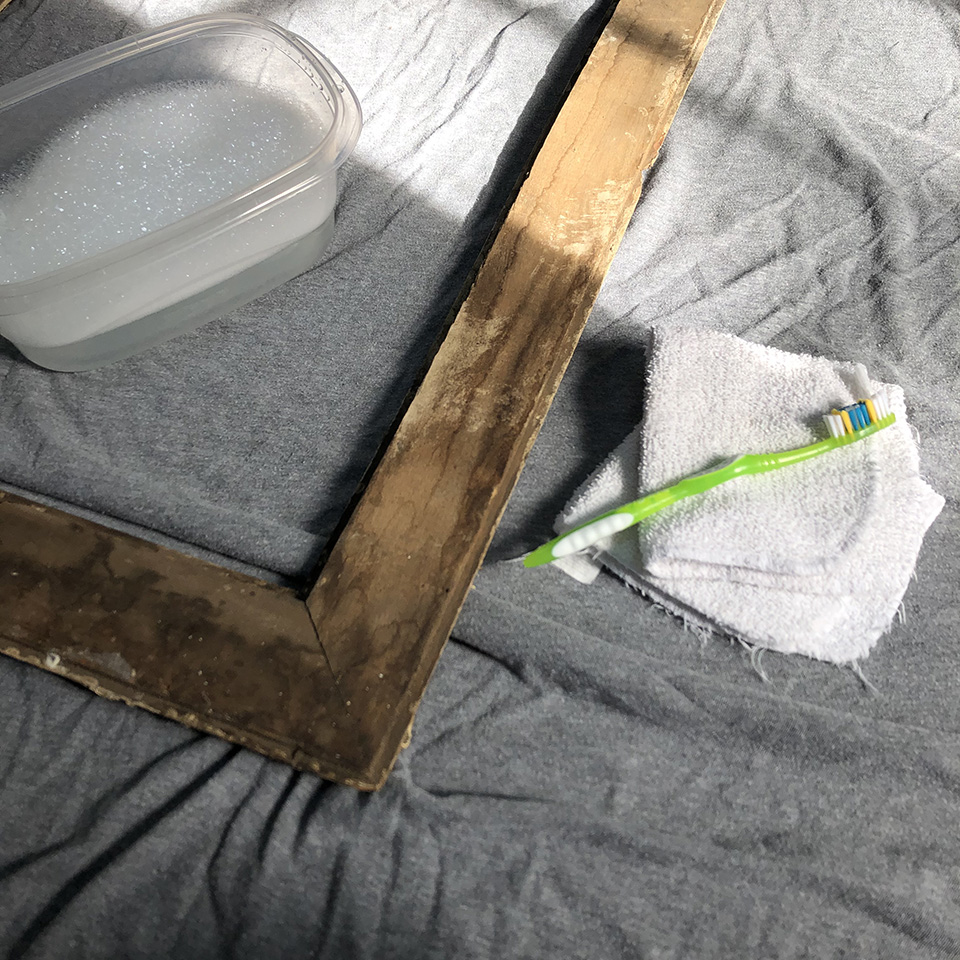
A note about the toothbrush – instead of throwing out old toothbrushes at the end of their lives, I simply pop them in the dishwasher and save them for cleaning projects down the road.
As I used my cleaning toothbrush and rag to wipe away the mud and dirt, I uncovered that my frame used to be painted white!
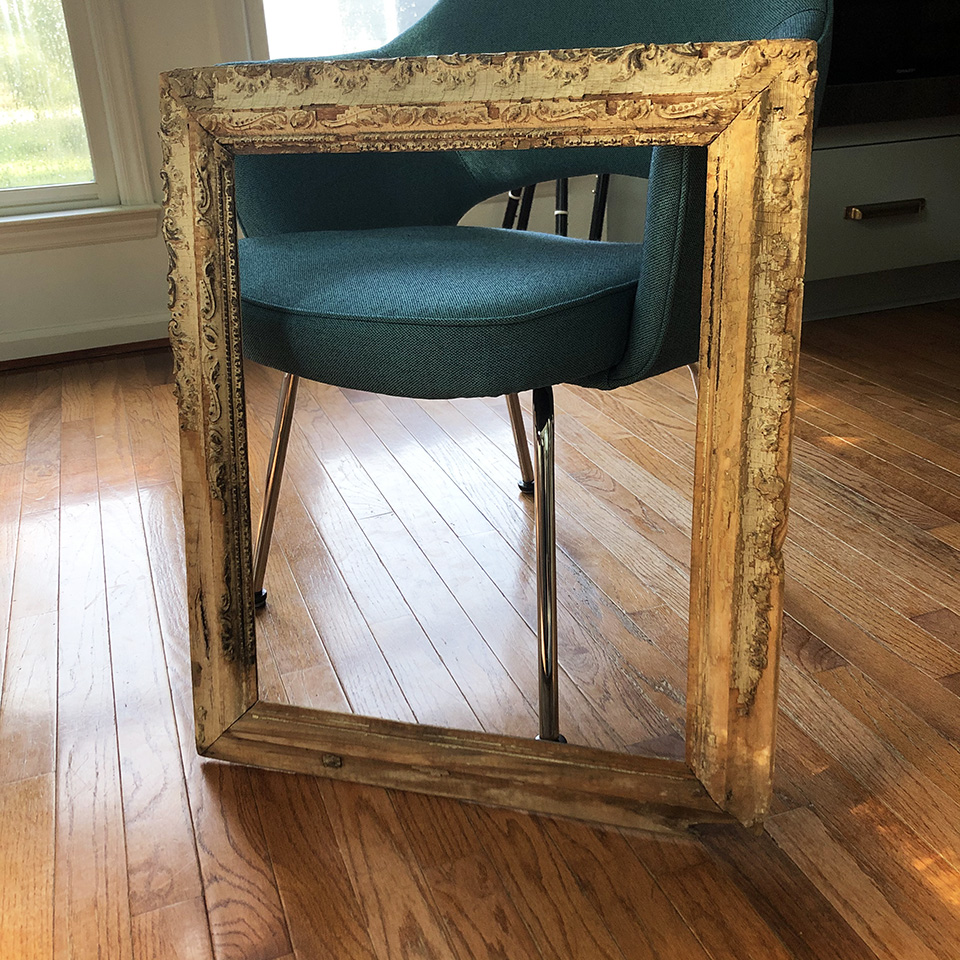
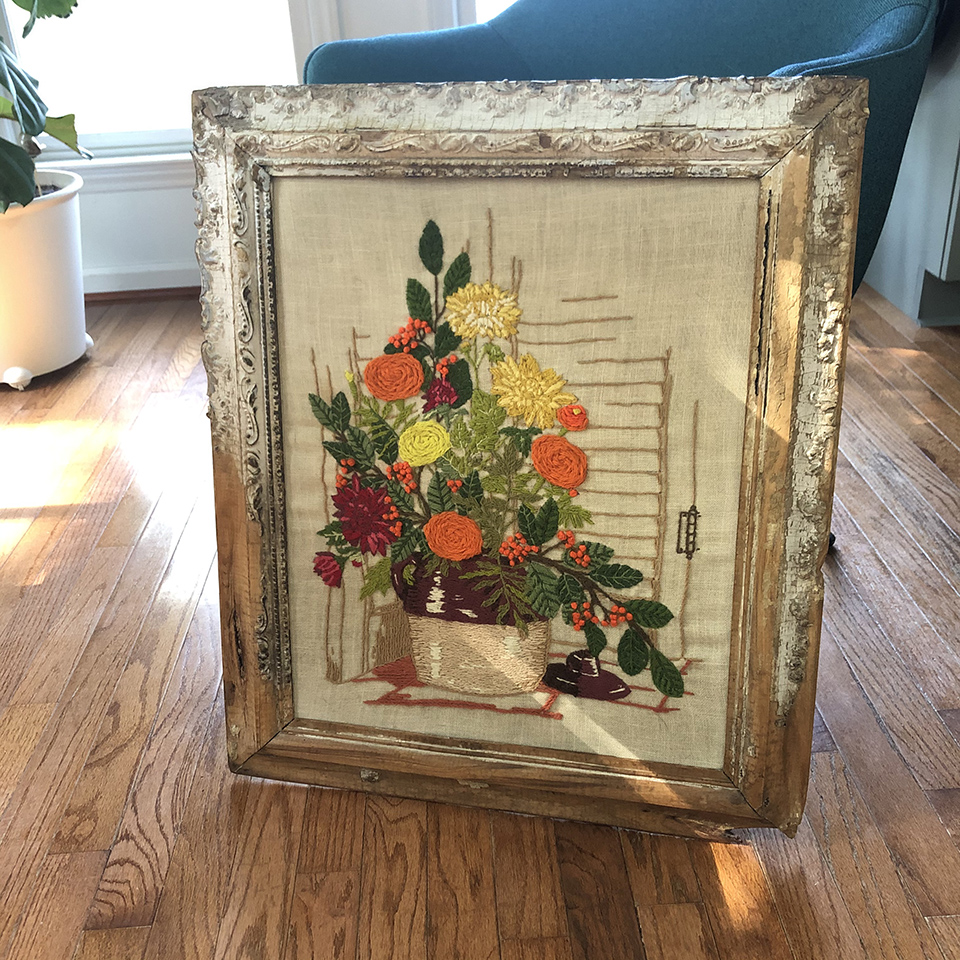
When your frame is nice and clean, allow it to dry thoroughly. Because there was paint on part of my frame, I used a spray sealer on its surface. Although the sealer promoted itself as having a “crystal clear” finish, it actually left behind a silvery white color in the places that had old paint. I didn’t mind that in some areas but decided to lightly sand off the sealer from the bare wood spots. Here, I applied a little Danish Oil, in a natural finish, with a rag. This created a warm wood finish, which I think contrasts nicely with the white painted areas.
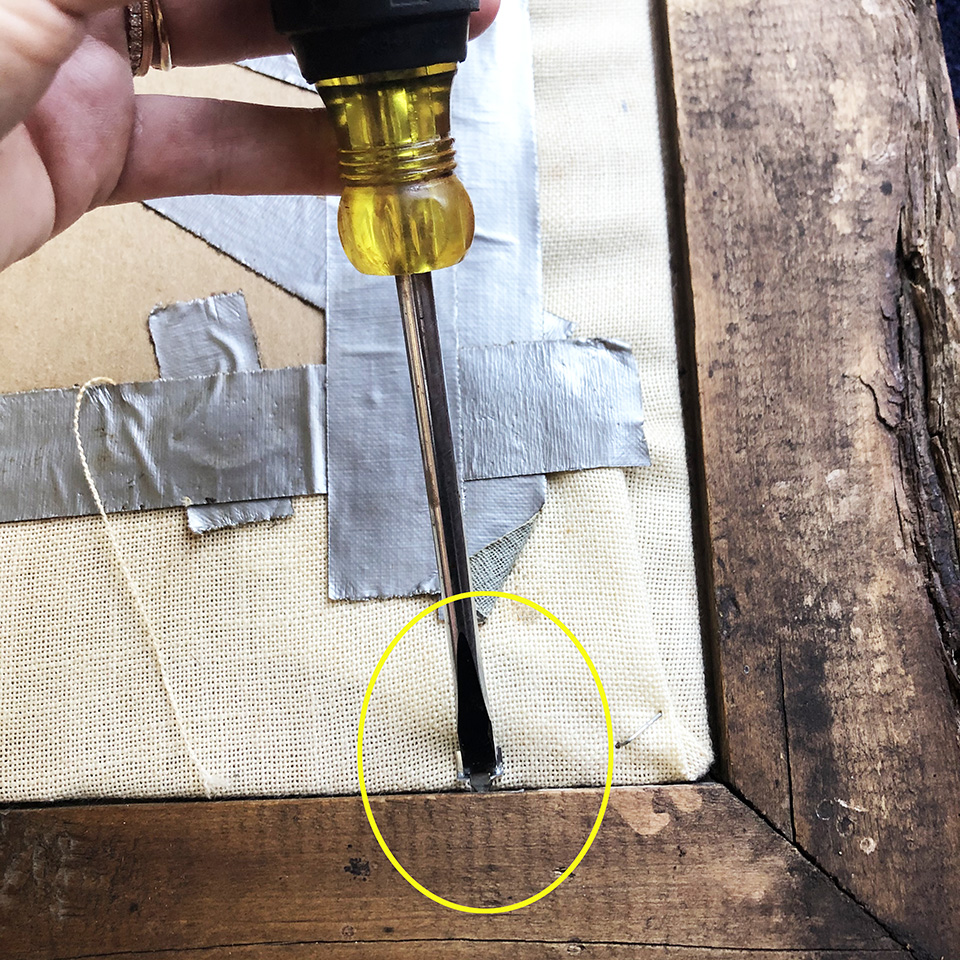
When your frame has dried, add your picture hanging anchor hooks. I started each hook by gently tapping it with a hammer, then twisted it into position. Set your artwork in place and use the glaziers points to secure. I pushed these points into place using my flathead screwdriver.
Loop and twist your gallery wire through the anchor hooks, being sure to check the height when it’s taut.
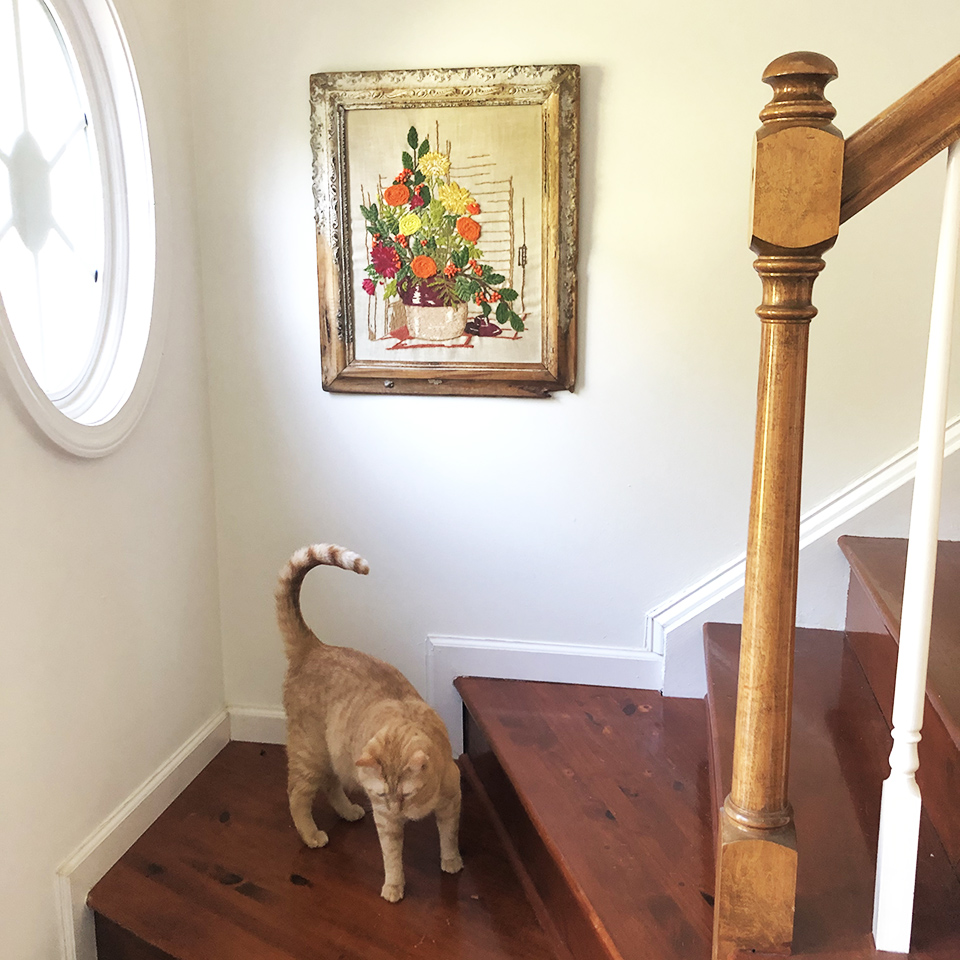
Voila! Hang your art in its new-old frame.

Jackie Baird Richardson is an interior designer, editor at The WON and avid junker. Watch for her design tips and occasional crafting ideas, bringing the outdoors indoors. View all posts by Jackie Richardson


