
When your children ask you to dress up as Polish Hussars for Halloween, you make it happen! It’s a homeschool history lesson combined with crafting fun and writing for The WON! This was such an enjoyable outdoor project, making use of turkey feathers in a creative way. A huge thank you to Barbara Baird of Women’s Outdoor News and Darren Jones, of the National Wild Turkey Federation’s David Blanton Memorial Chapter in Mountain Grove, Missouri, for helping us collect enough feathers to complete the project! Here’s Anna to tell you how to make your own Hussar wings. ~ Julie Golob

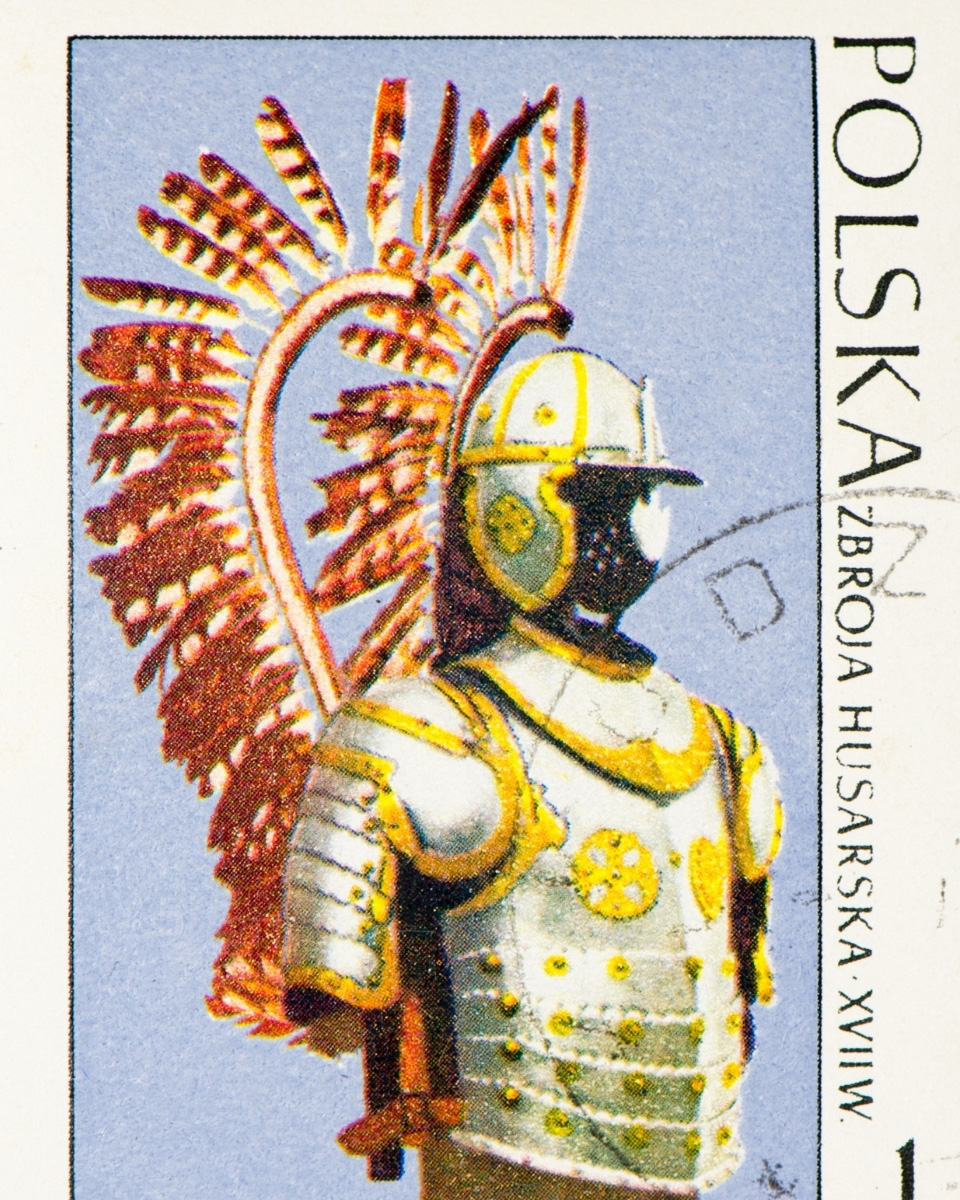
Imagine yourself as a peasant living in the Middle Ages in Poland. You are doing your daily chores when you see a cavalry unit riding past your home. They are armed with sabers, pistols and 16-foot pikes. Over their armor they wear leopard skins and on their backs, they have a pair of large wings. These are the Winged Hussars of Poland.
I first learned about the Winged Hussars in a documentary we watched as a family. My sister and I found it not only interesting, but also fascinating. The Winged Hussars used intimidation to their advantage, hence the leopard skins and wings. You can learn more about the Polish Hussars here. They certainly were scary looking! What a Halloween costume: it’s historical, imposing, bizzare and fun!
For this WON outdoor craft, I’m sharing how to make your own Hussar wings.
Before we began, my sister, Rose, and I had to study the Winged Hussars. The research was the hardest part of this craft, because there is a lot of dispute about the Hussars and not a lot of evidence or example artifacts. I learned a lot from a book called Polish Winged Hussar 1576-1775 by Richard Brzezinski. The book includes the evolution of the Hussar wings, from a wing on their shield to a single wing and finally the double wings that the Hussars are often pictured wearing. There are also examples of the Hussars’ different armor types and pike banner designs.
For the feathers on the wings, we asked our friend, Barb, if she knew of a place where we could find turkey feathers. She was able to send us feathers gifted from the National Wild Turkey Federation. The Hussars are thought to have used eagle feathers for their wings, but turkey feathers make for a great substitute.
When your wings are finished, you can make a belt system to mount them to you. We chose to mount ours to our bikes using scraps of wood attached to the bike frame. The Hussars were a cavalry unit, so our bikes serve as the horses for our costume. When we are finished wearing the wings, we plan to mount them on our bedroom walls.
Hussar Wings: Materials Needed
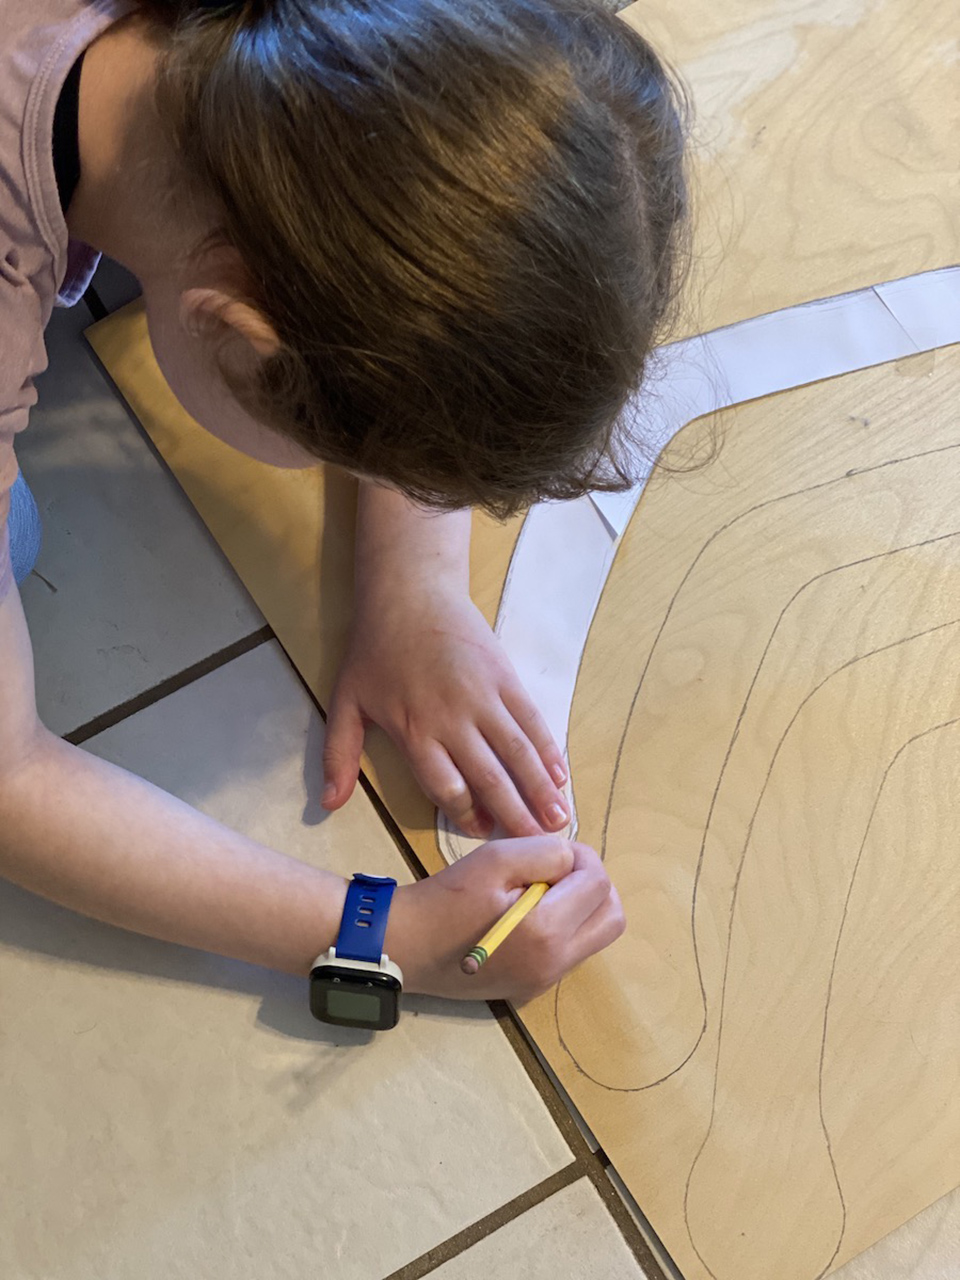
1. Draw 2 wing bases on the plywood. Tip: This step is much easier if you make a template out of paper and trace it.
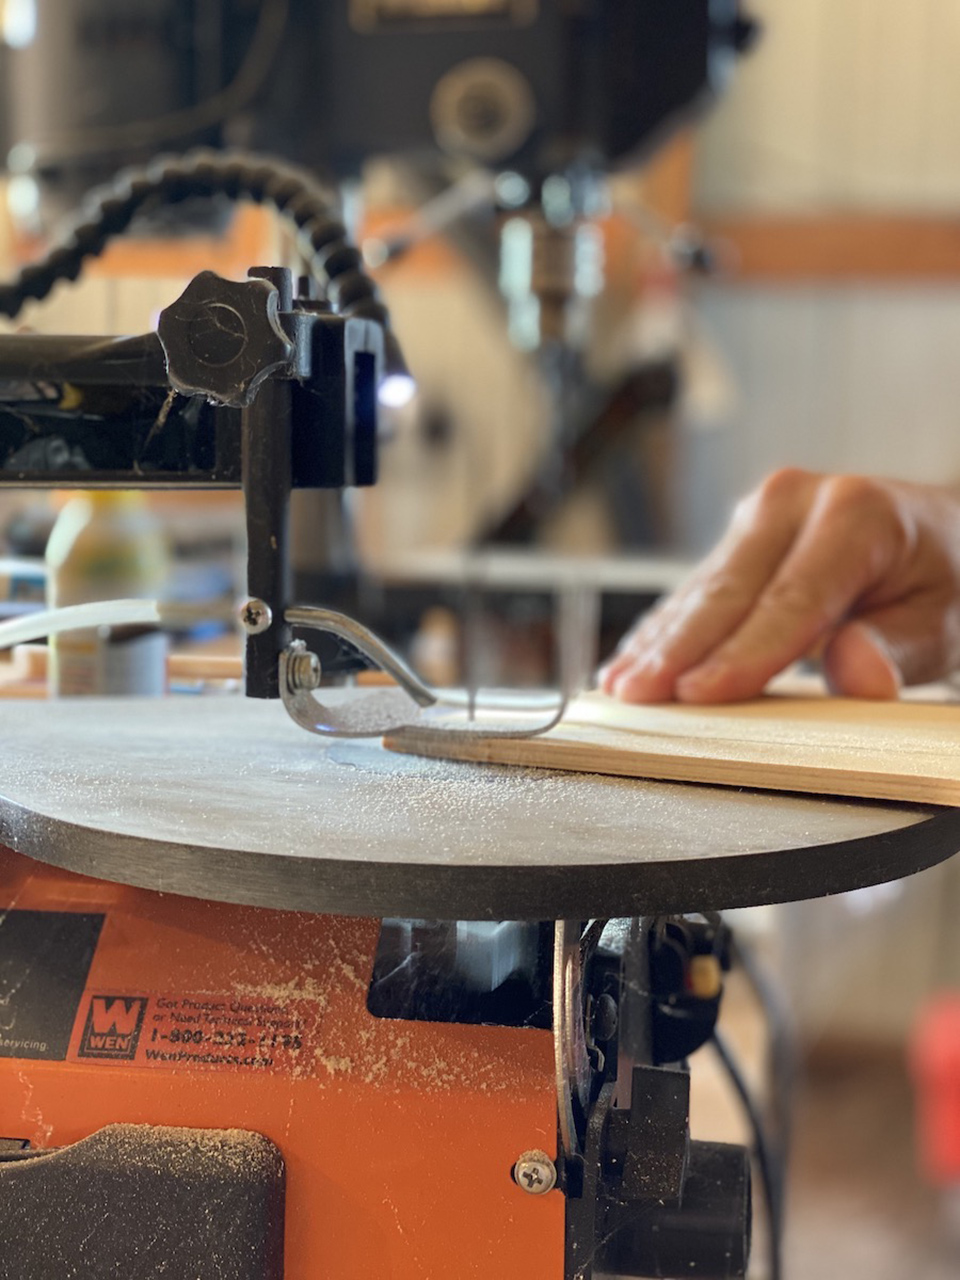
2. Use a saw to cut out your wing bases. We asked our dad to help with this part.
3. Sand the wings with sandpaper until they are smooth.
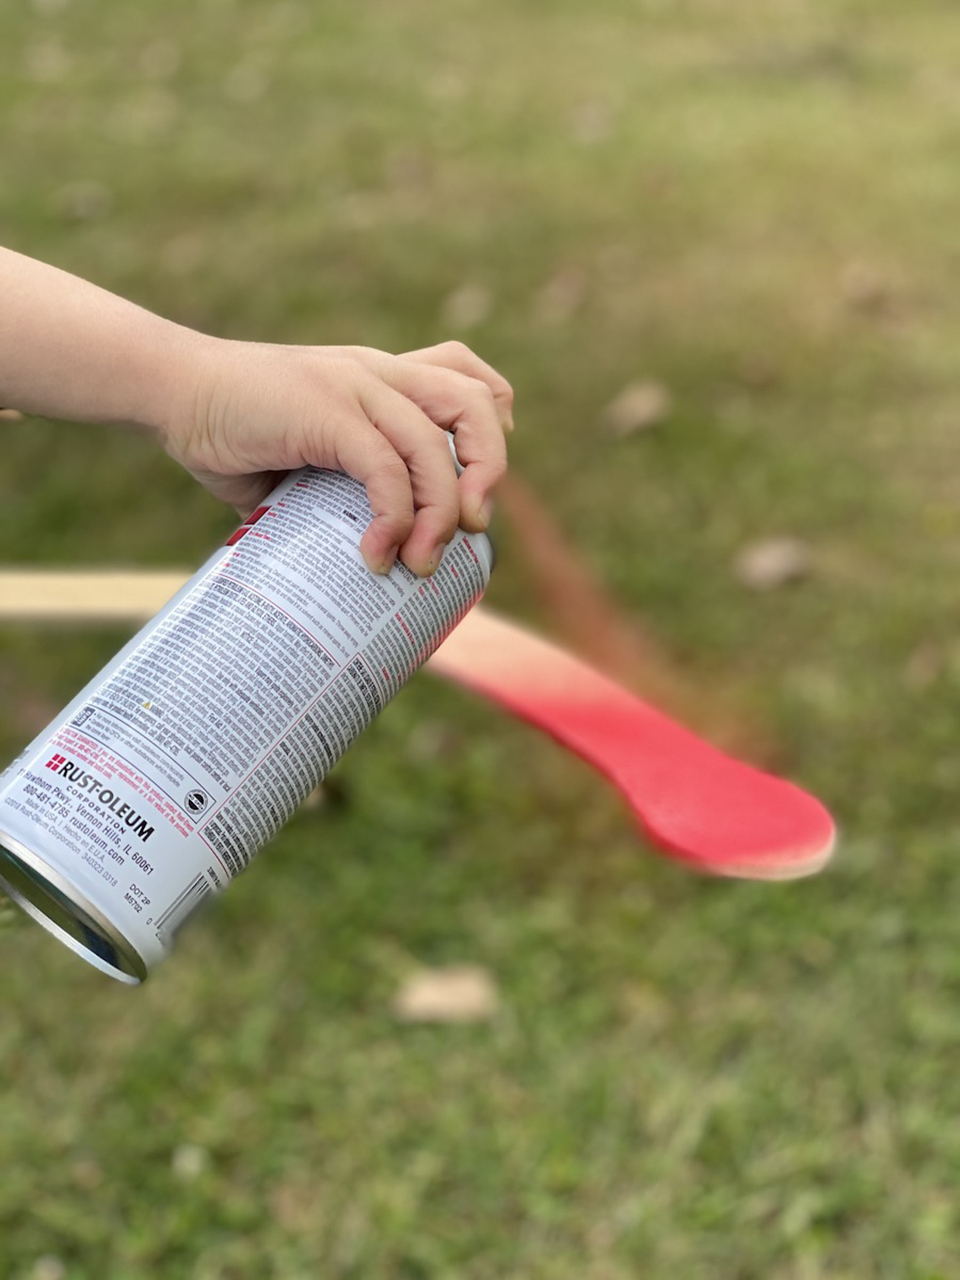
4. Spray paint the wings and allow them to dry. For an additional step, you can add embellishment with metallic paint.
5. Lay out the feathers on the wings. Placing all the feathers on the wing base is useful in order to keep the space between feathers even. I brought my top feather forward a little bit.
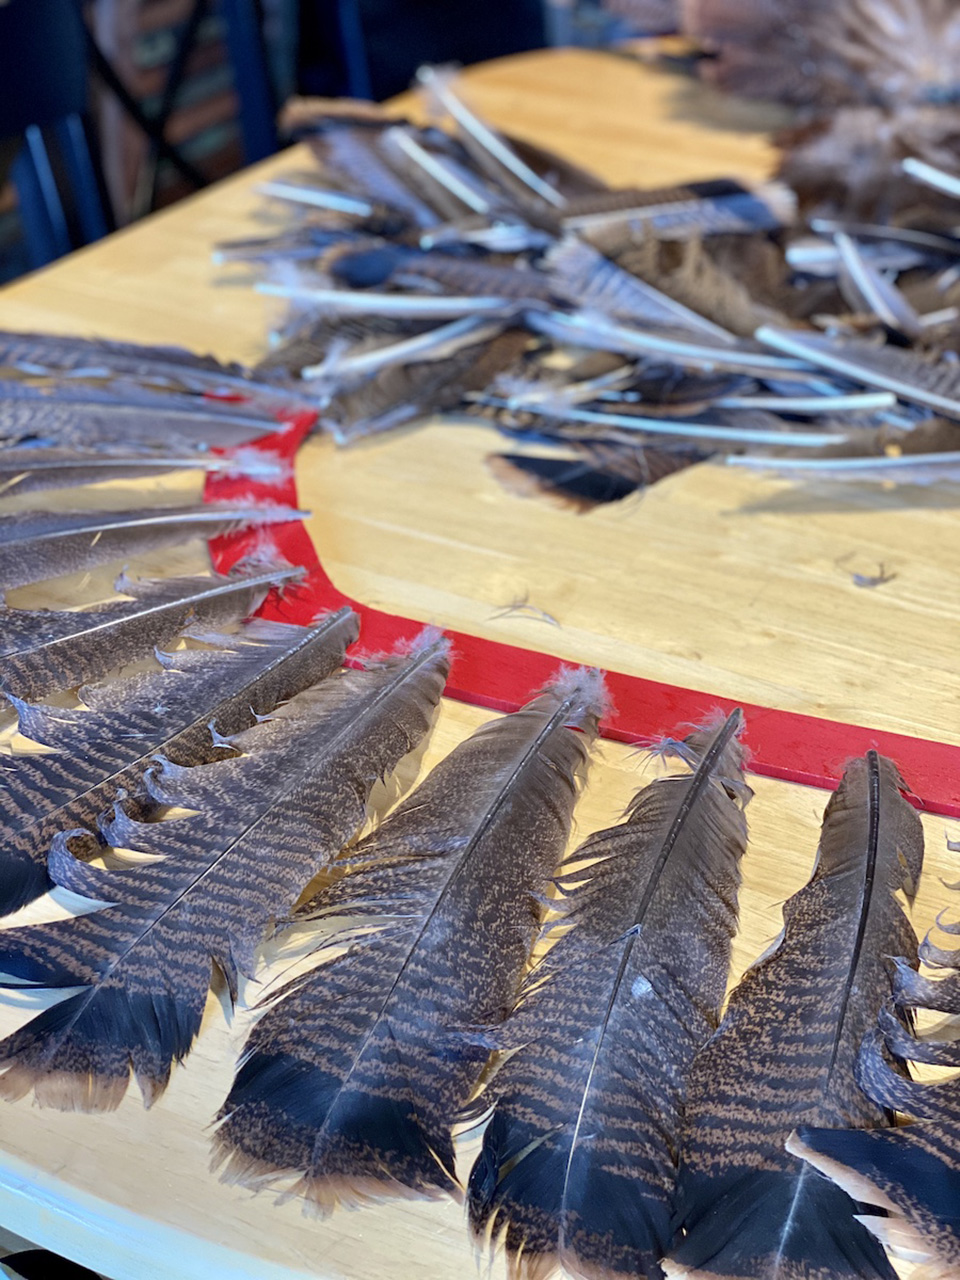
6. Place pieces of duct tape on top of the ends of the hot glued feathers. The duct tape adds extra support for the feathers.
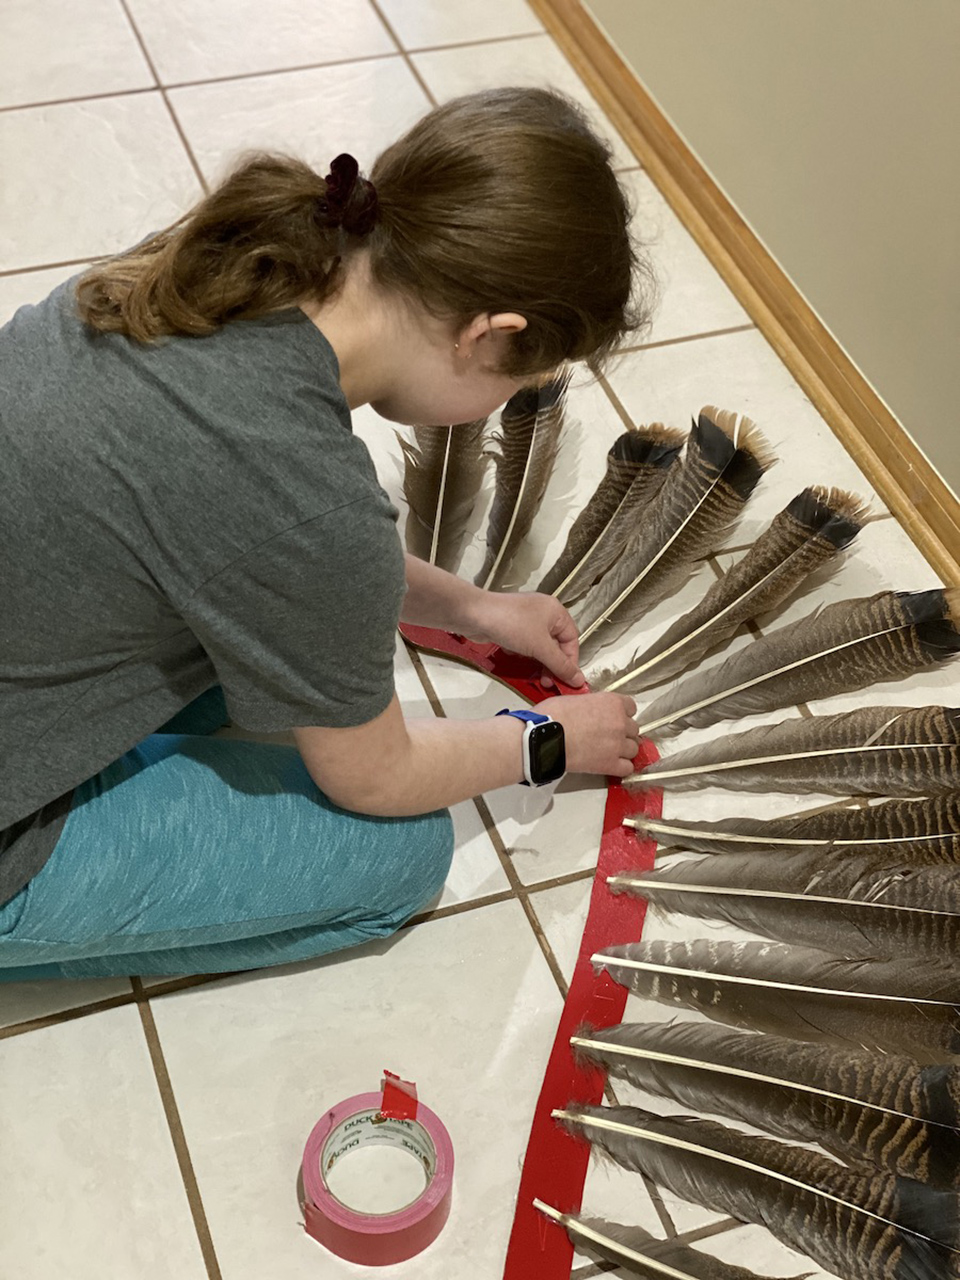
7. Hot glue the ribbon on top of the duct tape. This step is optional, but the duct tape alone doesn’t look as nice.
8. Mount wings to a belt or frame.
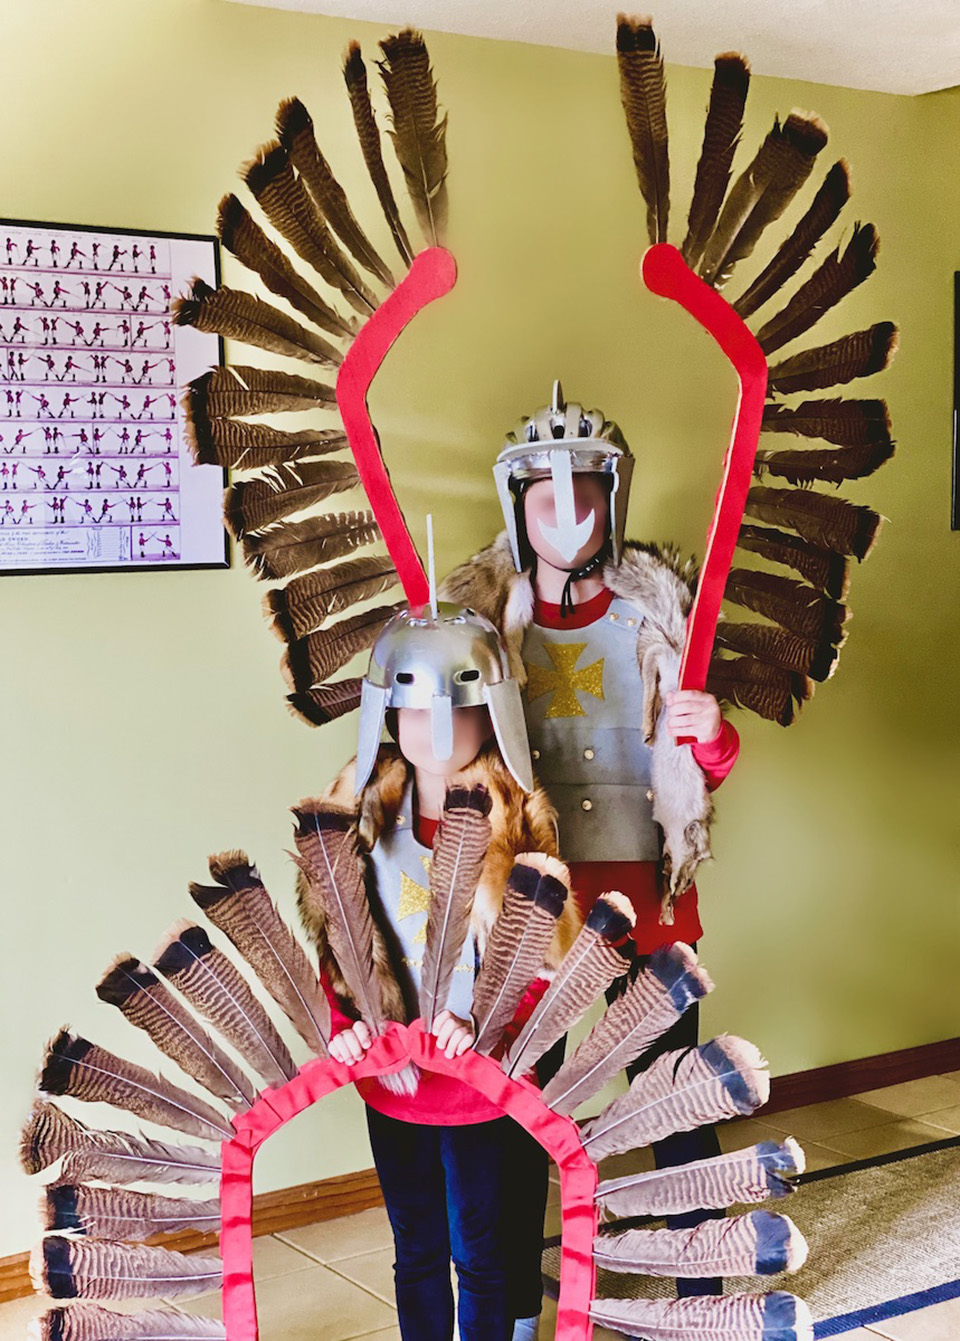
Probably the most challenging aspect of this craft was finding a way to mount the wings. As Anna mentioned, we chose to attach the wings directly to the girls’ bike frames. We used scrap wood, screws and a bolt to make a U-shaped support that utilized the pre-drilled hole in the bridge between the seat stays. According to Rose, the most difficult aspect of the craft for her was deciding the details.
“The hardest part was choosing the way I wanted my wings to look. I had to choose how many feathers I wanted and the color of the wings.”
To round out the girls’ costumes, we purchased EVA foam to create armor. Anna and Rose enjoyed looking at different historical depictions of Hussars that they could incorporate into their own battle gear. We used gold buttons we purchased in bulk online at Amazon, along with string, silver paint and their bike helmets to achieve the look.
The girls even made their own war banners. Their pikes of cardboard tubing are quite a bit shorter (and safer) than the Hussar’s 16-foot lances, but their banners are on point. After settling on a design, I helped Rose put hers together with iron-fusing stitching, while Anna learned how to sew her banner pieces together.
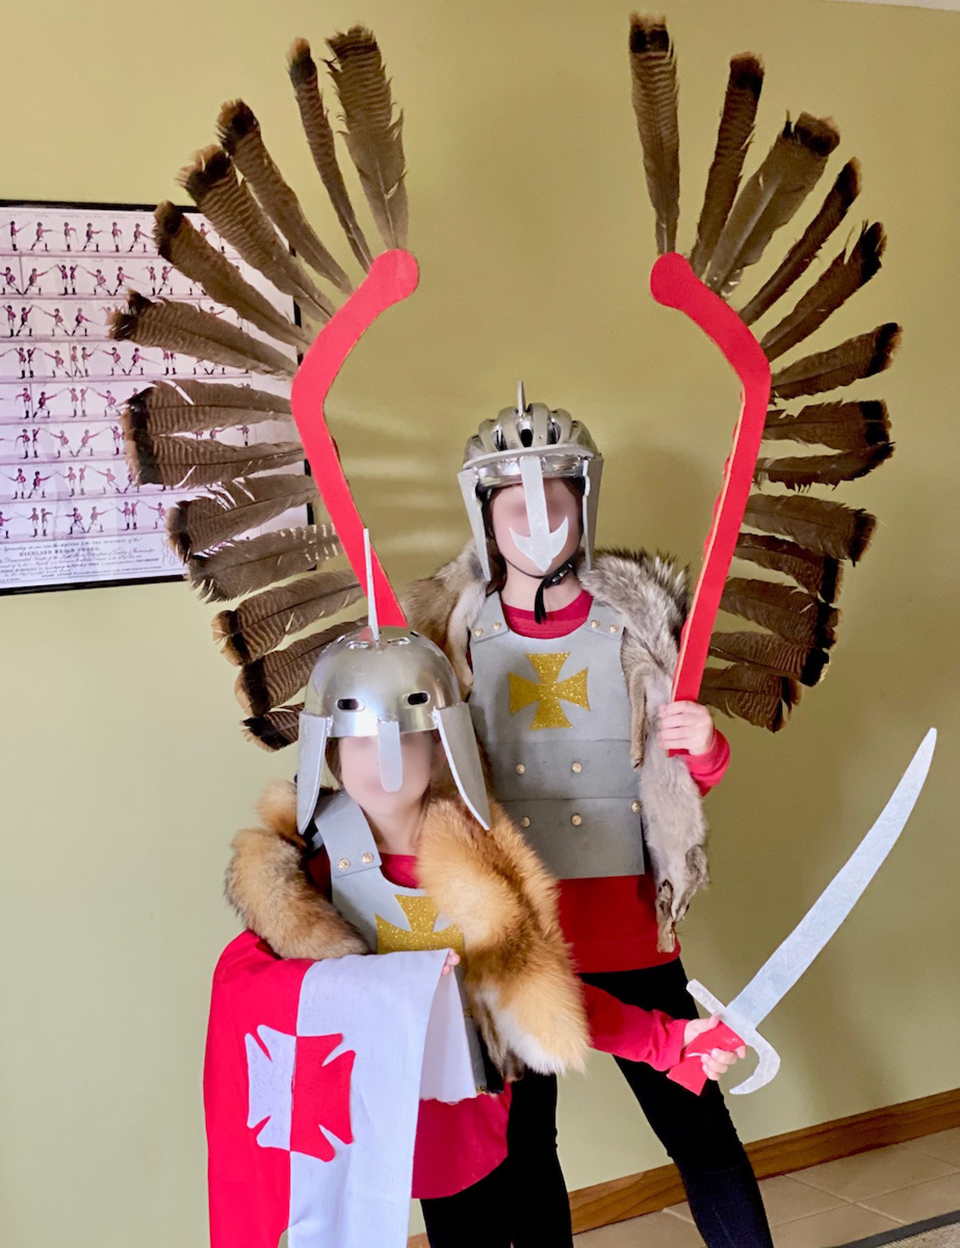
With pikes, banners, helmets, armor and wings, the costumes were nearly complete. One final touch, our calvary kids needed sabers. The girls traced paper templates onto the remaining ¼-inch plywood that my husband cut out. A little sanding, silver paint and duct tape to wrap the hilts and our Hussars are ready for Halloween.

"Anna" is a teenage girl who loves to write, read, and do just about anything artsy. She enjoys writing about nature crafts and her experiences while learning to hunt and cook wild game. Anna firmly believes that backyard chickens lay the best eggs and that spending time outside with her flock every morning will start the day off happily. She is extremely grateful to her best friend, who inspired her to really take writing seriously. You can find her lost in her latest idea or listening to her sister "Rose" read book quotes. View all posts by Anna


