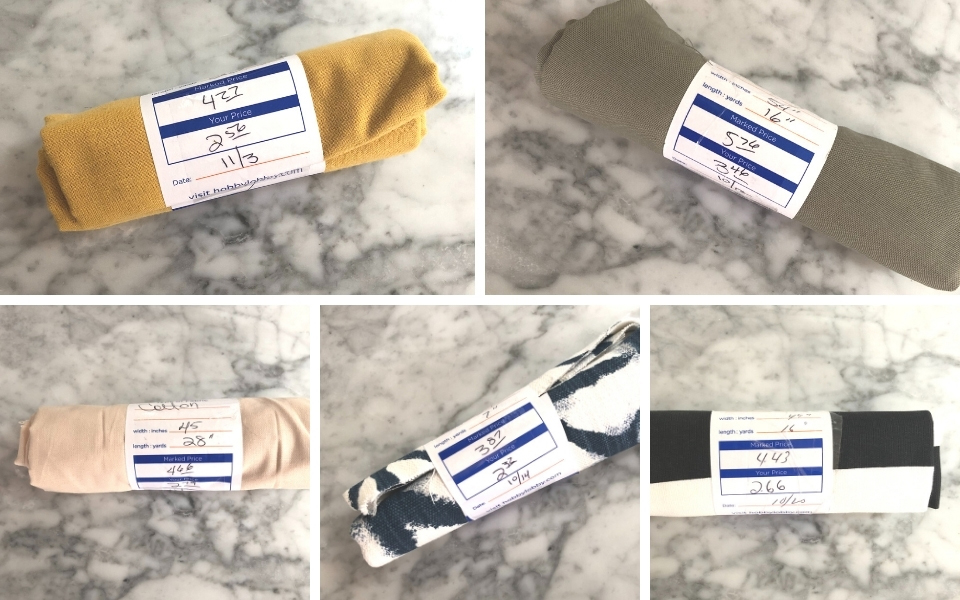
Inspired by the t-shirts made by my sister-in-law for Thanksgivings past, I set out to find a fun DIY turkey day tee tutorial. This version, from The Cottage Mama, allows for a lot of versatility in design and end product, which always appeals to me in a craft or DIY undertaking. Because I purged the majority of my remnant fabrics in a misguided attempt at decluttering and simplifying, I unfortunately had to strike out for supplies. Luckily, my local Hobby Lobby offers a good variety of remnant fabrics for purchase at reduced prices.
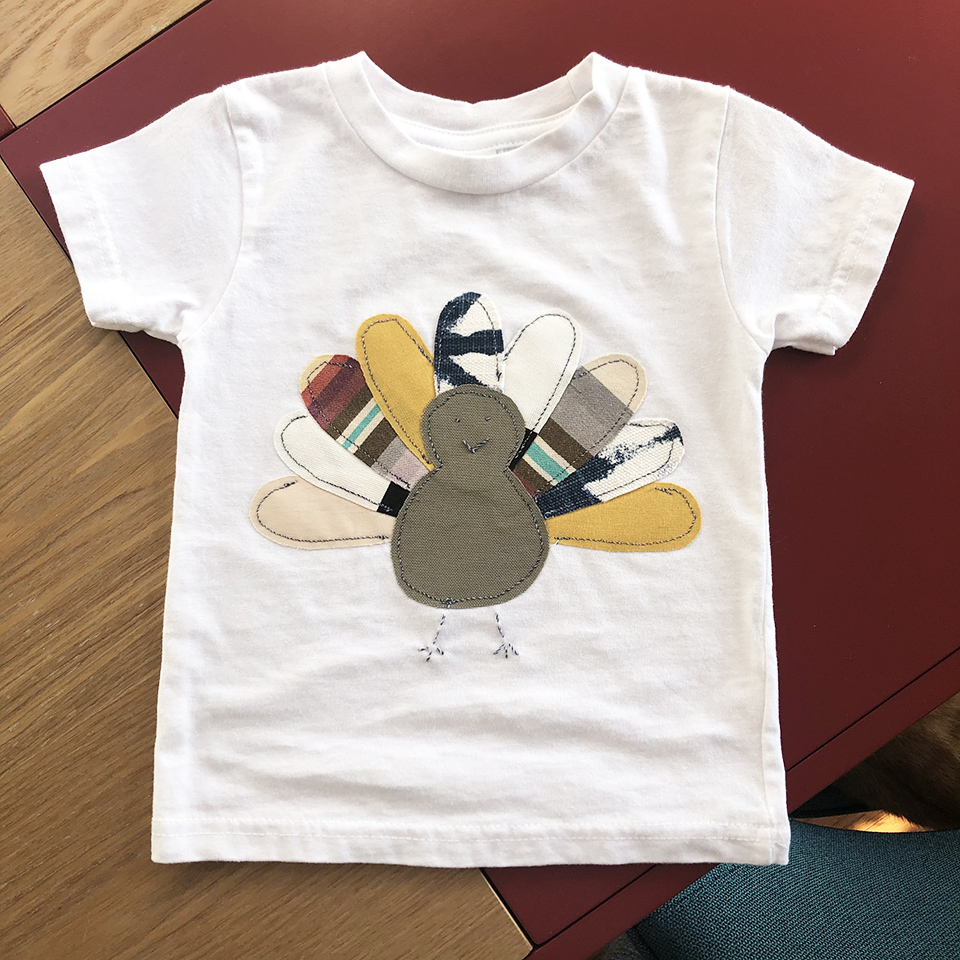
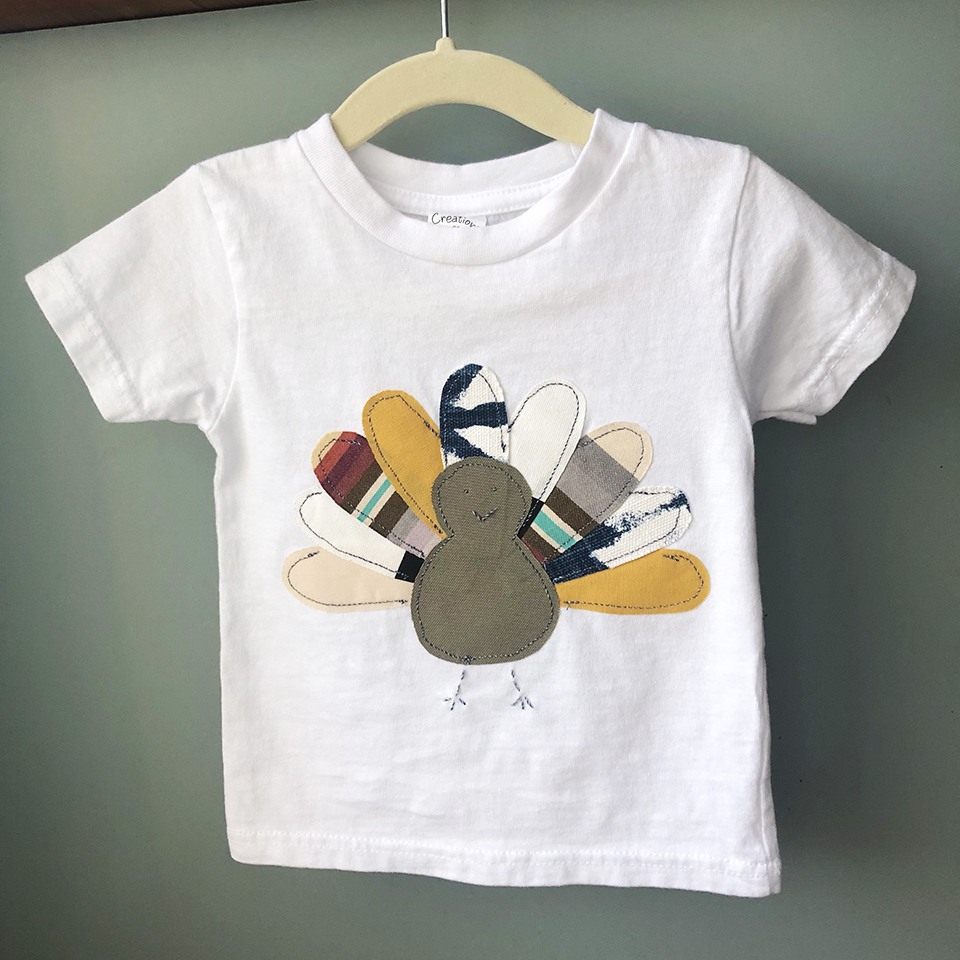
The most stressful part of this craft turned out to be the sewing. Luckily, that part is optional! The whacky assortment of scrap fabrics creates a festive, low-budget holiday shirt.
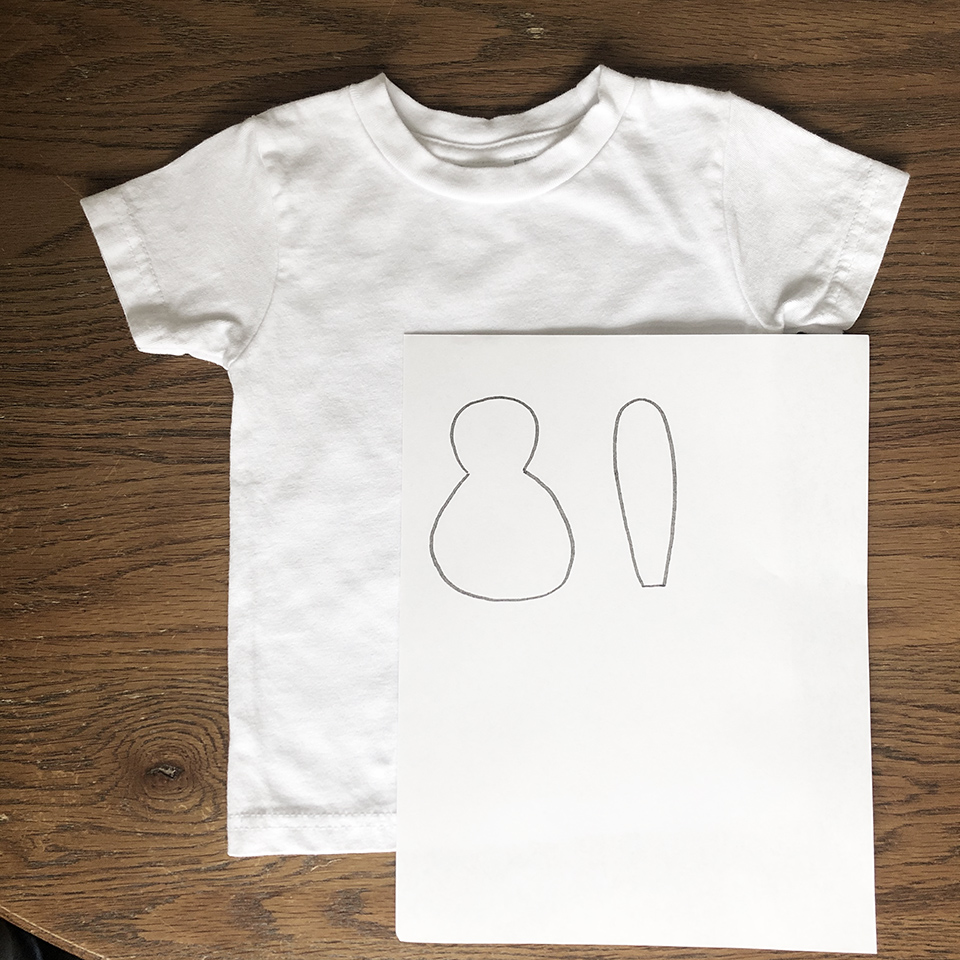
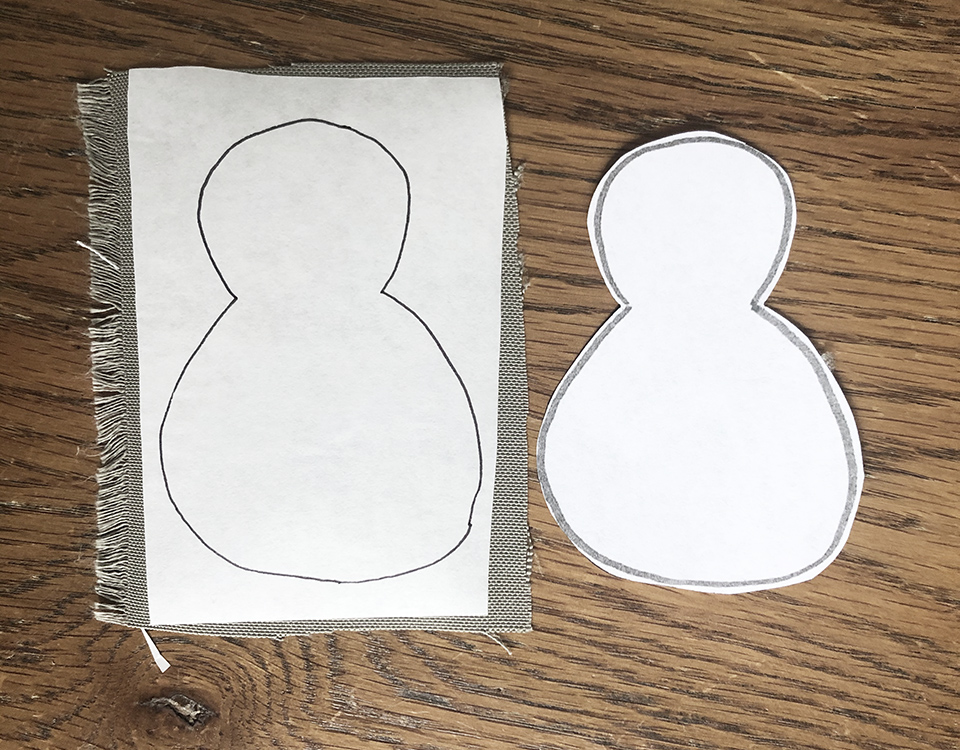
I used this turkey template from The Cottage Mama as a reference, and resized the pattern to fit my gal’s shirt (size 18-24 months). Print out your turkey template, which includes a pattern for the body and 1 tail feather. Before going further, double check that your turkey is sized appropriately for your t-shirt.
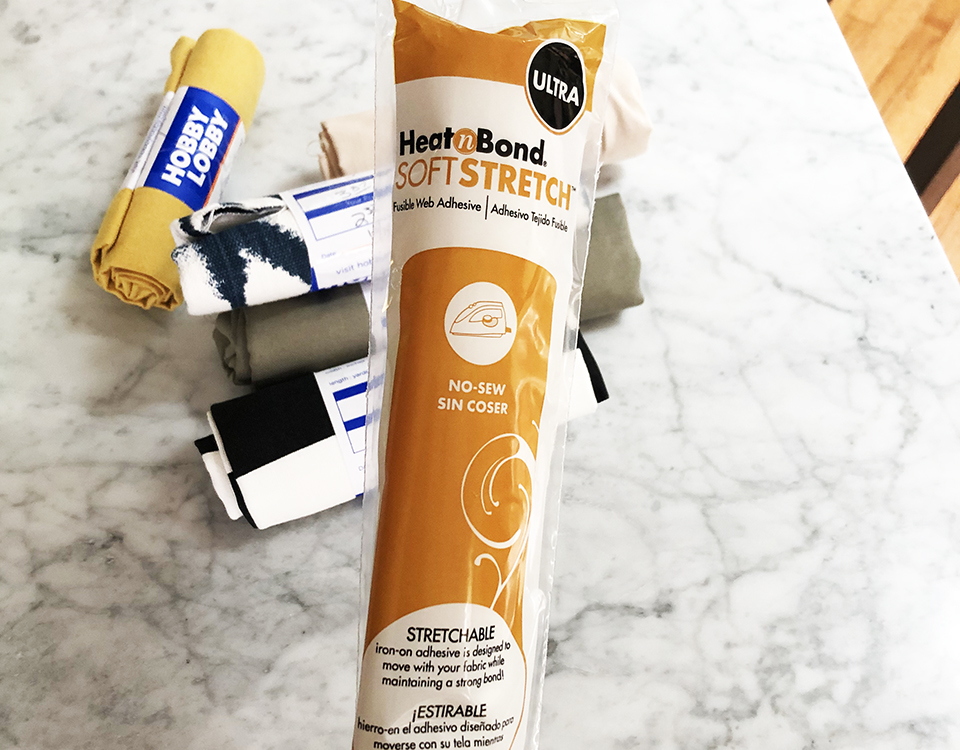
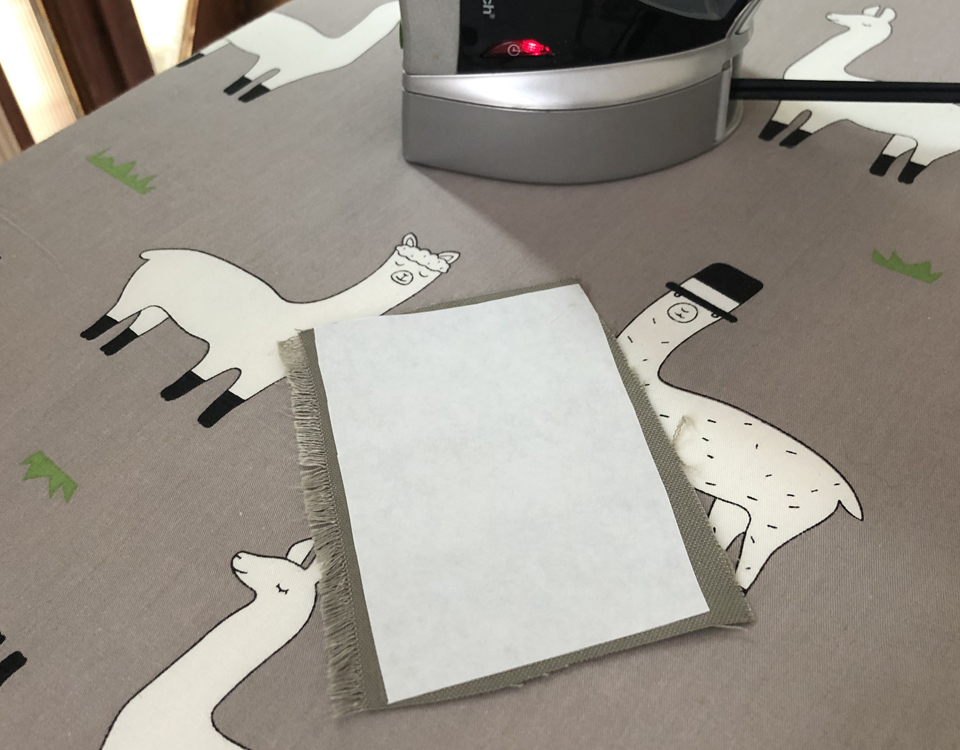
Using fabric scissors (these are my fave), cut out a square of fabric large enough for the turkey’s body. Apply fusible web adhesive to the fabric, by laying the fabric right-side-up and ironing to adhere the 2 together. Take care not to iron any exposed Heat-N-Bond! I ironed on both sides – paper and fabric.
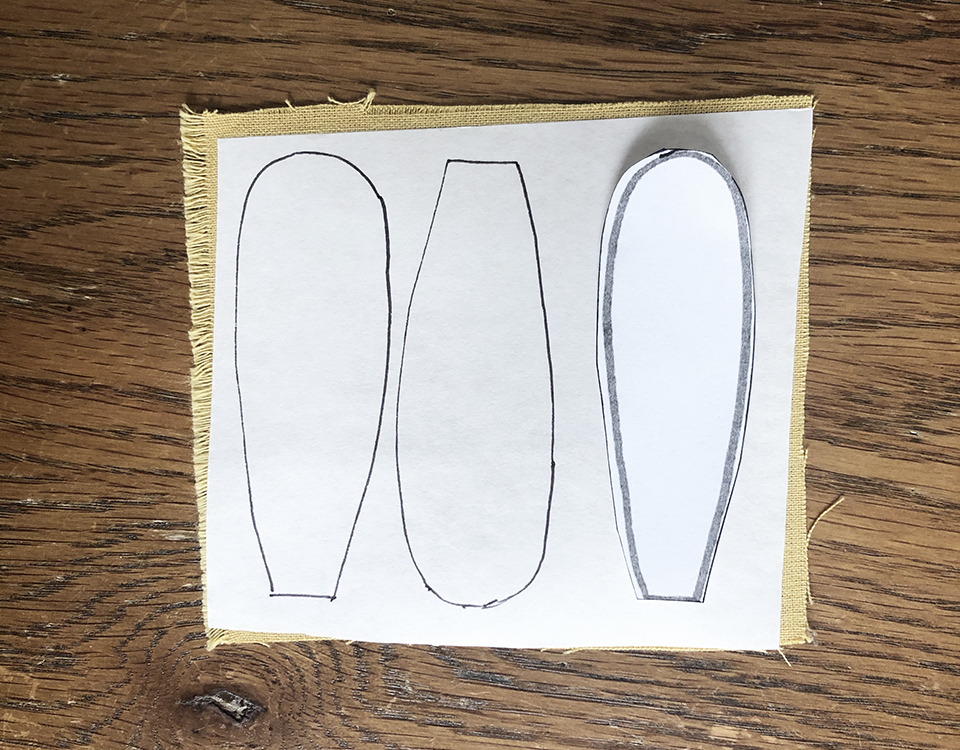
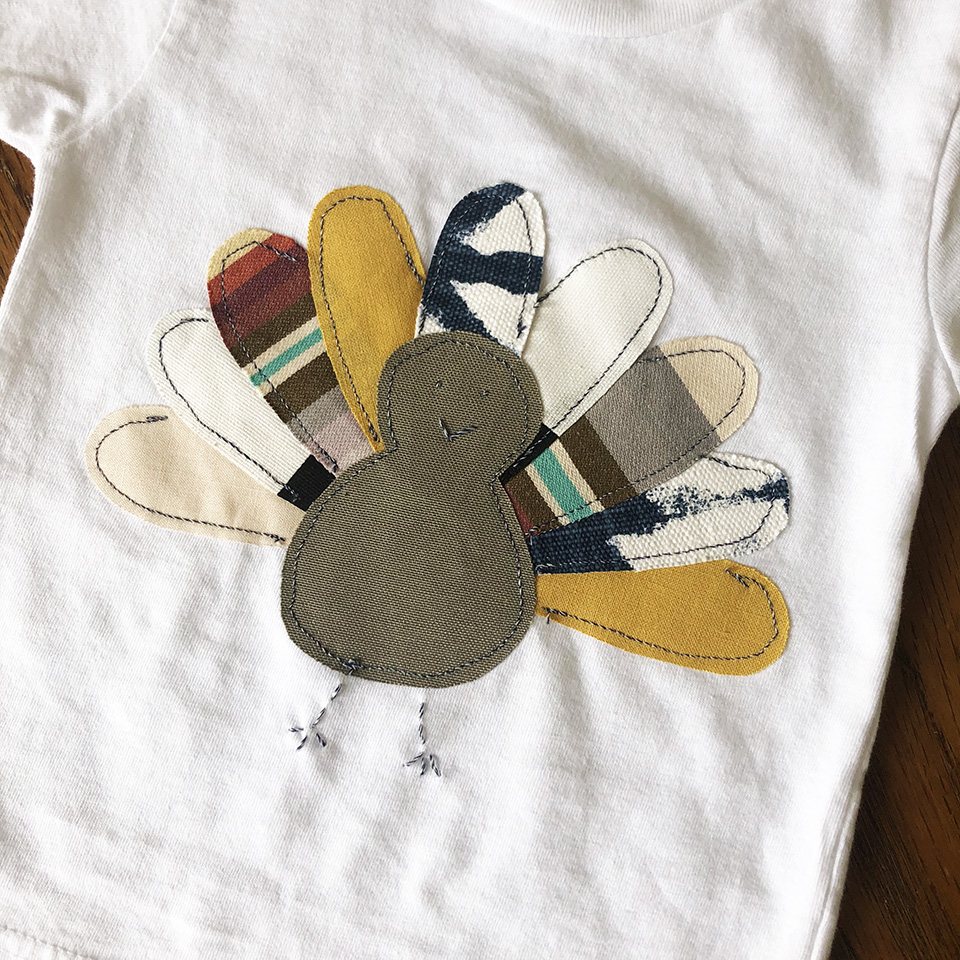
Repeat the steps for the turkey feathers. Depending on how big of a variety of scrap fabrics you are using, you may want to cut out about 2 feathers from each color. For my tee size, I used 9 feathers total. Next, trace the turkey body and feathers on your backed fabric.
Lay out the turkey components on your shirt. When you’ve settled on an arrangement, remove the paper back from your fused fabric.
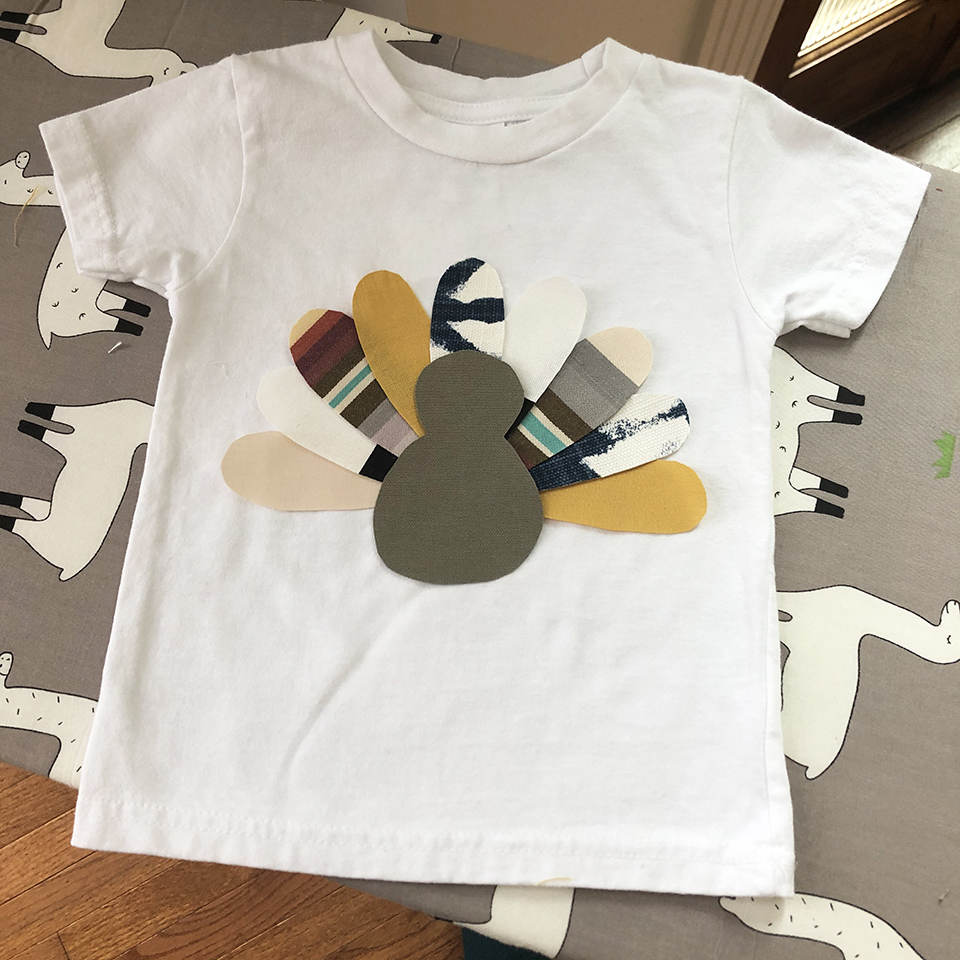
Carefully iron the turkey parts in place.

If you don’t have a sewing machine, or the inclination to have this much detail, skip this step. The fusible webbing boasts that it is permanent and stays in place even after washing, so sewing is not necessary. If you’re up to the challenge, outline your turkey’s feathers and body with a contrasting thread. The feathers will only be sewn on the exposed edges.
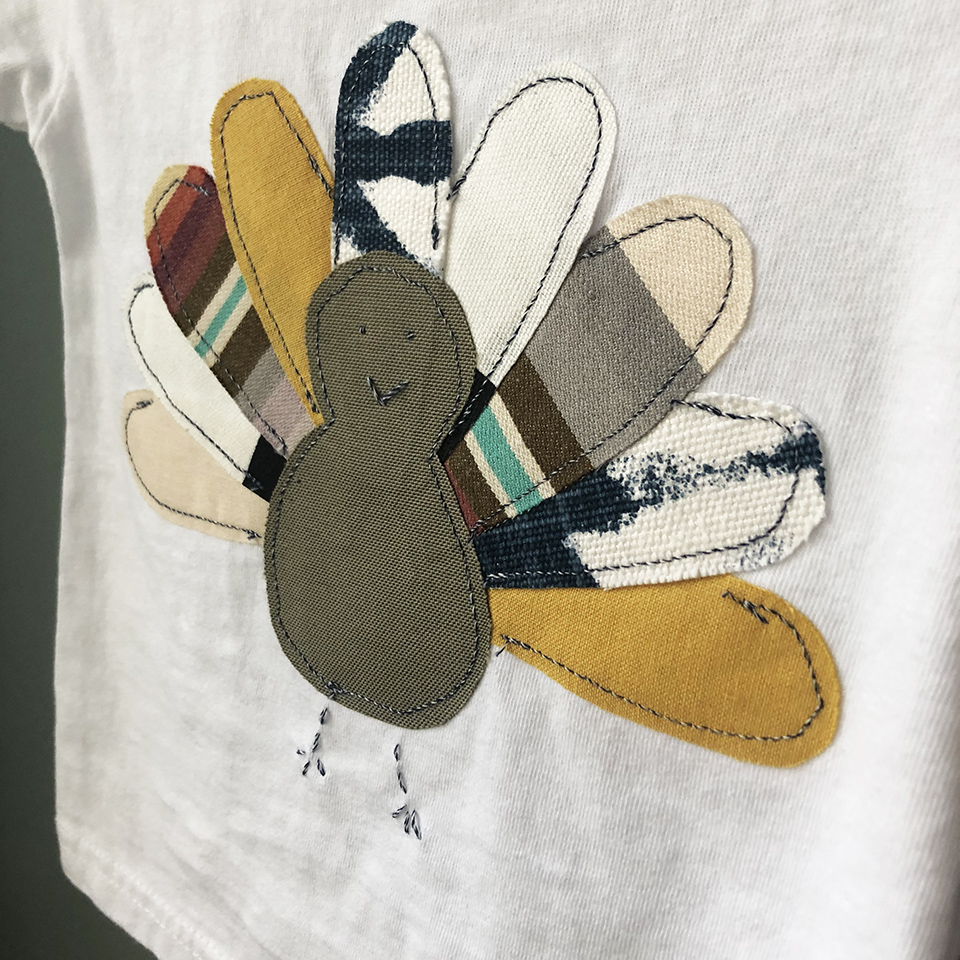
As I’m certain you’ll see from this close-up, it’s been a hot minute since I’ve sewn anything. And the scale (ahem – tiny) of this tee for my little gal, which called for even smaller feathers, made this part of the process the most time consuming and nerve wracking. I even had to employ my trusty seam ripper for 1 feather who’s sewing went a little awry. However, I am thrilled with the end result of my turkey, and the overall effectiveness of my anti-perspirant. And because my daughter is a tiny tornado of a human at the moment, I’m pretty sure people won’t have the opportunity to study my stitchwork up close.
Last, use your embroidery thread and needle to add the final details: eyes, beak and feet.

Jackie Baird Richardson is an interior designer, editor at The WON and avid junker. Watch for her design tips and occasional crafting ideas, bringing the outdoors indoors. View all posts by Jackie Richardson