Many times, I’ve looked at distant targets during my stage walk-through at a 3-Gun match and thought, “I’ll just take a knee. It’s not that difficult of a shot.” Then, as I watch other competitors shooting, I see them drop into a prone position for those “easy” targets. Sometimes I’m stubborn and I only take a knee, tough it out and waste time. It took me a while to realize shooting from prone ultimately saves me time by increasing my accuracy. So, in this part of my AR series, I want to share tips I’ve learned for shooting in the prone position.

Sponsored by Springfield Armory
Years of competing and training have proven that the closer to the ground I am when I shoot, the more stability and accuracy I deliver. Think about it – we don’t generally zero our guns or check for accuracy from a standing position. If we’re not shooting from a table rest, then we generally shoot from prone with a bi-pod or some sort of rest/support.
Whether the situation is self-defense, hunting or competition, knowing how to quickly get into the most stable posture helps you get accurate hits on target … quickly. Combining your body and the surroundings into a solid shooting platform keeps your riflescope, red dot or iron sights on the target during the rise and fall of recoil. To use the prone position effectively, you must understand why your body placement and how the gun meets your body in the prone position are critical to accuracy, and achieving this understand is a majority of the battle. Proper body alignment while in the prone position also gets your sights quickly back on target, allowing for a follow-up shot if necessary.
(Note – the following is what works best for me, shooting from the prone position. I’ll comment in the places where others do it a bit differently while still shooting accurately, but the basic principles are the same for each good prone position. After reading my explanation, you’ll see why you need to experiment with this position and find the variation that works for you, then practice it dry and with live ammo before you try to use it in competition or while hunting or defending yourself.)
When I talk about shooting from the prone position, I use the word “drop,” – also referred to as “dropping into position.” For the entire time required to go from standing to prone, I keep my eyes on the target. It’s important not to divert your eyes and look at the ground. While preparing to drop into position, I identify my target from a standing position, with my feet, knees, hips and shoulders squared to the target.
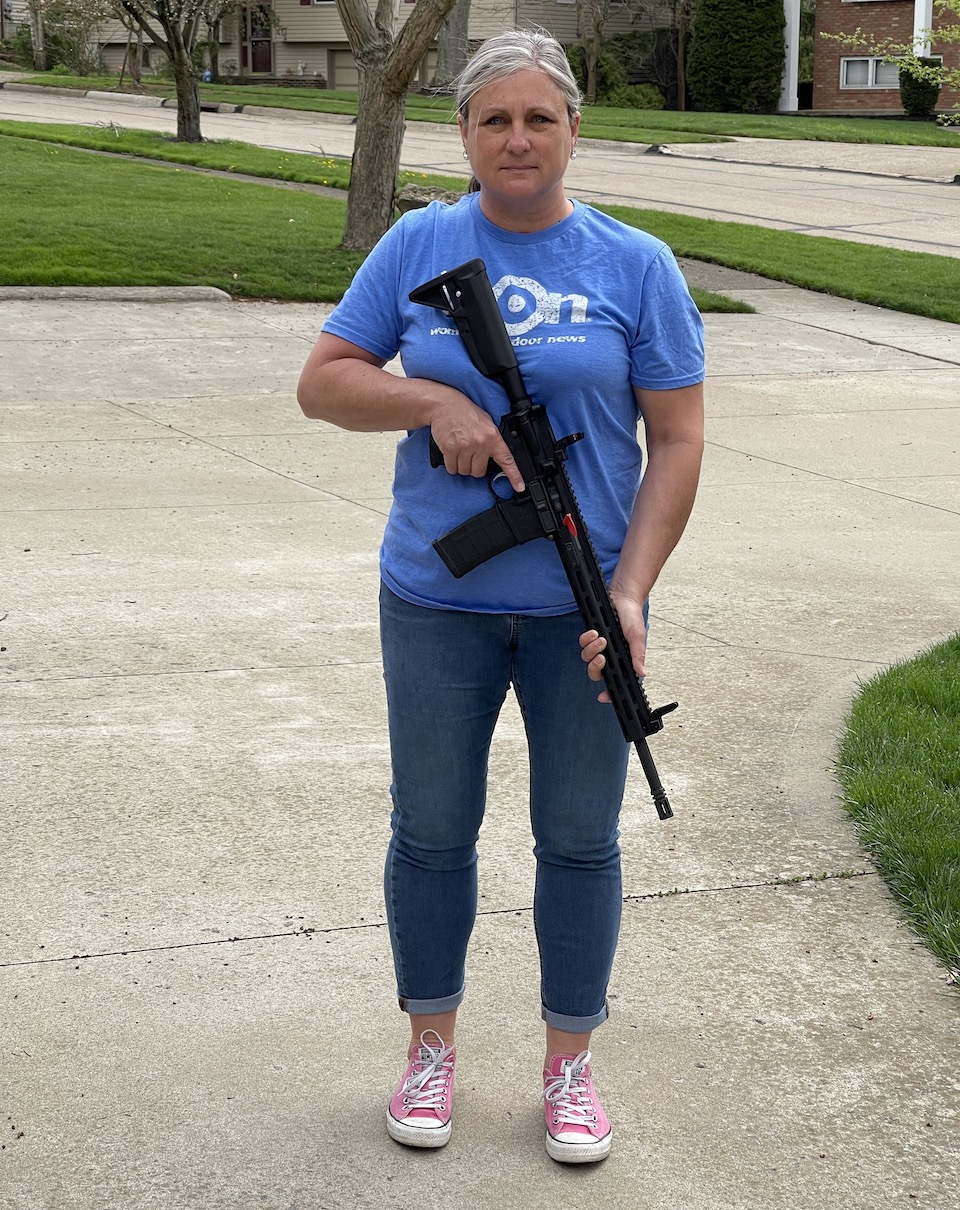
First, I drop to my knees with no change in body position. This two-knees-down position is just a lower version of my standing position.
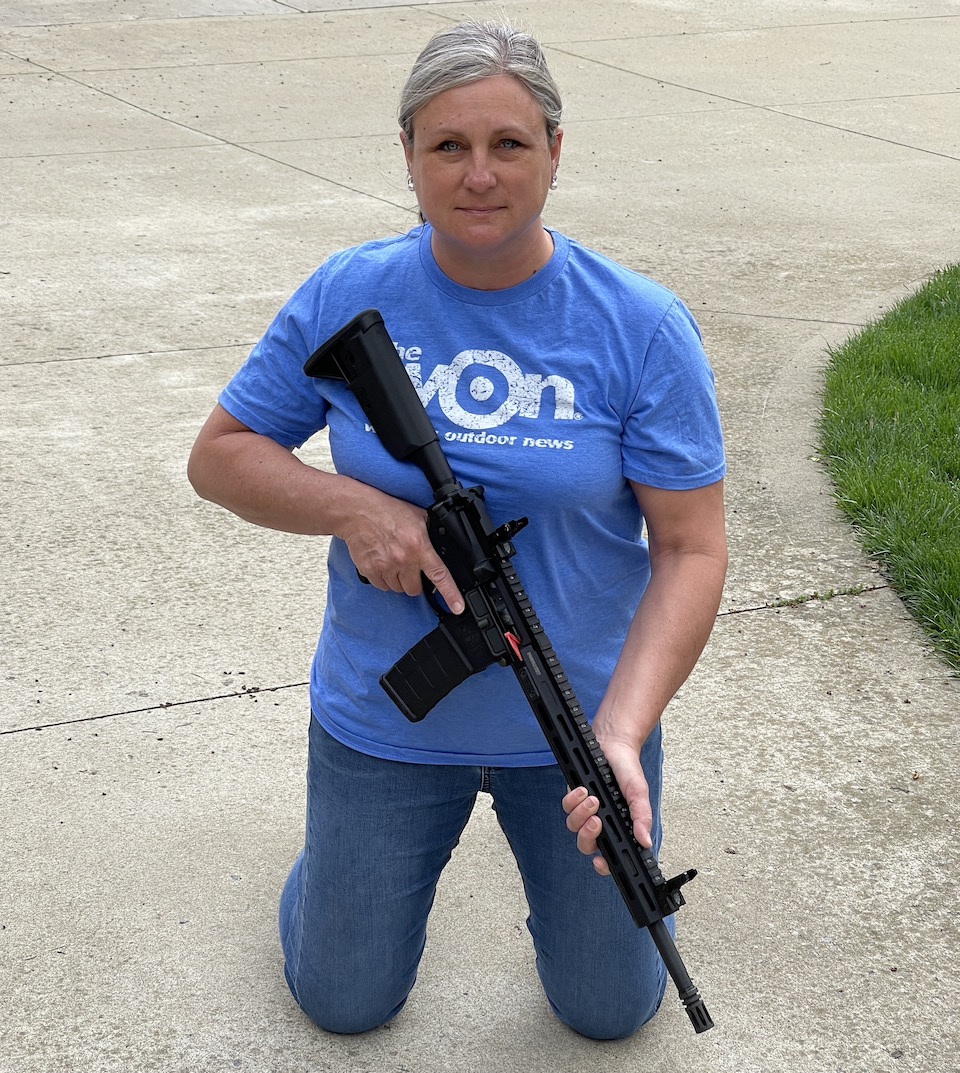
Next, I shift my rifle entirely to my strong hand (don’t drop your rifle!) and establishing a firm grip on it. Then, I reach down with my support hand and form a tripod position: two knees down with my support hand holding up my upper body.
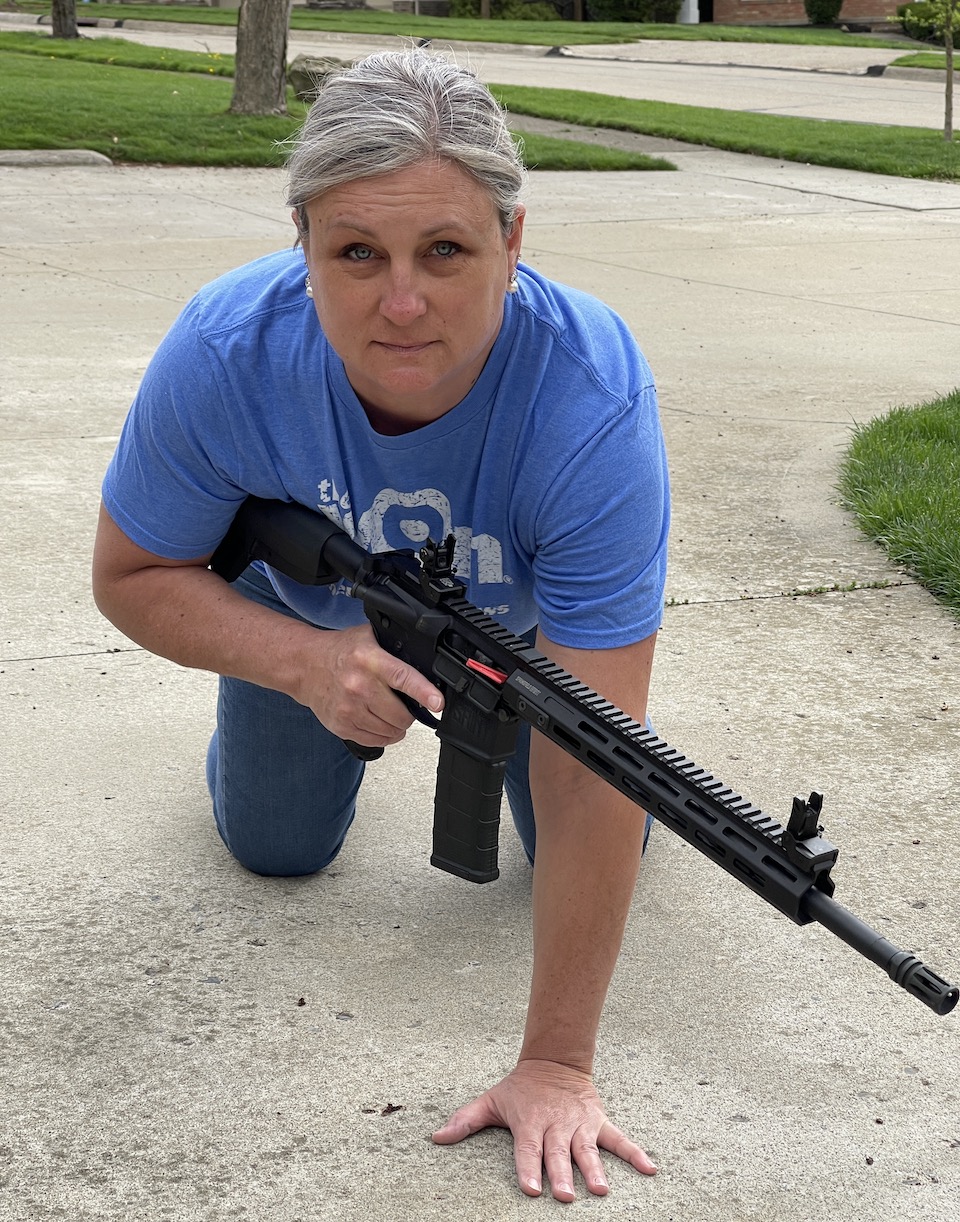
From the tripod position, I push my feet straight back while my upper body comes to rest on my elbows and forearms. Time is of the essence and you need to see the target with your eyes before you can shoot it with the gun. So … while you’re getting into position, keep your eyes on the target!

With my eyes up and my face toward the target, I then flatten and spread out. I get my belly on the ground, prop up on my elbows and spread my legs out behind me. I also flatten my feet by pointing my toes outward, getting my ankles and heels on the ground. This is where some shooters will angle their bodies toward the support (hand) side slightly, and others will pull their strong side knees up a bit in order to raise their torsos slightly off the ground, all in an effort to allow comfortable breathing during the shot.
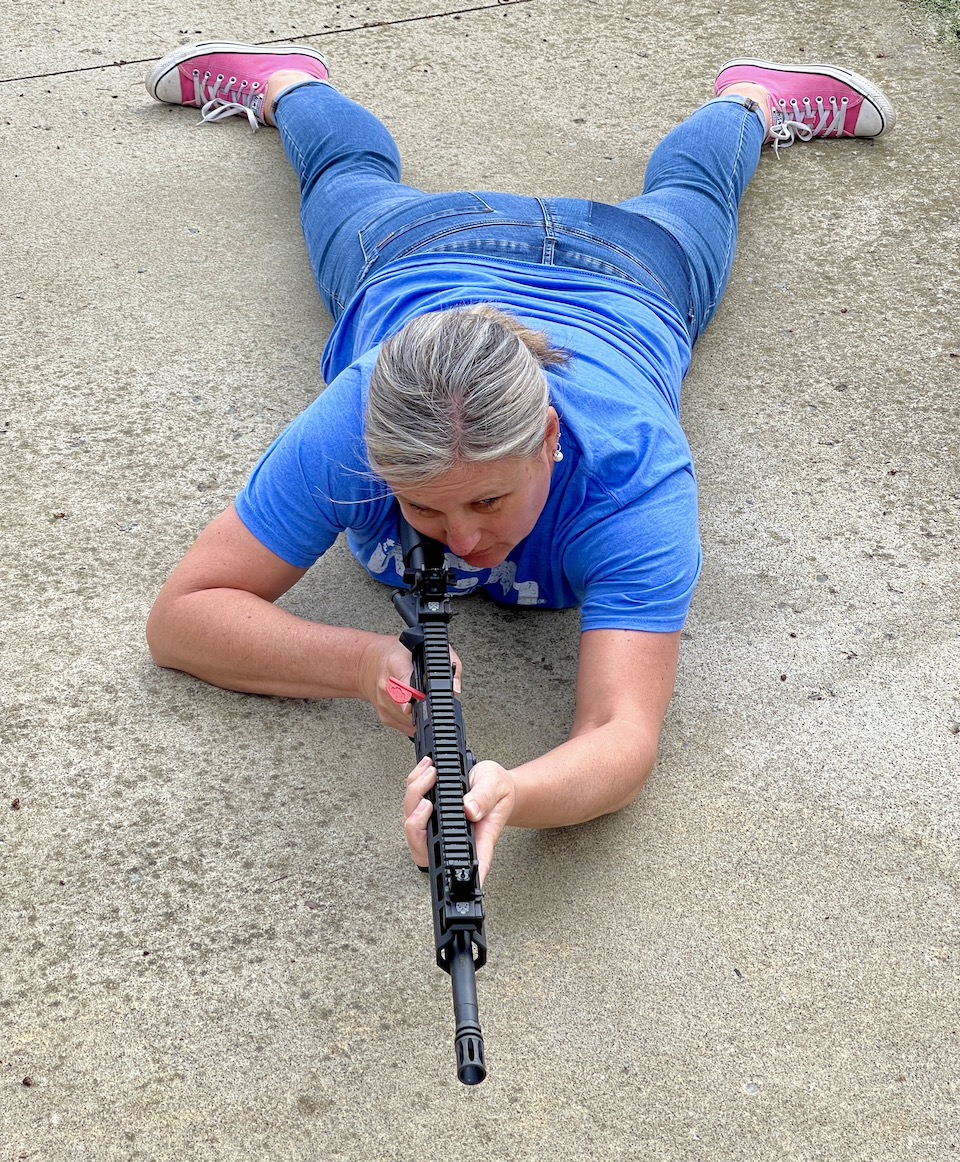
The reason I spread out and press my ankles and heels into the ground is two-fold. When I spread out, I create a wide, stable base. Then, by pressing my ankles and heels down, I eliminate rocking or swaying movement in my body. My body construction allows me to breathe comfortably in this position, without a corresponding rise and fall of the rifle butt when it is against my shoulder. Again, others may not be able to do this; if not, simply make small adjustments to your position that allows you to breathe while keeping your body in line with the rifle as much as possible.
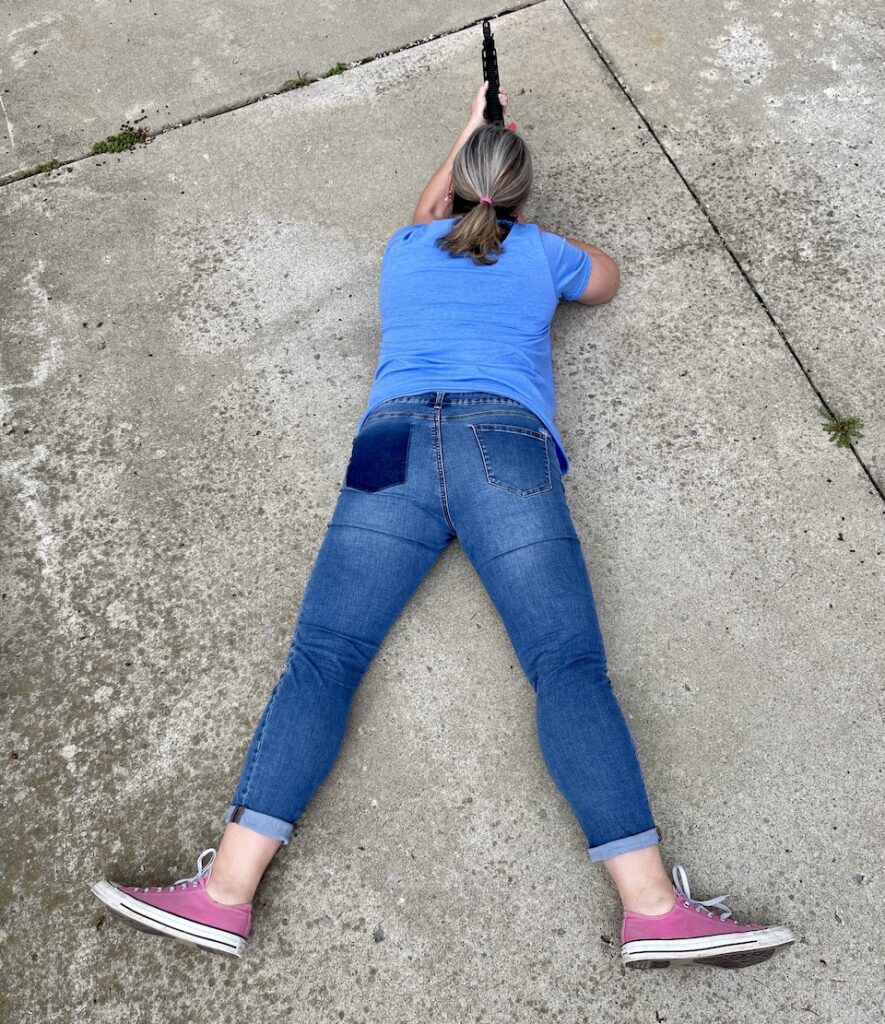
The whole objective with the prone position is to get your body, from shoulders to toes, behind the rifle as much as possible. This keeps recoil in a straight rearward motion so the sights will rise and fall, rather than jumping to the left or right. These jumps are usually caused by not being behind the gun, and/or from not using your natural point-of-aim (NPOA; more on this, below).
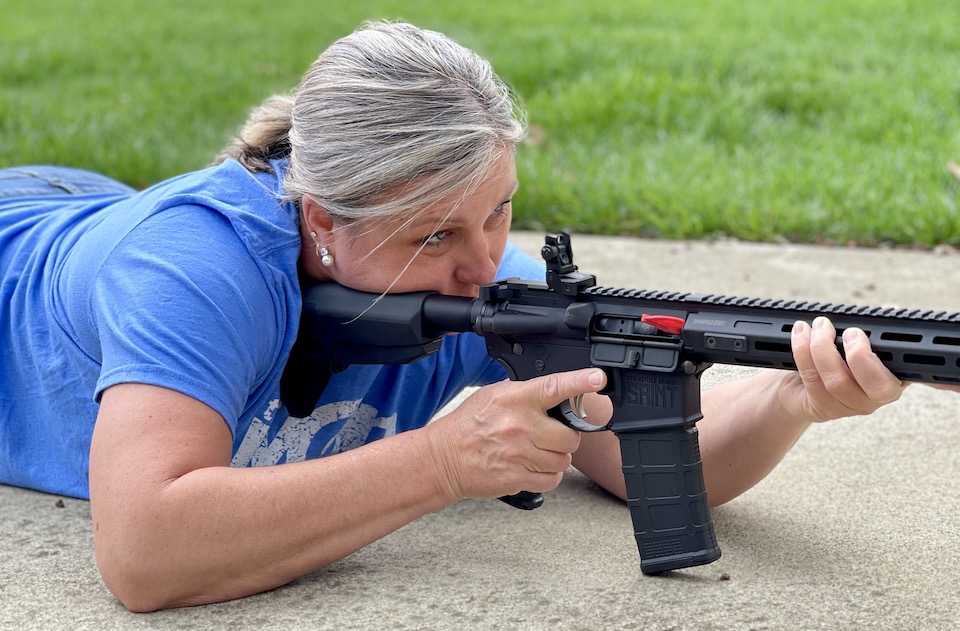
When I’m in the prone position, I try to get as low to the ground as possible. For shooting an AR, I ground the magazine and use my strong hand to pull the gun back into my shoulder pocket. This adds to rifle stability and helps reduce recoil. Be sure to try each of your magazines using live ammo while grounded in this position, before you use them for serious business. If you get any stoppages during this tryout, throw that magazine away.
When shooting, remember to breathe. Take a deep breath in and begin aiming and pressing the trigger with your exhale. The shot should break at the bottom of your breathing cycle. Never hold your breath; it effects your vision in as few as four seconds.
When things just don’t line up.
If you’re in position and the rifle doesn’t line up with the target, you aren’t using your NPOA. To find it, close your eyes, adjust your hips by slightly shifting them right or left, and open your eyes to see if the rifle sights line up on the target. Rinse and repeat until they do. If you move the gun, instead, you’ll find that your shots don’t fall where you thought you aimed. When adjusting for your NPOA is done correctly, your rifle only rises and falls between shots, bringing the target back in the sights every time.
See the line of Springfield AR rifles here.
For information more information on ARs read the previous articles in the series.

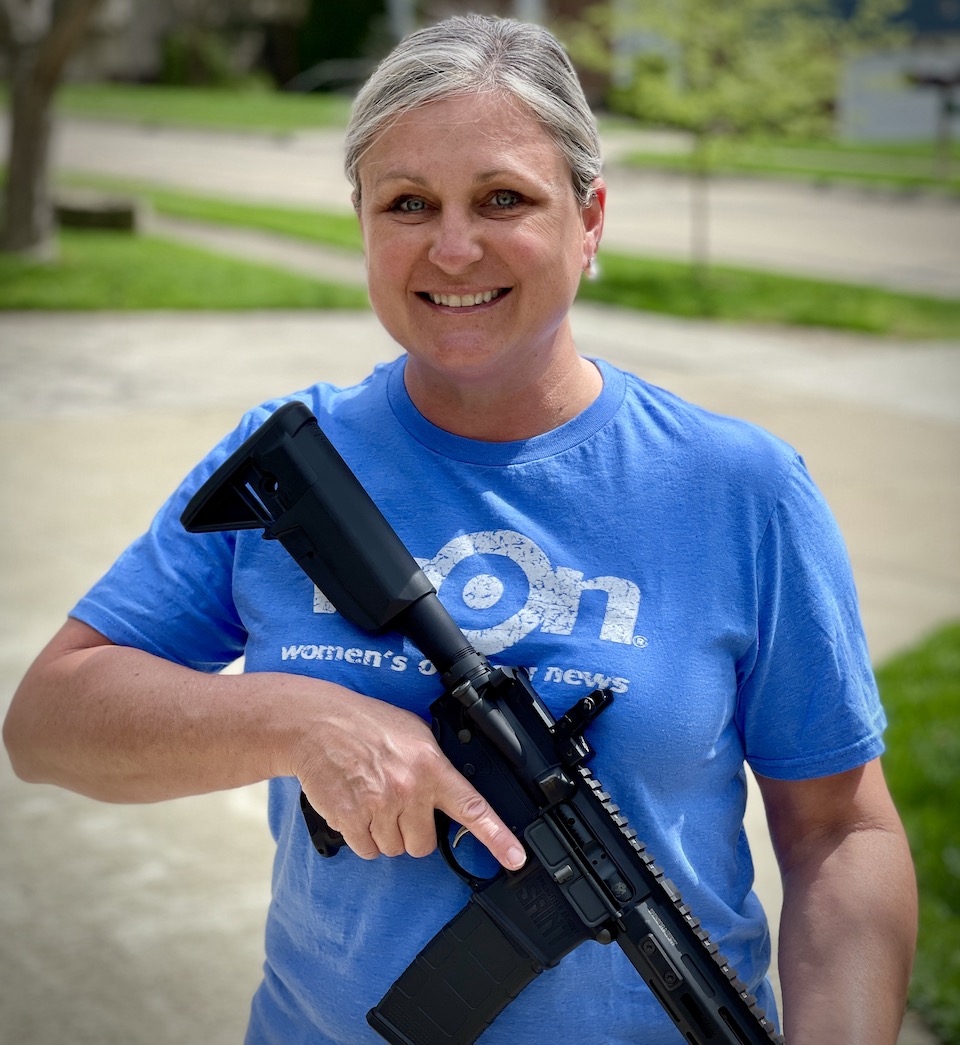
Michelle Cerino, aka Princess Gunslinger, first entered the firearms industry in 2011 as co-owner, president and trainer at a national training company. She immediately began competing in both 3-Gun and NRA Action Pistol, becoming a sponsored shooter. Michelle is currently a columnist and Managing Editor of Women’s Outdoor News, as well as owner of Pervenio LLC. She also manages social media for Vera Koo and FASTER Saves Lives. Michelle encourages others to step out of the comforts of home and explore. View all posts by Michelle Cerino