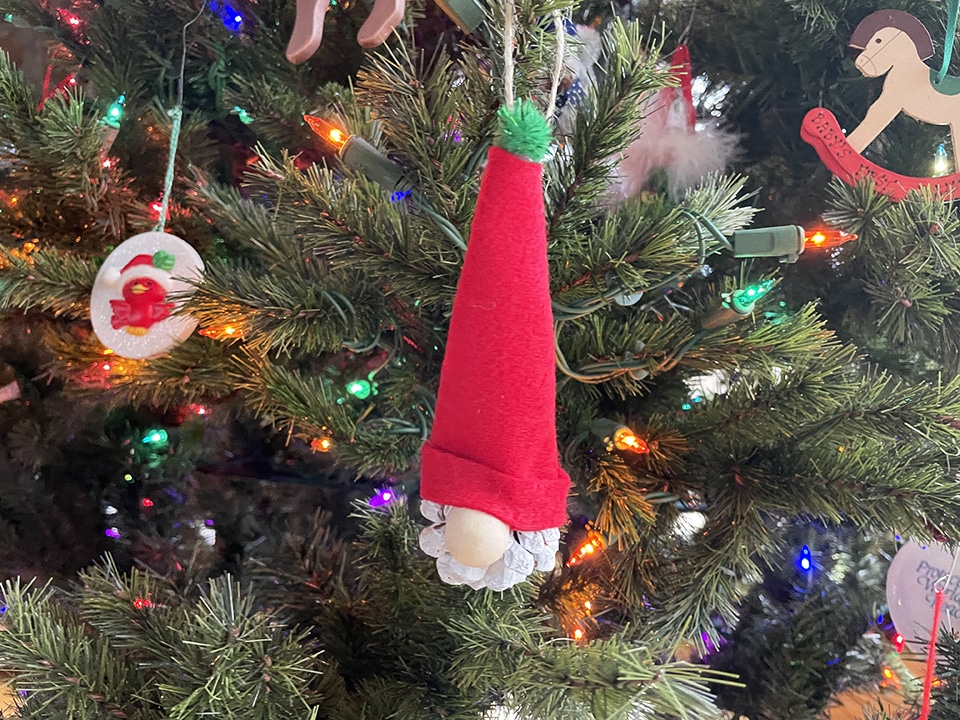
Are you looking for an easy craft for Christmas? Try making these Pinecone Gnome Ornaments. The materials can be tailored to fit what you have in your craft cabinet. And they are quickly-made items that can be tucked in with Christmas gifts.
I had pinecones leftover from the Ombre Pinecone craft I made last fall, so I used a few of them for this project. These pinecones are on the small side, but still worked well. I think a larger pinecone would be great, too. I also grabbed a few beads, similar to the ones used in our Wooden Beaded Christmas Star craft.
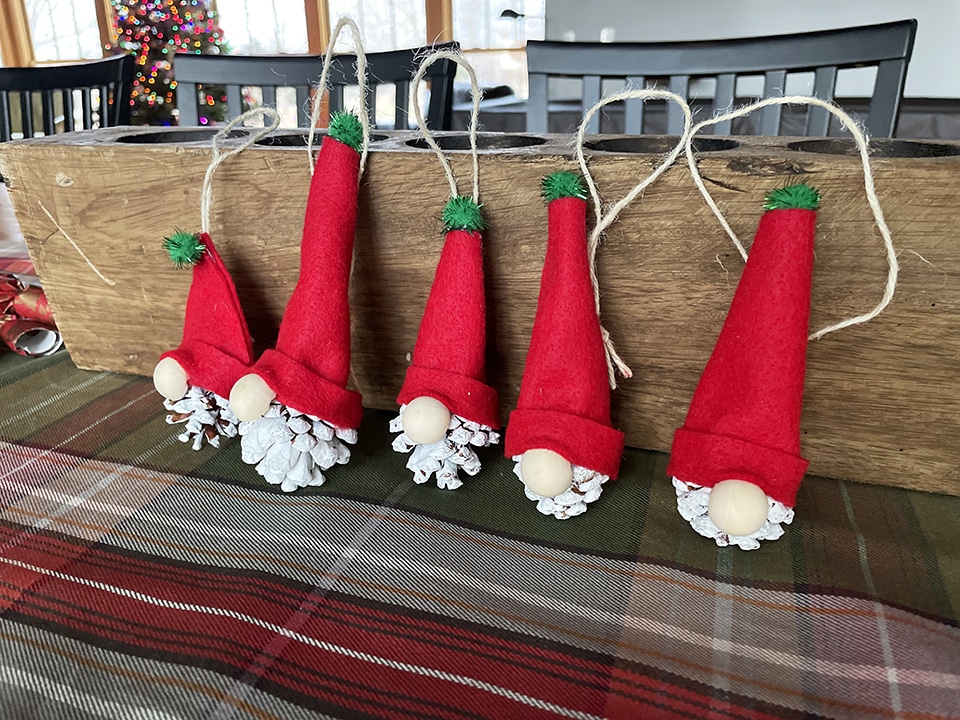
Follow along for my easy step-by-step instructions for making this festive craft.
Materials Needed
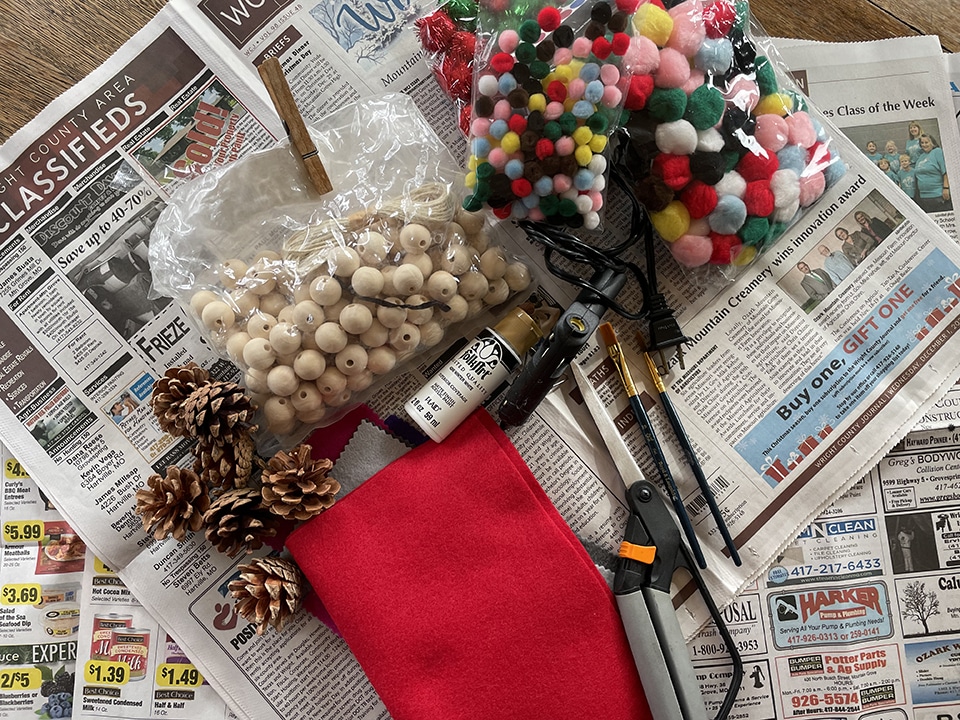
The wooden beads that I used were a little too big for the size of my small pinecones. When I “dry fit” them as the gnome’s nose, the bead projected too far out and looked funny. So, I used a bandsaw and cut each bead in half (through the bead hole). You may want to do this, as well, depending on the size of your wooden beads.
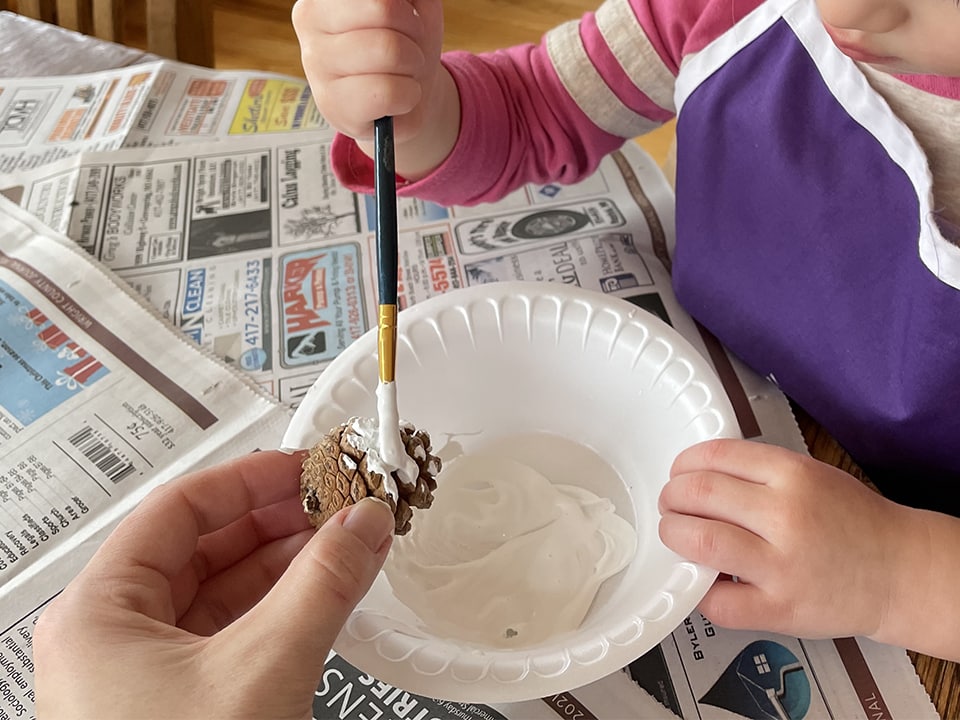
Cover you worksurface with newsprint. Plug in your hot glue gun. Add your acrylic paint to your disposable bowl or plate. Paint your pinecone, taking care to cover as much surface area as possible. Allow the paint to dry as you work on the other ornament details.
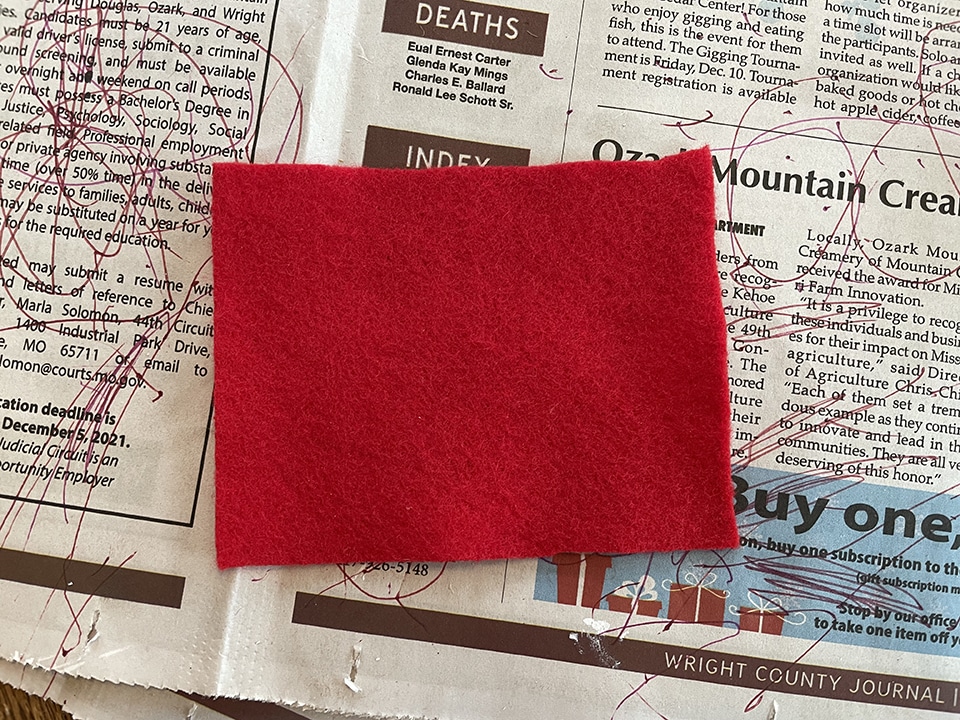
Next, create the gnome’s hat. Cut out a rectangle from the fabric, making sure that the long side has enough length to wrap around the pinecone.
Roll the felt into a hat shape.
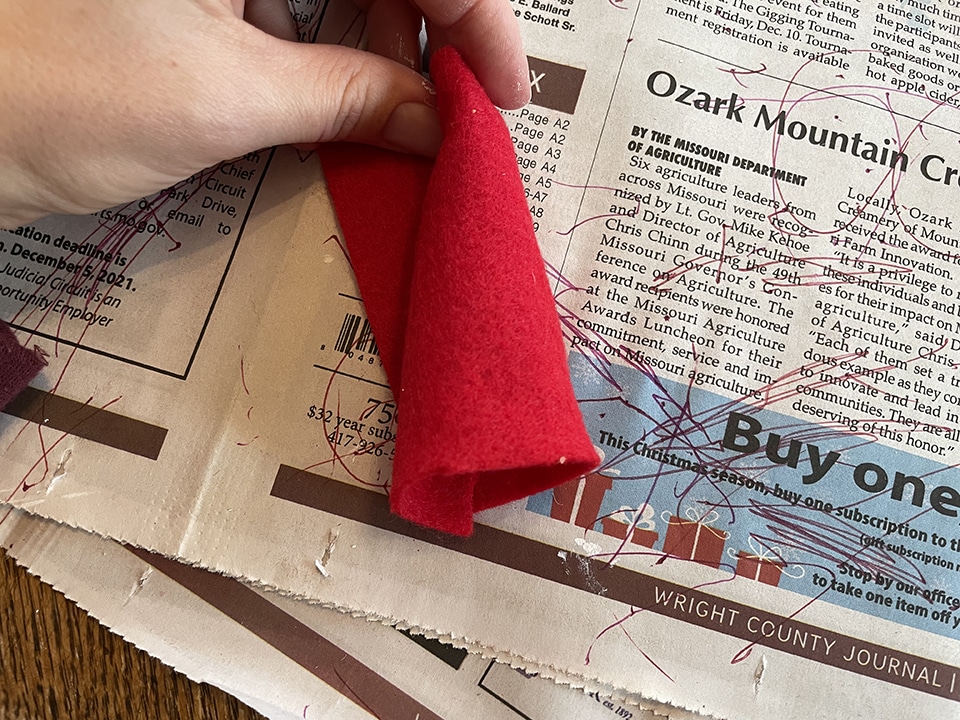
Glue along the side of the “hat,” and seal closed.
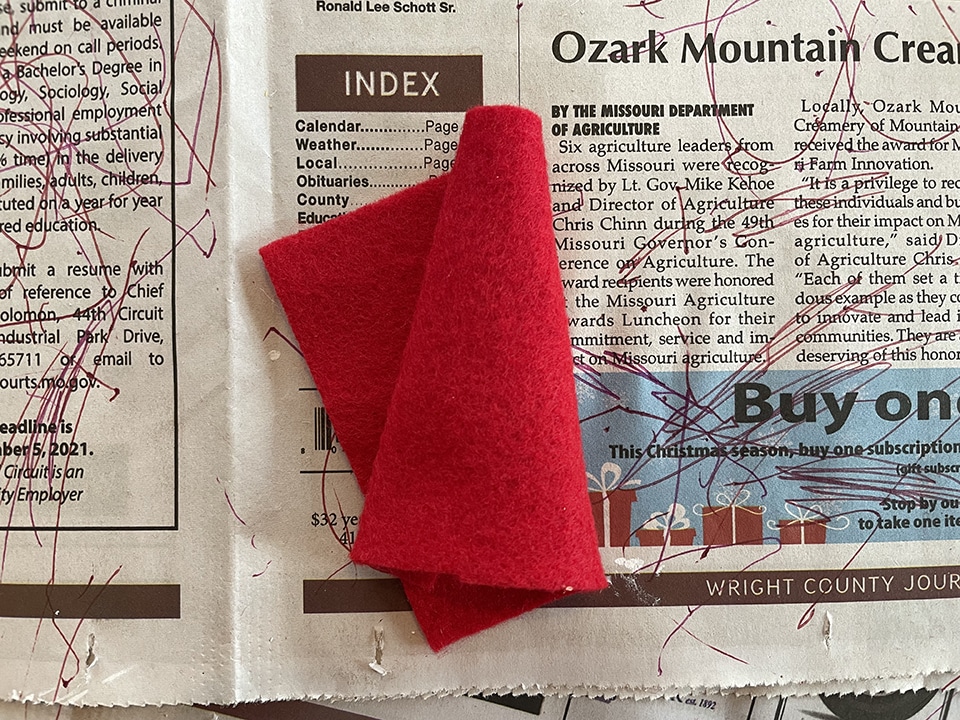
Trim the excess from your hat.
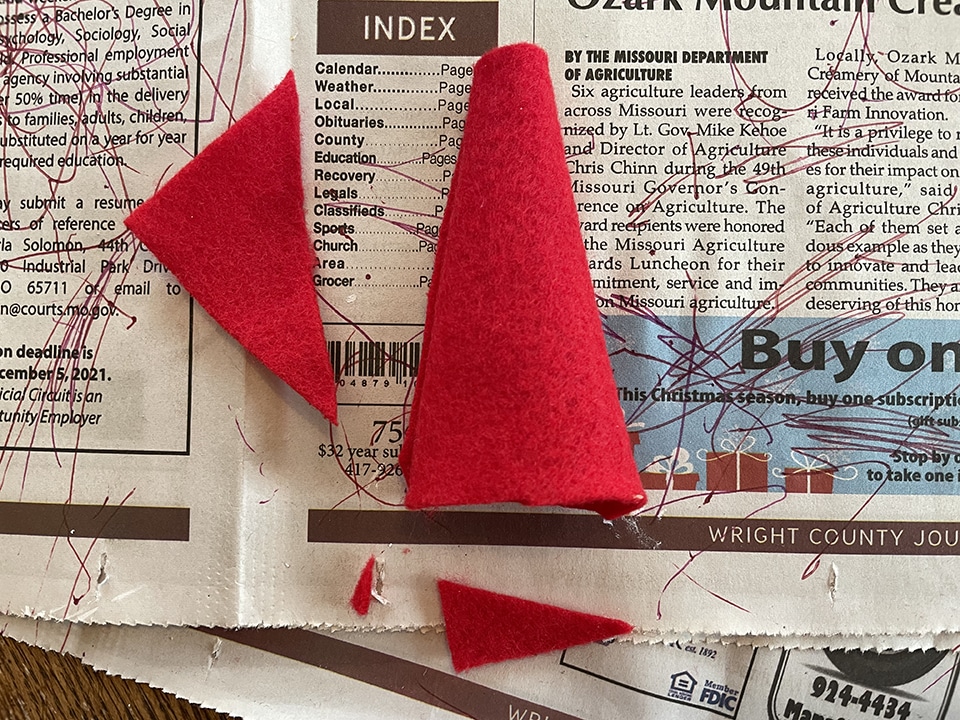
Disclaimer: I made several felt hats before I found a method that worked for me. If you have a better way, please use it!
Hot glue the pom pom to the top of your gnome’s hat.
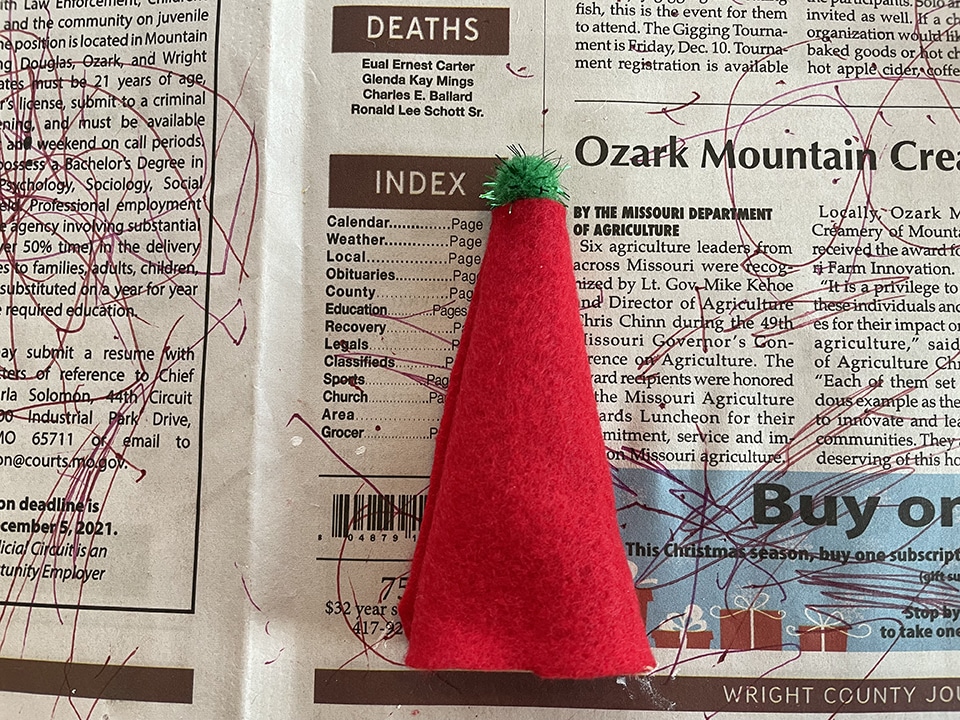
Then, when your pinecone is dry, hot glue a ring around the inside of the bottom of the hat. Smoosh that into place on top of your pinecone, and glue the wooden bead “nose” so that it covers part of the hat.
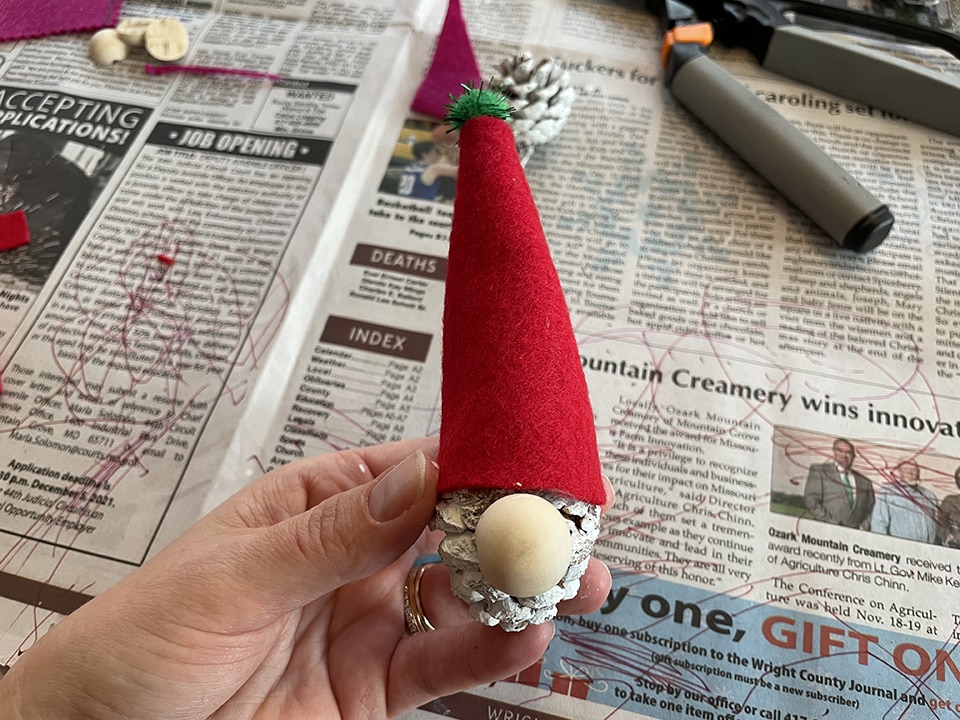
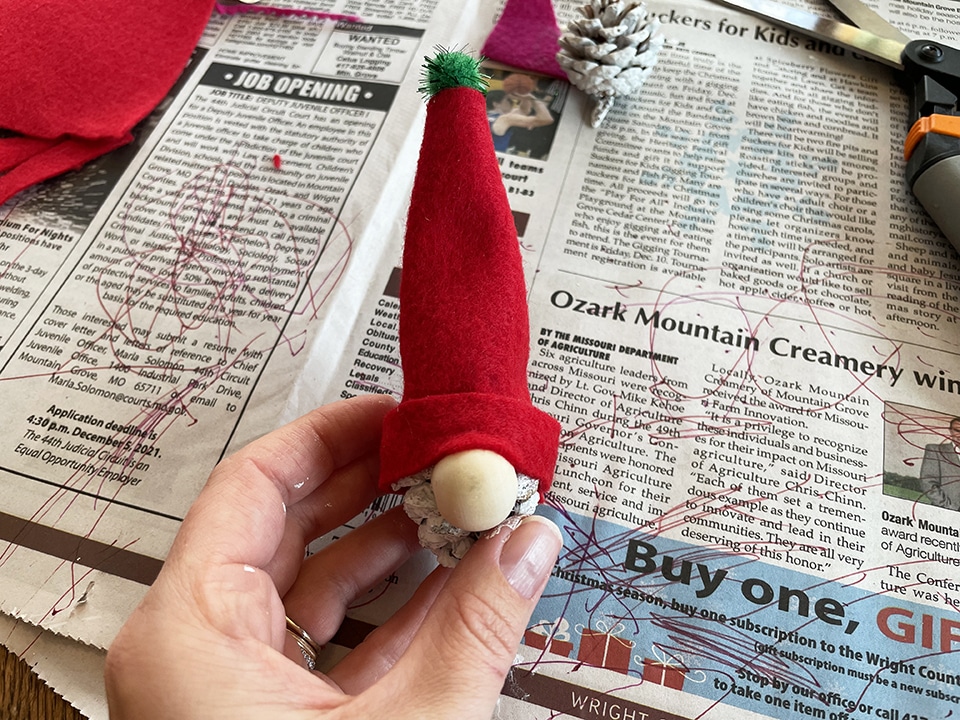
Cut a strip of felt long enough to wrap around your pinecone. Tack that into place at the bottom of the hat using hot glue. Be sure to start at the back of the gnome’s head, and stretch the band over the gnome’s nose, finishing it off with a spot of glue again at the back.
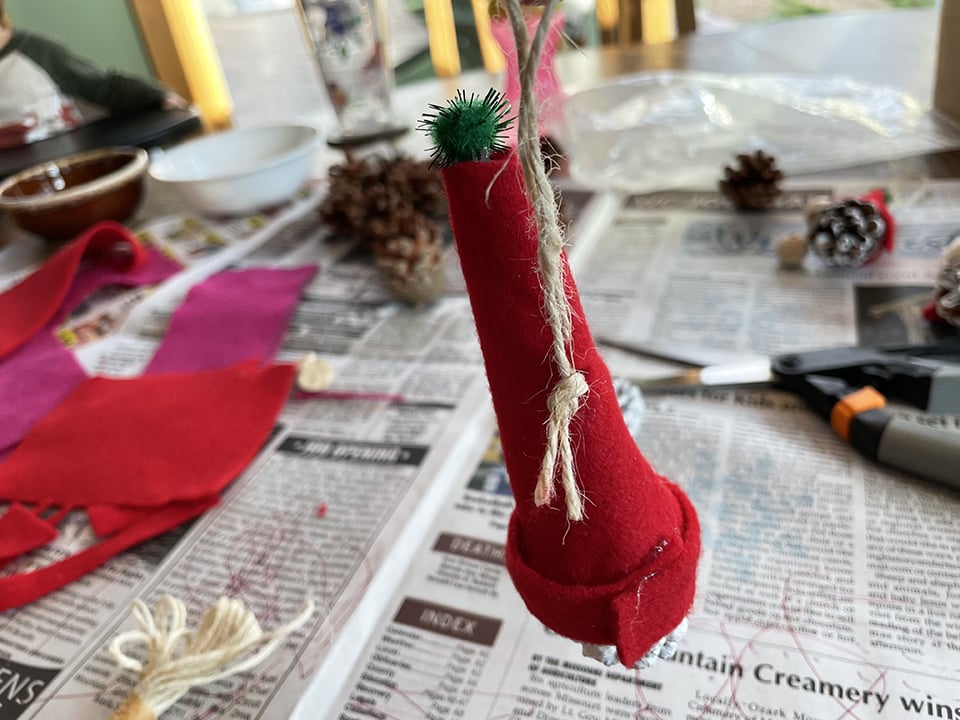
Cut string or twine long enough to be looped, tied and still leave enough real estate to hang your new ornament. I cut two slits in the back of the gnome’s felt hat, and fed the string through, tying it off at the end. Easy, peasy.
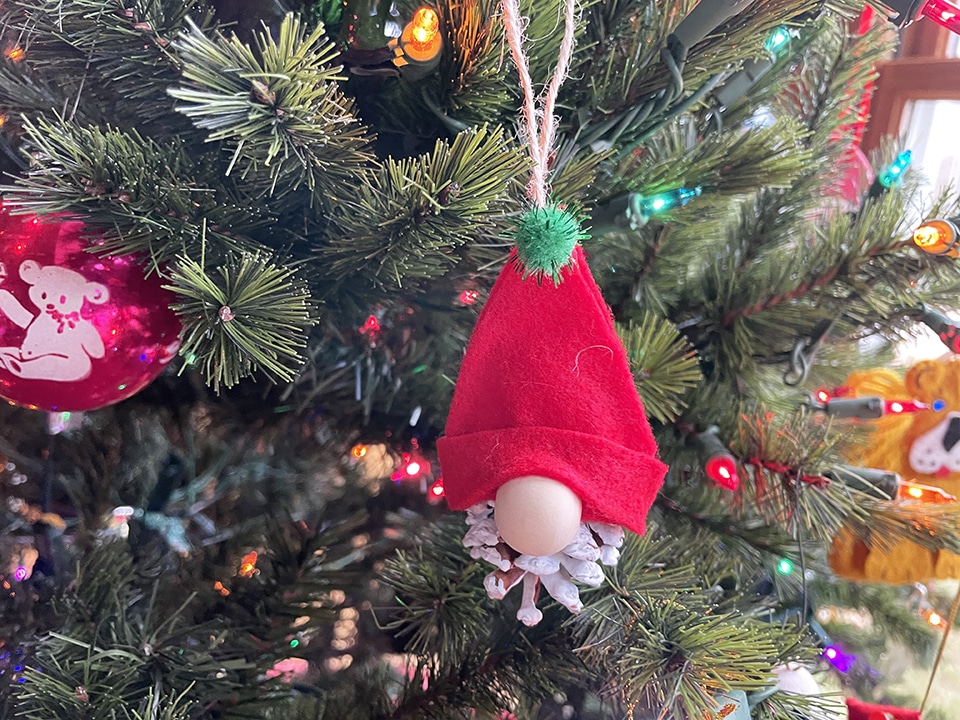
And voila! These adorable Christmas gnome ornaments make wonderful gifts. If you make this craft with children, a tag with the child’s name and the year made could be added to the ornament string.
Jackie Baird Richardson is an interior designer, editor at The WON and avid junker. Watch for her design tips and occasional crafting ideas, bringing the outdoors indoors. View all posts by Jackie Richardson