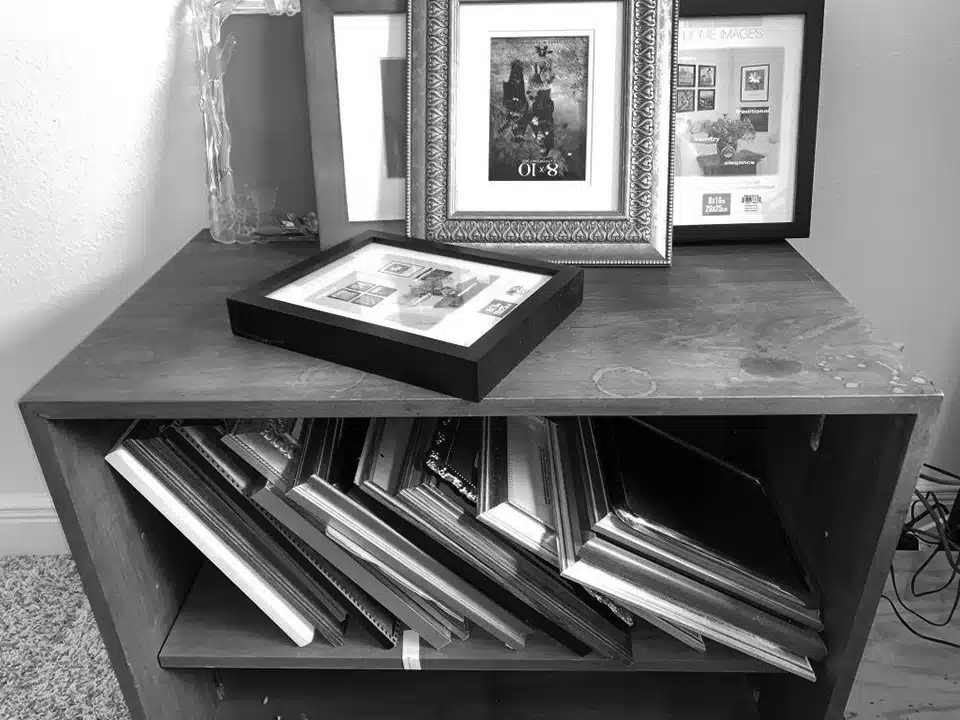
I recently purchased a large lot of second-hand frames for just a few dollars. Quite a few of the frames are funky and outdated, and don’t fit my personal taste. I set out to re-style one by transforming it into a thrifted beaded frame. This post from A Glass of Bovino has been saved in my craft ideas folder for a long time, and seemed the perfect project to test out on these inexpensive frames. Don’t have access to a local online auction? Thrift stores and yard sales serve as a great resource for sourcing cheap picture frames for projects.
My mom and little kids made a whole stack of bubble paintings a few weeks ago, and I wanted to create a unique frame to house some of the masterpieces.

First, gather all necessary materials to make this easy project. You will need:
If your frame is used, like mine, be sure to give it a good wipe-down with a spray degreaser (like your kitchen multi-surface cleaner) and paper towel. I removed a fair bit of dust and grime from my frame.

After cleaning the frame, remove the wooden portion from the glass and backer boards. Set everything but the wood portion to the side. Next, plug in and heat up the glue gun. Lay out the cardboard or newsprint to cover and protect your worksurface.

While the glue heats up, dry lay the half wood balls along the frame to get a rough idea of spacing. Work in small sections and apply a bead of hot glue, then attach the balls to the frame. I discovered that the wooden balls can be popped off with a little force before the glue is dry, if they need to be repositioned.


Next, when the hot glue is dry and you are happy with the wood ball placement on your frame, carry out the cardboard and set up in a well-ventilated area (like your backyard). I used a can of spray paint leftover from another project. This paint worked well because it is an all-in-one paint and primer.

Apply two-to-three coats of spray paint, allowing the paint to dry well between coats. Reassemble the frame and display!


I am pleased with how this inexpensive craft turned out. I used a little over half of the half wood balls (66 to be exact) and have enough to make a smaller beaded frame down the road. A tip – be sure to add a mat! (I stole one from another frame from the auction lot.) I learned this tip from a local artist who was horrified that I had framed one of her pieces with no mat. She encouraged me to always incorporate a mat when framing art, so that the piece doesn’t stick to the back of the glass over time.
The next tip: when I make the next frame, I will do a better job of cleaning off any excess glue before painting the frame. This detail isn’t a deal-breaker on my current frame; I love how it looks overall! But, I will definitely keep this in mind for the next project.


Jackie Baird Richardson is an interior designer, editor at The WON and avid junker. Watch for her design tips and occasional crafting ideas, bringing the outdoors indoors. View all posts by Jackie Richardson