Last summer my husband and I purchased several Vego raised garden beds, assembled and installed them in our backyard. We saved money while filling them, by using the Hugelkultur method. This incorporates various layers before the dirt, including cardboard, logs and compost material. This greatly reduces the amount of garden or potting soil used to fill up the raised beds. The garden beds performed beautifully over the summer and into the fall, offering up large crops of tomatoes, basil, tomatillos, peppers and onions.
This year, in preparation for the summer season, I asked my husband to help install a garden arch trellis. My plan was to have it span from one raised bed to the next, and allow space at the edge of each bed for plants to grow up the trellis. I found several instances on Pinterest where people used a single cattle panel and four T-posts to create an easy and inexpensive garden trellis. With this idea as my template, I set out to create my own version of a DIY trellis.

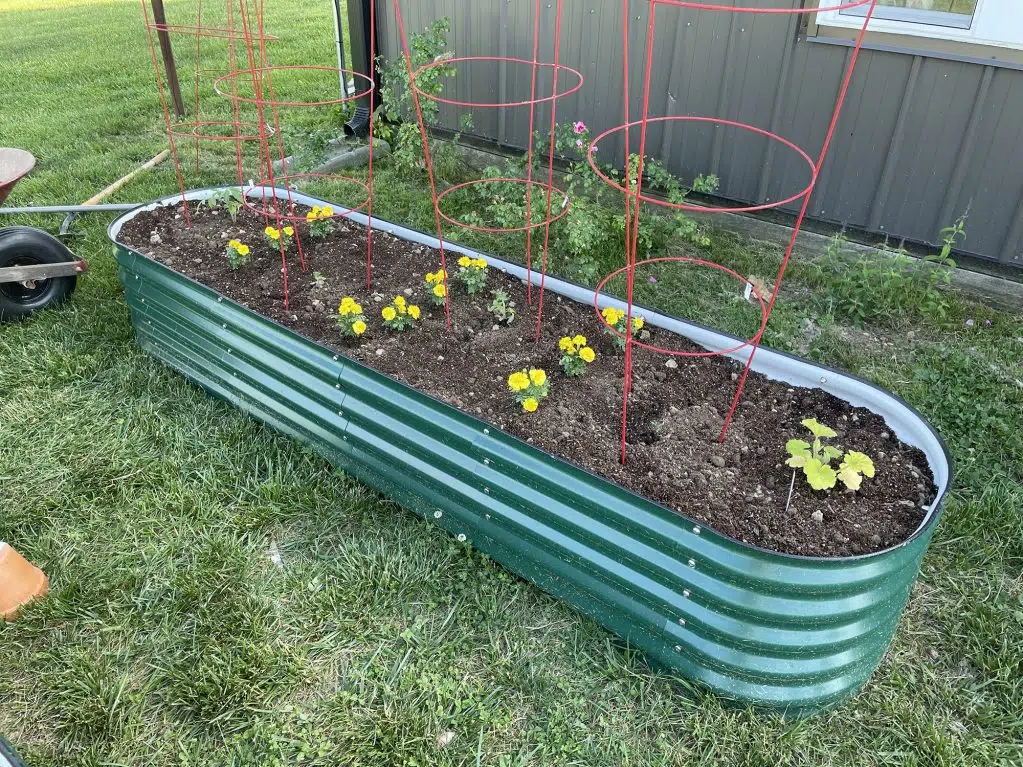
Gather four T-posts per trellis, and a cattle panel. We purchased our panel from the local Ace Hardware store, but these seem to be readily available at Tractor Supply and other farm stores. It measures 50-inches wide and is 16-feet long.
First, drive the T-posts into the garden beds. Measure so that each post falls within the cattle panel’s width dimensions. I chose to center each panel on the length of the raised bed, and left about eight inches of space between the trellis and garden bed wall. This space will be where I plant my seeds.

Next, if dirt was removed to clear a path for the post, go ahead and fill back in the dirt around each post. We all pitched in with this task, even the littlest of helpers.

Tip: If adding the T-posts to raised beds that have been filled using the Hugelkultur (pronounced hoo-gul-culture), you may find that there are logs in the way of driving your posts into the ground. Drive a screw into the log, and use a claw hammer to lift up and move (or remove) the log in question.

Then, grab the cattle panel and maneuver it into place inside of the four T-posts.

Next, check the height of your arch trellis. We reduced the overall height slightly, by clipping off the bottom row on each side of the panel. This also created “stakes” at the bottom of each panel, that we drove into the dirt.

Center and secure the panel to the T-posts using metal wire. We chose to lash the panel onto each post in three places.


Finally, I will plant several creeping varieties of veggies, including beans, peas and cucumbers. I am looking forward to maximizing the growing area of my gardens! Especially with food costs being what they are currently, having a garden where I can grow items we frequently purchase and eat will really help offset my grocery budget this summer and fall.


Jackie Baird Richardson is an interior designer, editor at The WON and avid junker. Watch for her design tips and occasional crafting ideas, bringing the outdoors indoors. View all posts by Jackie Richardson