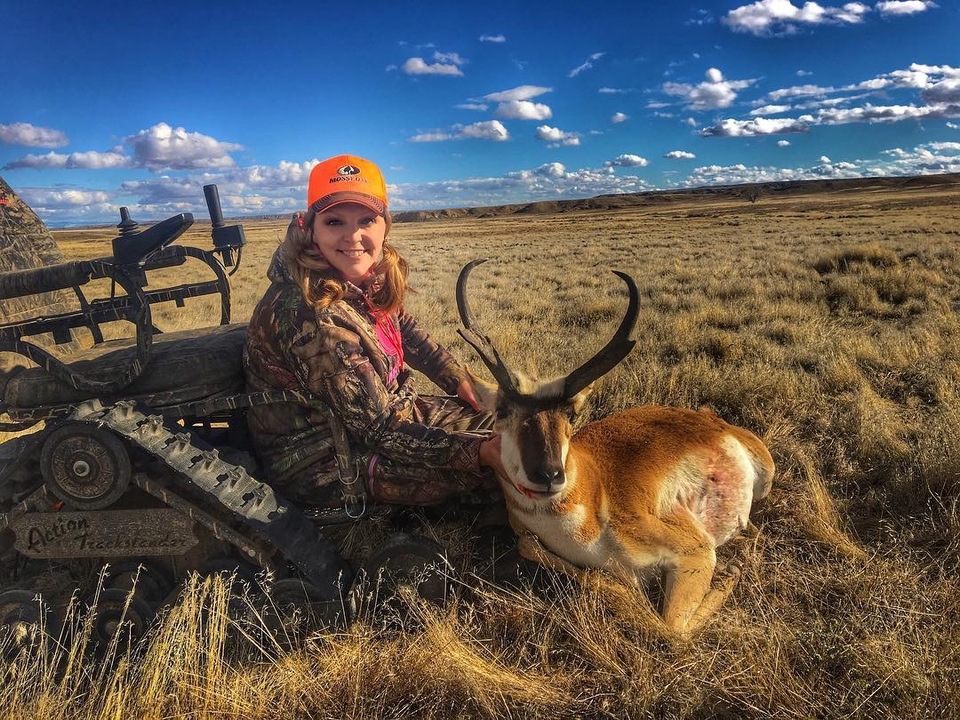
Last fall I harvested a public land antelope buck here in Wyoming. He was unusually wide, and I stalked him from my Action Track Chair for several hundred yards before making my shot, so I knew I wanted to do something to remember the adventure. I am a huge believer of bringing your hunt to your home, whether it is through processing your own meat, having the feathers from your turkey made into earrings, or incorporating your harvest into your house decor. For me, I knew this antelope would make a great European mount. I had never ventured into the realm of DIY taxidermy before, so I began by scouring the internet for how-to articles and videos for my DIY antelope European mount.
The information available is plentiful, and since most of the data is fairly similar, I decided to take parts from several different sources to cover all of my bases. As I am a visual learner, I found this video from Whitebone Creations particularly helpful. If you are interested in doing your own euro mount, prepare yourself for getting very intimate with your harvest. While I found this fascinating, others may get halfway into the skinning and decide that you just signed up for something a little more graphic than you intended. If this is the case- no guilt! It certainly isn’t for everyone. If you do decide to tackle this new skill, here is the equipment you should gather:
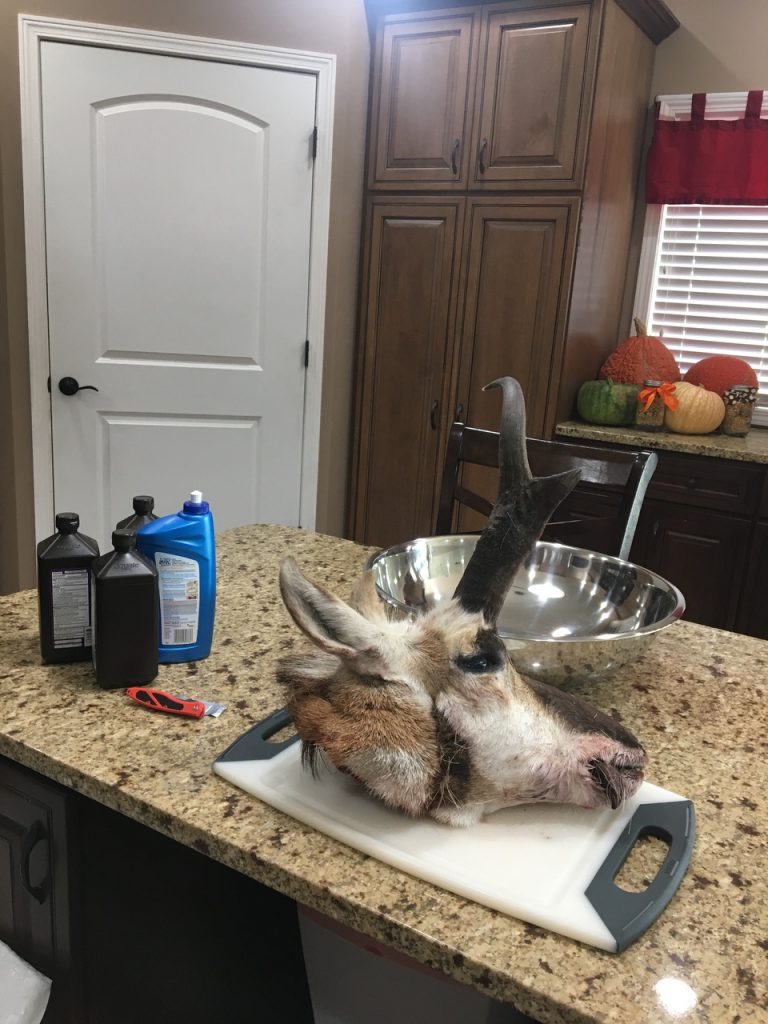
The first step is the most tedious, but also one of the most important, so give yourself an hour or more for this. The more meat you can get off the skull, the less time you’ll spend boiling later. A sharp, thin blade makes this process much easier. I used a Havalon Piranta-Edge [MSRP: $44.99], and it was perfect for bending slightly around the contours of the bone to get in every crevice. I also had several replacement blades nearby and definitely used them during the process.
After putting on a pair of gloves, begin by removing the hide. I had kept the skull in the garage refrigerator for several days before and the skin and meat came off much easier than if I had tried to do it fresh from the harvest, as it had firmed up and dried out a little from the cold. If your head is frozen, make sure you give it a few days to thaw in the refrigerator before you start the taxidermy process. Place the skull on a cutting board or other non-slip surface and have a large bowl or trash can nearby for scraps. I found it easiest to start around the mouth. Once you’ve finished this section, the remaining skin should go quicker. Score around the base of the horns and remove the hide by peeling it away from the horn sheaths.
Once you’ve skinned the head, remove as much organic matter as possible, including the eyes and inside the mouth. You will need to separate the jawbone and remove the lower section completely. This requires a little muscle, but once you crack it apart, your knife can do the rest. Don’t be afraid to really get after it! Make sure you don’t neglect the brain cavity, although some of this material will be easier to remove once you’ve moved on to the next stage.
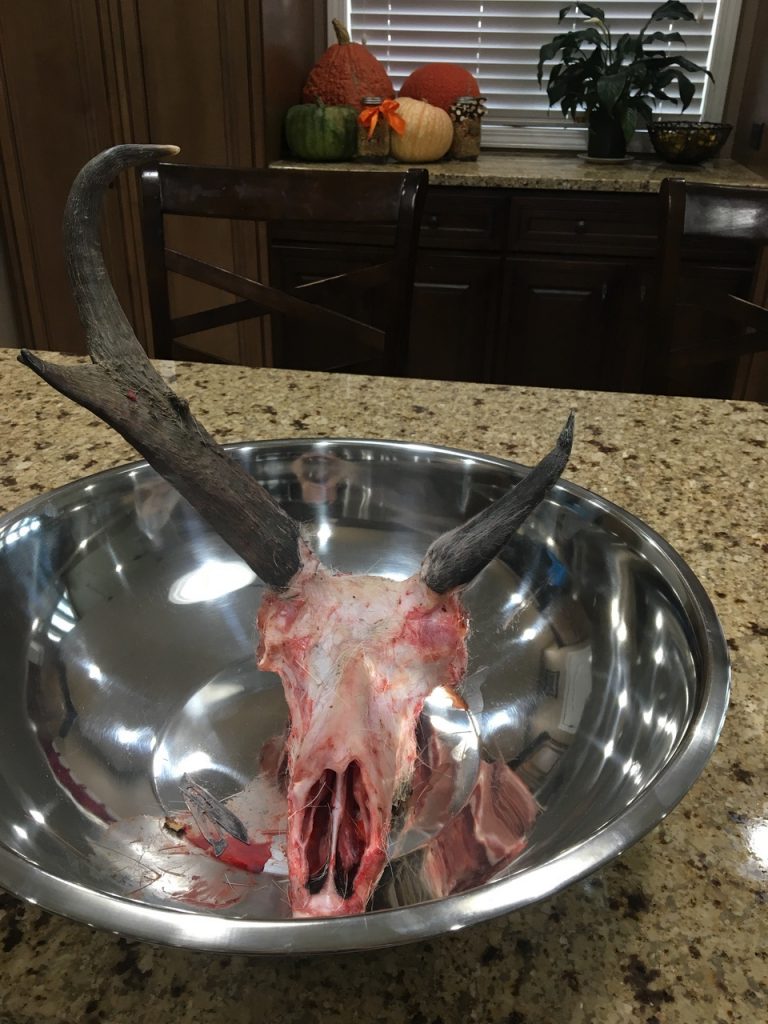
Once you have removed as much flesh from the skull as possible, it’s time to commence with the first round of boiling. You will need a pot deep enough to fully submerge the skull without soaking the horns. It’s important to use only clean water at this stage with no cleaning agent, as this can damage your horn sheaths. The steam from the hot water will help the sheaths disconnect from the bone beneath, so begin checking your skull after 15-20 minutes of boiling. You may want to do this in the shop or outside if weather permits, as the smell may be bothersome.
Depending on the time of year you harvested your antelope, the sheaths may have been closer to dropping and will remove more quickly. One of mine actually came off in the field while dragging the antelope back to the truck! Most people don’t realize that there is flesh underneath the horn sheath, and if you don’t remove it, it will rot and cause your mount to stink. Remove your skull and attempt to remove the sheaths with a twisting and pulling motion. Rubber gloves are beneficial at this point as the skull will be hot. If the sheaths don’t come off easily, return the skull to the boiling water for another 15 minutes and try again until they have both been removed. Rinse the sheaths thoroughly inside and out and set aside to dry.
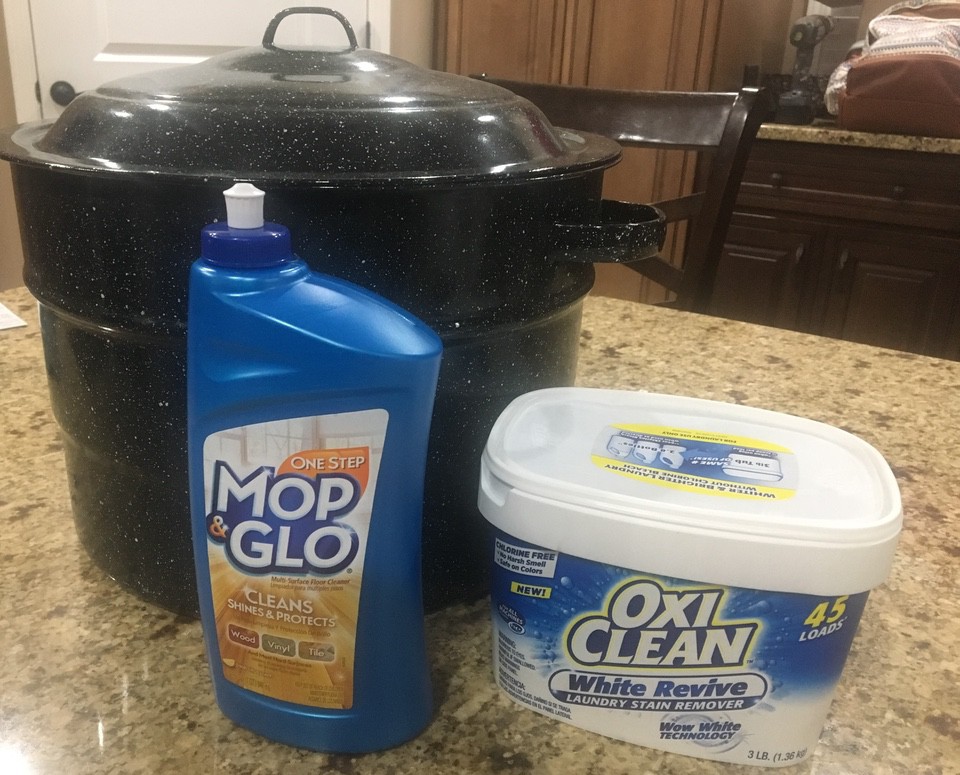
Return the skull minus the removed sheaths to the boiling water and add a cleaning agent such as Oxi-Clean or a degreasing dish soap. Boil for 1-2 hours, checking occasionally with your knife and replacing the water as needed. You are looking for the skin to split and slide easily from the bone. Once this occurs, use a pressure washer to fully remove all remaining organic matter. Be careful around the teeth as they may be loose. (I lost two in the driveway gravel and never did find them again!) If you do recover any lost teeth, they can be reattached with super glue at the end of the taxidermy process. A wire hanger or pointed tongs may be helpful to remove all brain material, and I chose to remove the cartilage in the nasal passages as well. I like the cleaner look, and I didn’t want to take any chances with odor.
You may need to use a knife to help peel the tough skin away from the horns. If this or any other part is not removing easily, return the skull to the pot for more boiling until you have a completely clean skull inside and out.
Once your skull is fully cleaned, you have the option of whitening it. If you used Oxi-Clean in a previous step, your skull may be fairly white already. If you want it even whiter, I put my skull in a pot of clean, boiling water containing a 50:50 ratio of water to 40% hydrogen peroxide. This only takes about 5 minutes- any longer and you can damage the skull. Alternatively, you can paint the skull with peroxide and a brush and allow it to dry completely or use another whitening agent.
This step is a little extra, but if you want to make your antelope horn sheaths shine, brush them with a little Mop ‘n Glo and allow them to dry completely.
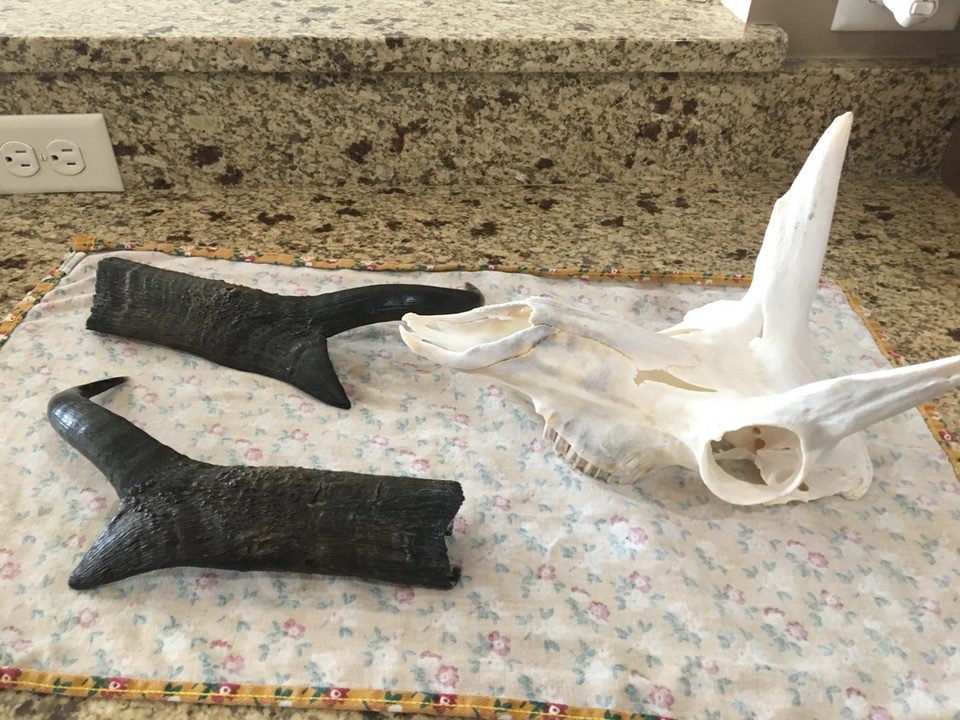
Once your clean skull has cooled and both it and the horn sheaths are completely dry, you need to put it all back together! I used Bondo, but there are other adhesives that will work as well. Once the glue dries, you are ready to display your very own DIY European antelope mount!

I chose to decorate my mount and hang it from a Skull Hooker Little Hooker. [MSRP: $34.99] For the tutorial on this decoration and other ideas of bringing your hunt into your home décor, check out my next post in April.
Note: If the cleaning and boiling process is a little intimidating to you, you can also send your skull to be cleaned via beetles. Check with your local taxidermist for pricing or check out online options in your area.
This Retro WON fist appeared March 6, 2019.

Ashlee Lundvall writes a blog titled "Redefining Life," that follows her rise from a debilitating injury as a teenager to Ms. Wheelchair USA in 2013. Her first book, "A Redefined Life," was published in February of 2016, and she is on National Pro Staff for Mossy Oak and the NRA’s Disabled Shooting Sports committee. Ashlee is also the recipient of the 2017 SCI Foundation Pathfinder Award. Ashlee truly shines as a keynote speaker at outdoor industry and disability related events and conferences. She is passionate about mentoring newly injured patients, and loves to pass on her love for adapted outdoor recreation! View all posts by Ashlee Lundvall