If you’ve ever been to the beach and collected seashells, you know what I’m talking about. You collect all shapes and sizes of shells (always checking to make sure there are no occupants in them, of course) and then come home and put them in a drawer. Or maybe you display them in something made of glass. After our trip to Tybee Island, I wanted to do something special with our shells. I found instructions for DIY resin seashell coasters and went to town.
Actually, I went to Amazon and ordered the resin mix. I scrounged and found everything else.
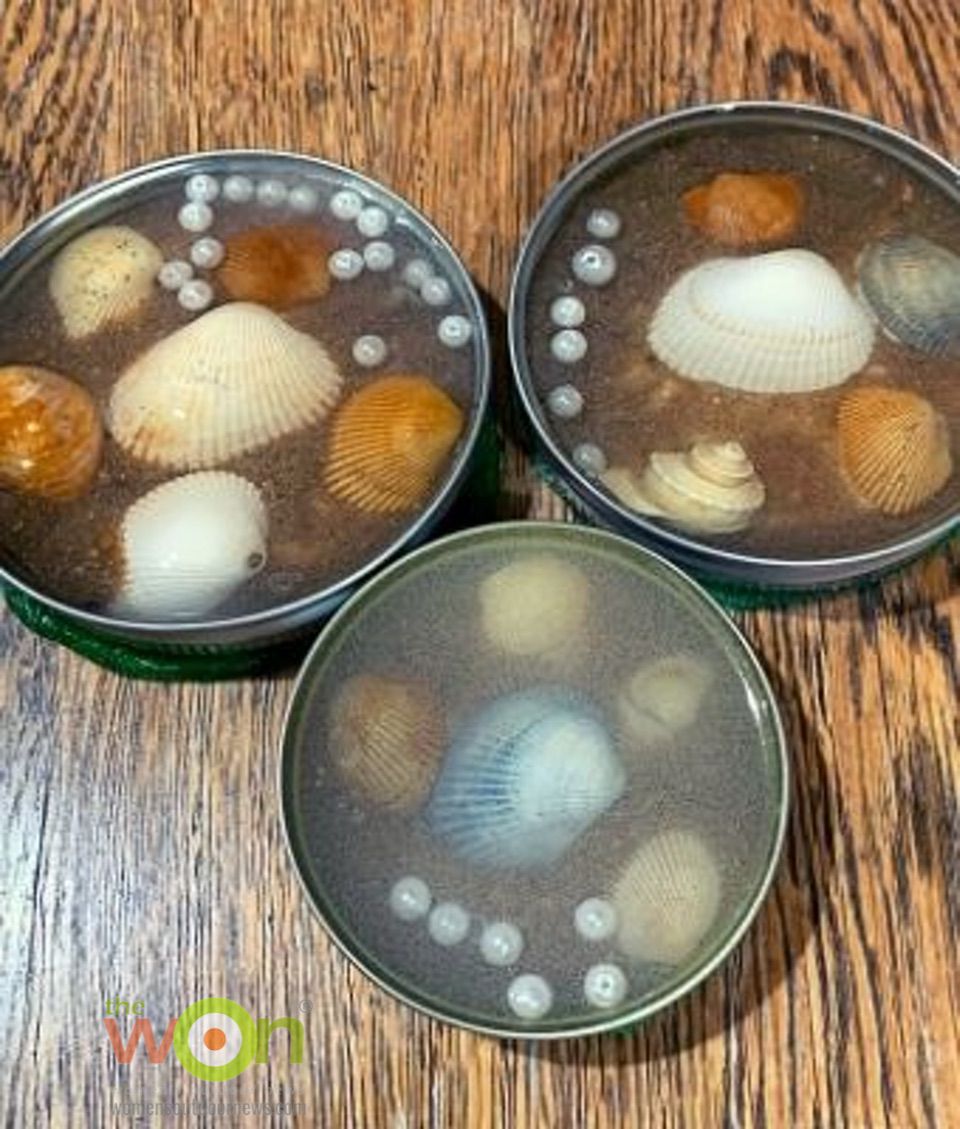
First of all, resin is hot right now. Go and look at endcaps in Hobby Lobby or any other craft stores, and you’ll see lots of resin craft projects. Second of all, who doesn’t need another coaster? The reason I like the look of these coasters is because if you do it right, the shells look as though they’re under water. Do it wrong, and it looks like murky water. I did it both ways.
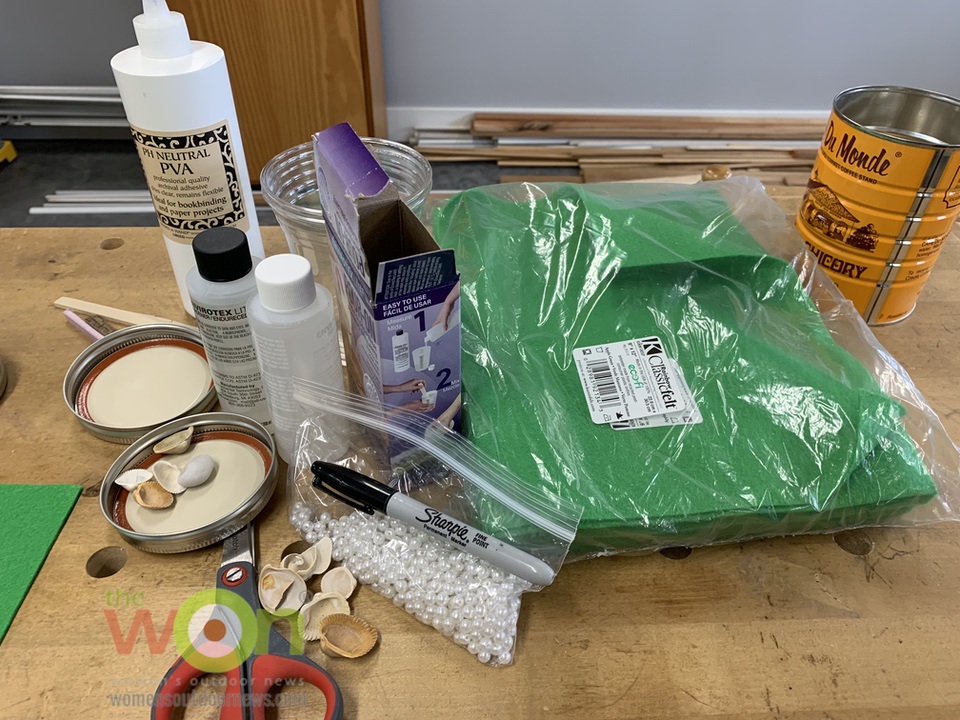
Here’s what you’ll need to make these coasters:
Thanks to the Pinterest account of “Running With Sisters,” which actually describes my upbringing – with 3 sisters and a dad who coached football, tennis and track – I found pretty good instructions for this craft. They dubbed it “steampunk coasters.”
First of all, an 8-ounce kit of resin will make 2 or 3 coasters, depending on the jar lids that you use. I made the mistake of thinking I could use canning lids and rings. After the resin started leaking out the bottom, I realized the error of my ways. Use 1-piece lids.
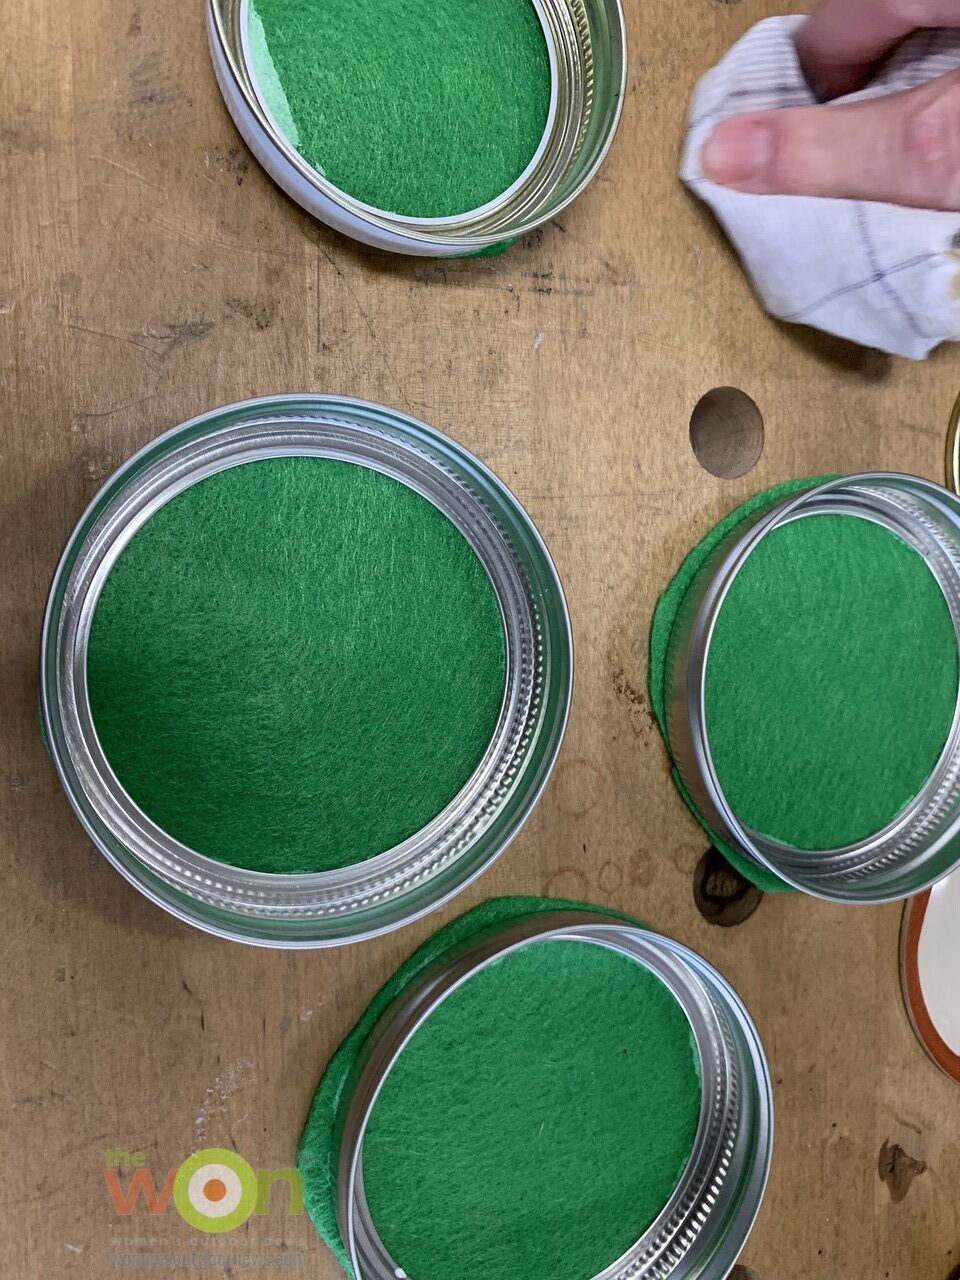
You may spray paint them, but I liked the original finish on the lids, so I just left them. Also, you’ll need to cut felt circles to glue on the bottom of the lids, so that your coasters don’t scratch a table or countertop.
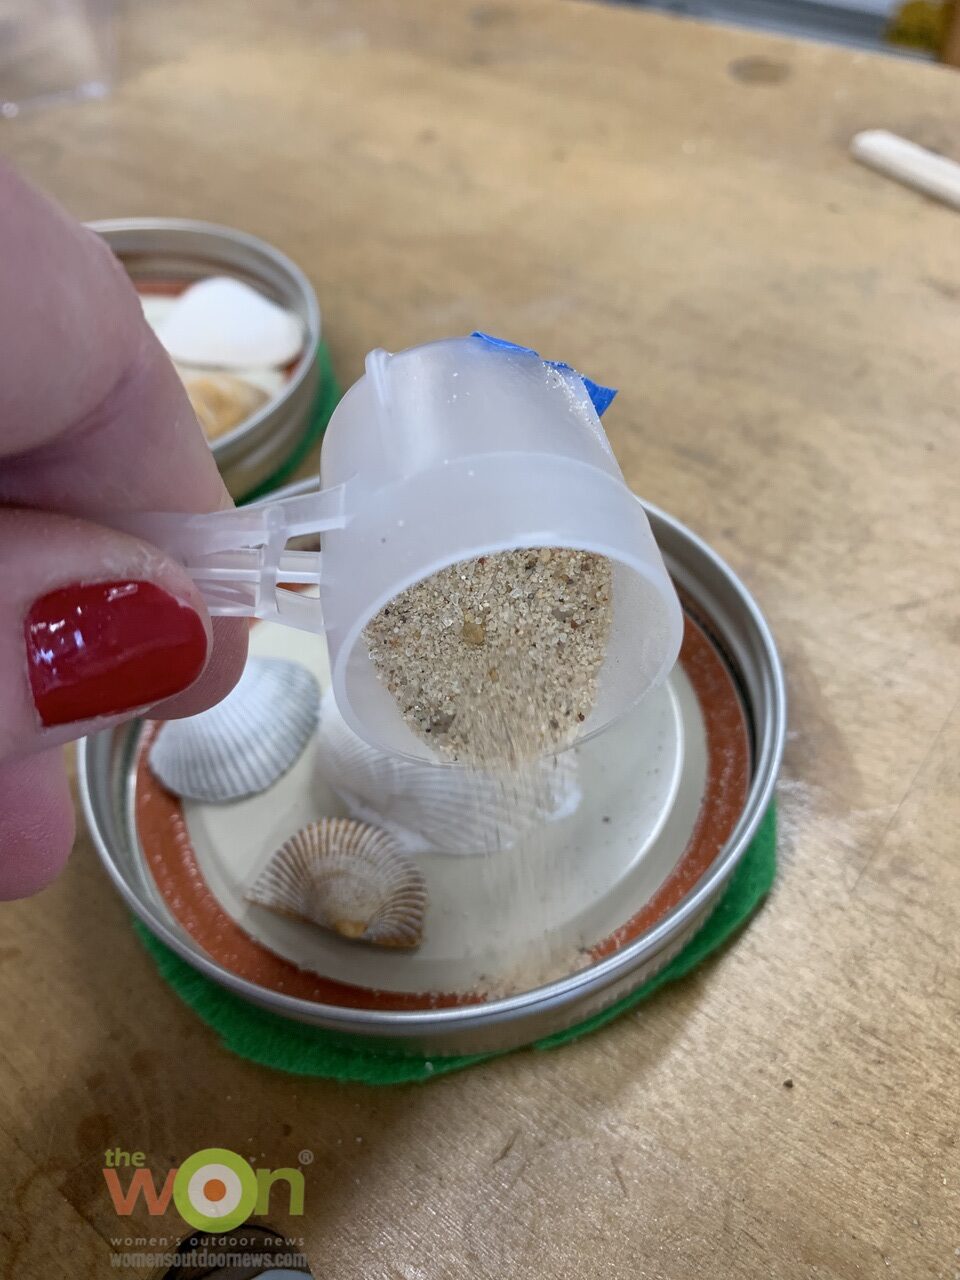
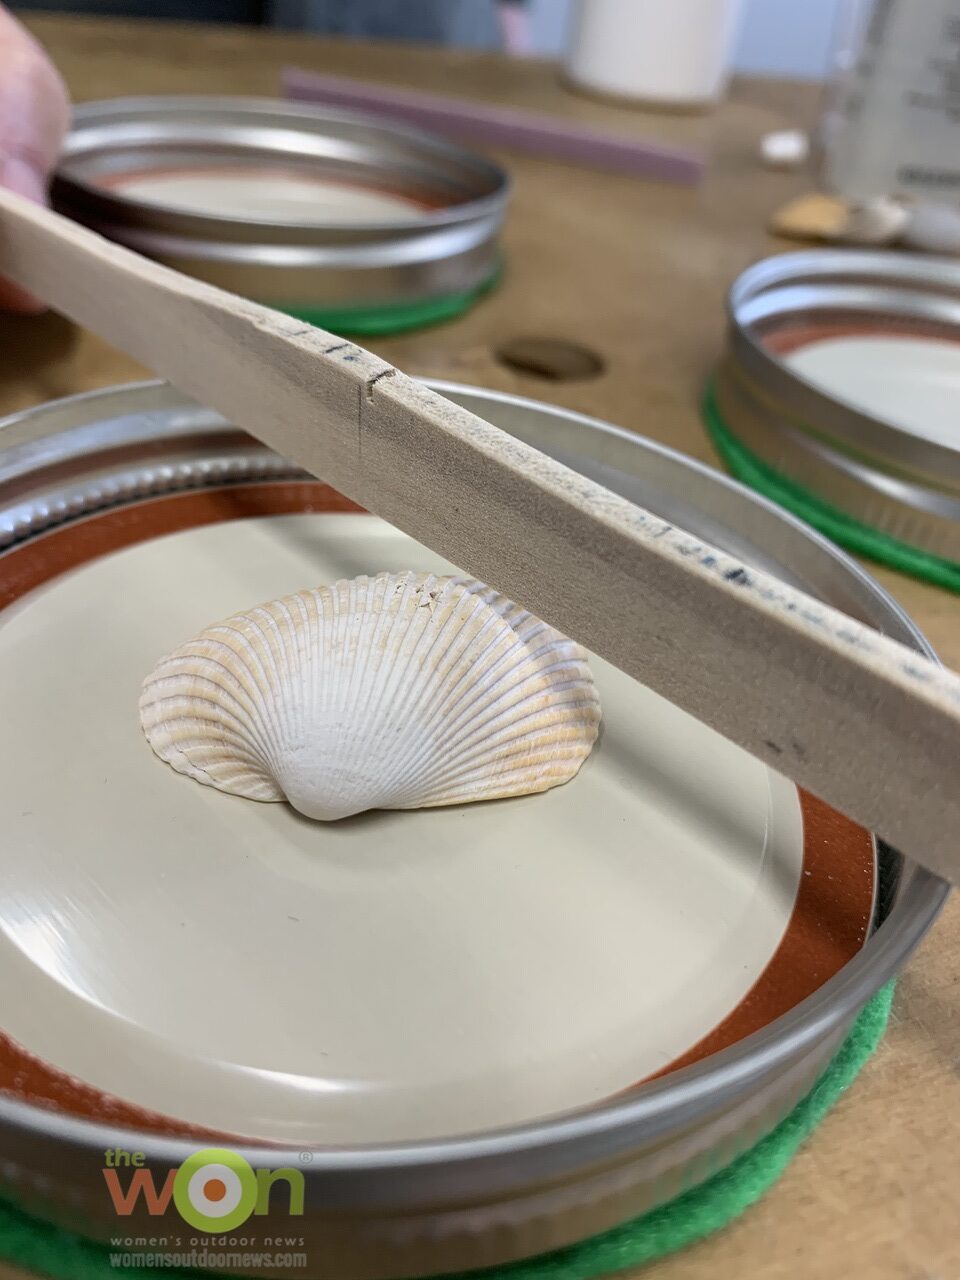
Then, arrange the shells and rocks in the lid, pour sand or chipped rocks/shells over them, and use a ruler or something with a straight edge to check to make sure there’s clearance and you don’t move the shells or rocks when you run the ruler from front to back.
You may add craft pearls to the mix, or I think sea glass would be pretty, too.
Make sure your coasters are in a dust-free environment and on a level surface before the pour.
You must put on your scientific attitude to make the resin. Take the cups – with straight sides and bottoms (tapered ones allow the resin material to stick in the little grooves and not get mixed properly). Also put on your goggles and gloves. Make sure you’re working in a ventilated area, too.
Take 2 cups and pour equal amounts of resin and hardener in each cup. The running girls used 3 ounces of resin and 3 ounces of hardener to make 2 coasters. After measuring, pour the contents of the resin and hardener into another clean cup and start your engines, I mean your timer. Mix the resin concoction with a clean stirring stick for 2 minutes. Time it. Then, pour this mixture into the 4th clean cup and mix for another minute with a clean stirring stick.
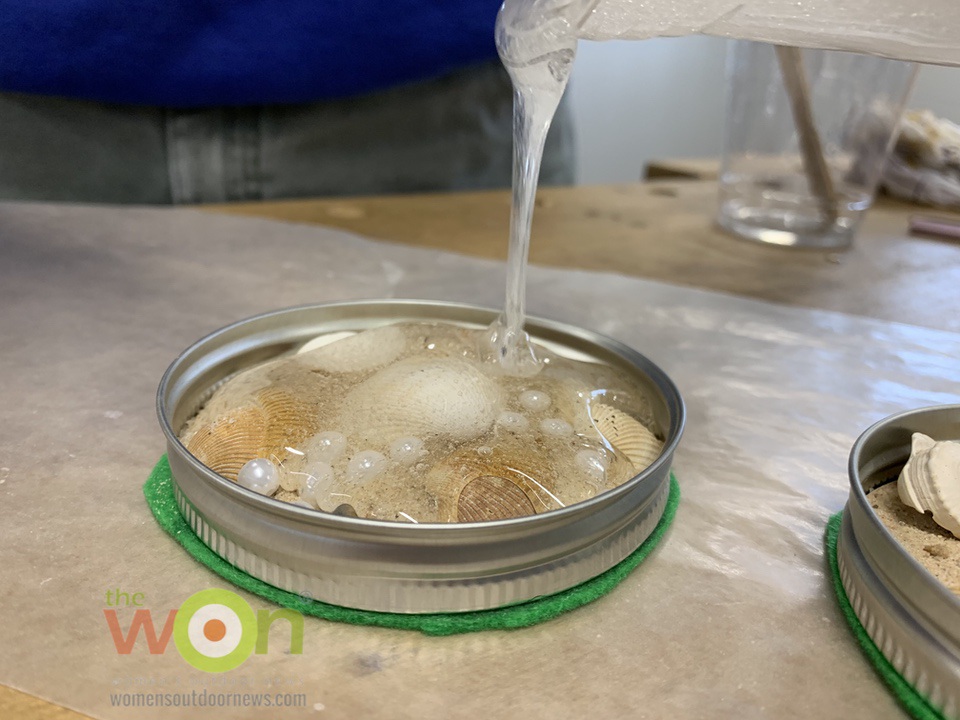
Drizzle the resin over the assemblage of beach stuff evenly. At some point, between 5 and 15 minutes, little bubbles will begin to surface. The pearls also may start to float to the top. You can either breath on the surface to get rid of the bubbles – something about the CO2 in your breath mixing with the bubbles and dispelling them quickly – or you can take a toothpick after them and pop them.
The chicks who run like rock chips better than sand, but I think the sand looks beachy.
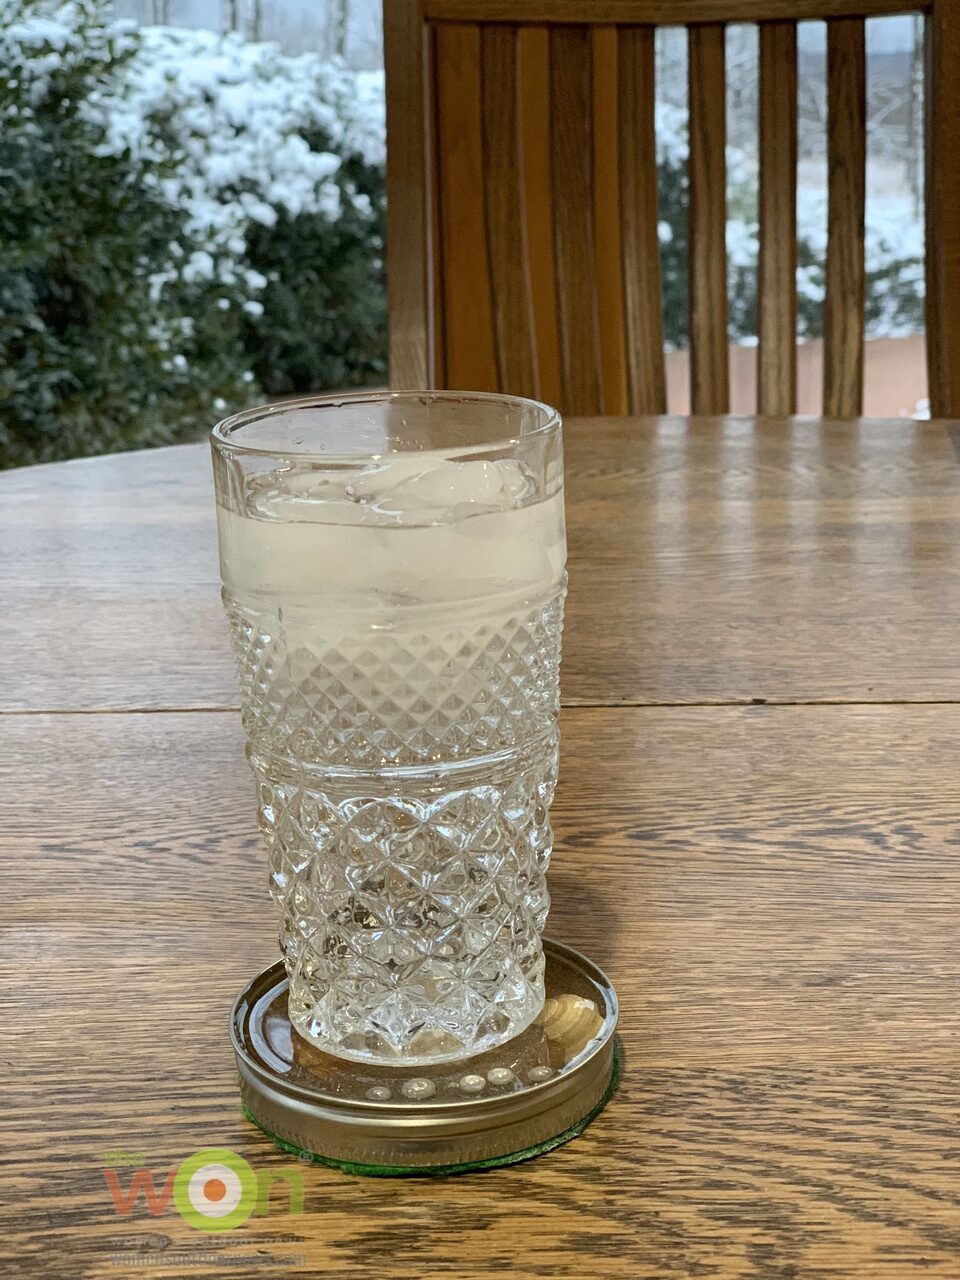
After 48 hours, your Christmas presents for the grandparents next year will be ready and you can admire your work, and set your favorite beverage down for a spell.
Find more of our DIY projects here.

Publisher/Editor Barbara Baird is a freelance writer in hunting, shooting and outdoor markets. Her bylines are found at several top hunting and shooting publications. She also is a travel writer, and you can follow her at https://www.ozarkian.com. View all posts by Barbara Baird