“Women’s Outdoor News” and Avery Skipalis bring you a video about mounting a pistol red dot. Pistol red dots have gained recent popularity due to their many benefits and fairly low cost. This has caused an influx of individuals to make the plunge and give it a try. Part of this journey often involves mounting a pistol red dot for the first time. This can be intimidating at first, but hopefully this video will help ease the anxiety.

Sponsored by GLOCK
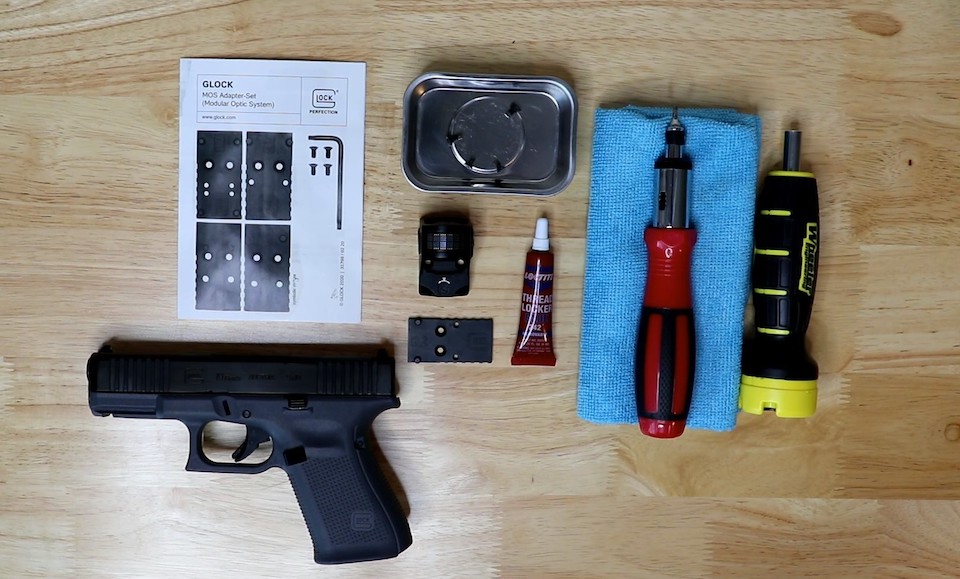
Mounting a pistol red dot is a relatively easy task if you have the appropriate tools and hardware. The GLOCK MOS series of pistols includes four mounting plates to accommodate a variety of optics. The items you will need include a torque wrench with appropriate Torx bits, medium strength thread locker, correct size mounting screws and a lint-free cloth.
Before you begin, ensure to perform a safety check on your pistol to ensure it is properly cleared out. Once cleared, field strip the firearm and set everything but the slide off to the side. Remove the GLOCK MOS cover plate that is installed from the factory using a T-10 Torx bit. Clean the mounting area with a lint-free cloth to ensure it is free of debris.
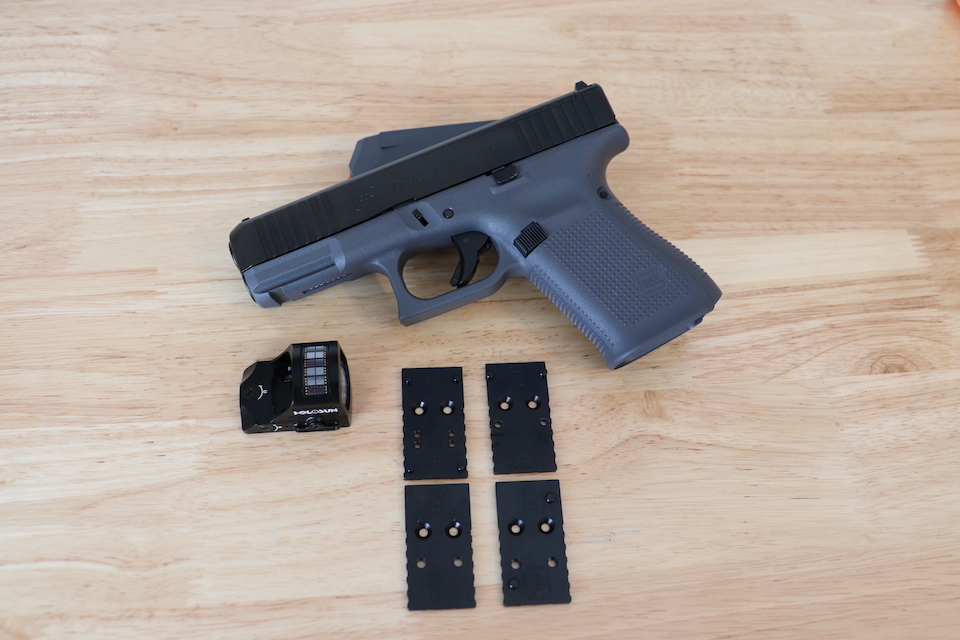
Next, you want to select the correct adapter plate for your optics footprint. Refer to the mounting plate kit instructions for compatible red dots and their corresponding mounting plate. Before mounting the plate to the slide, test fit the optic and the screws to ensure they do not protrude from the bottom of the GLOCK MOS mounting plate. Place the plate on the slide with the marking side up. Apply medium strength thread locker to the two small screws included in the mounting plate kit. Install the screws and torque to 13.3 in-lbs.
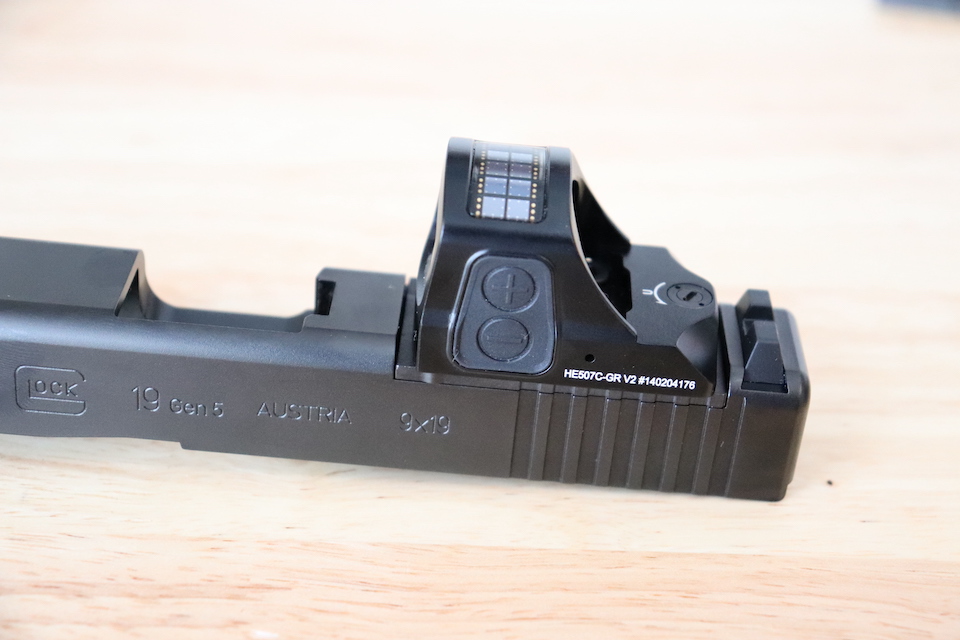
Now, mount your red dot to the plate according to the optic manufacturer’s instructions. Ensure you use medium strength thread locker and torque to specifications. Let the tread locker cure, reassemble your firearm and you are ready to hit the range. Additionally, witness marks can be applied to serve as an instant visual confirmation that your fasteners are not coming loose.

Avery Skipalis is the owner of Skip’s Tactical Solutions, an organization that focuses on empowering women, men and children to make sure that no one else becomes a victim. She gained her firearms experience from the military where she’s been a military firearms instructor for 10.5 years. She’s also a certified NRA rifle and pistol instructor and Glock Advanced Armorer since 2015. She’s attended Sig Sauer Academy, FNH, Special Operations Command Armorers courses as well as multiple Advanced Shooting Schools across the United States. She resides in Florida with her husband and 2 kids. She’s currently serving in the United States Air Force and loves sharing her passion with others. She thinks it’s important that women also feel like they’re in control of their own safety. View all posts by Avery Skipalis