
This week’s craft project is a great companion for a kid’s science lesson. I made borax crystals from simple household ingredients, and really enjoyed the process. Even though my kiddos are a bit too young to take part in this craft (one of the steps involves pouring boiling water into prepared jars), I can imagine children of all ages getting into the activity, as well.
We at The WON are fans of a craft or DIY project that also has an educational twist. The folks over at afewshortcuts.com created a similar project, and listed these educational aspects as a great science pairing to the craft:
Keep reading for the process I used to make these cool crystals.
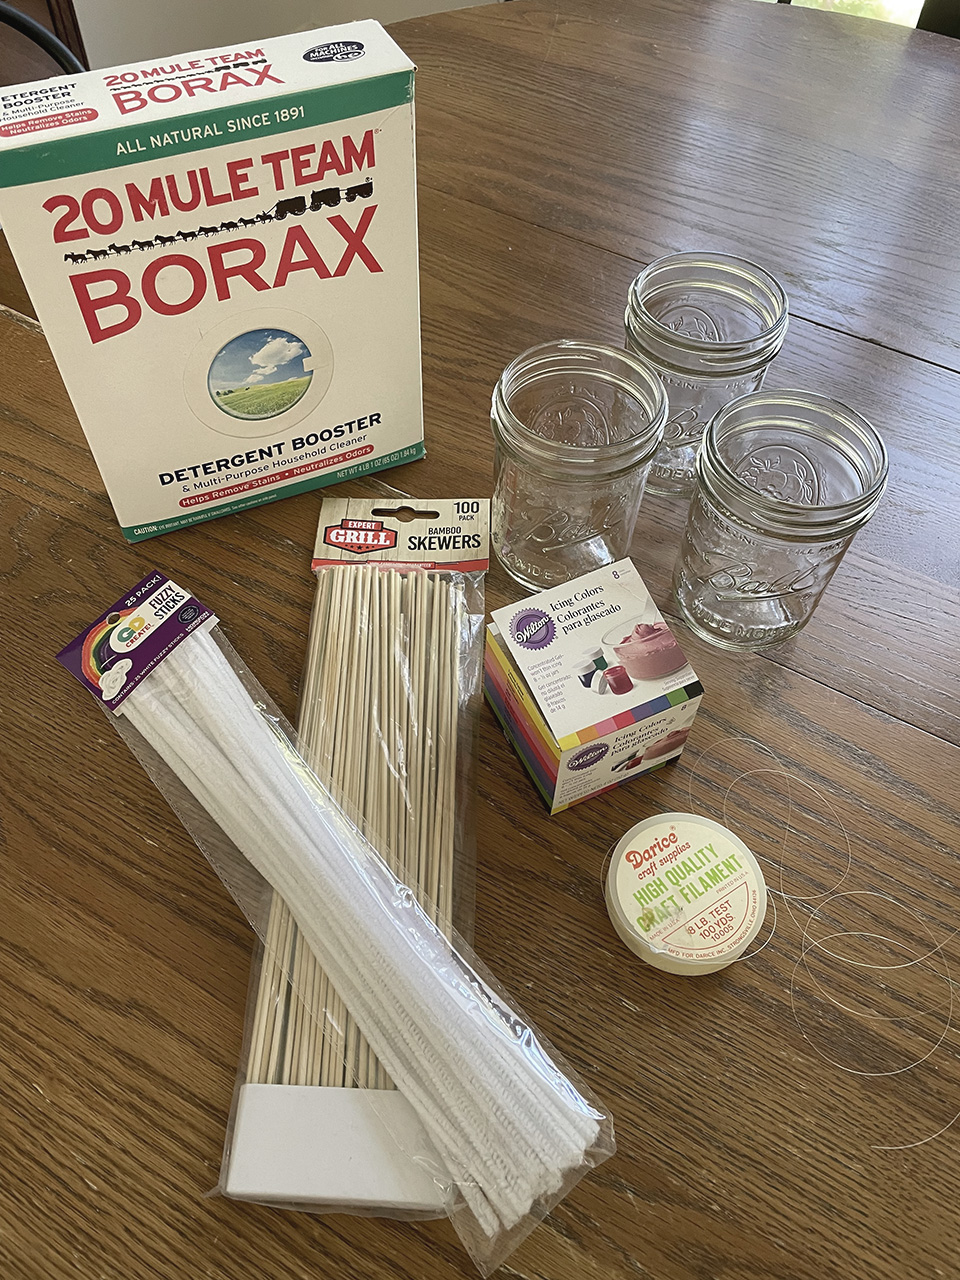
Clean glass or Mason jars, one per crystal
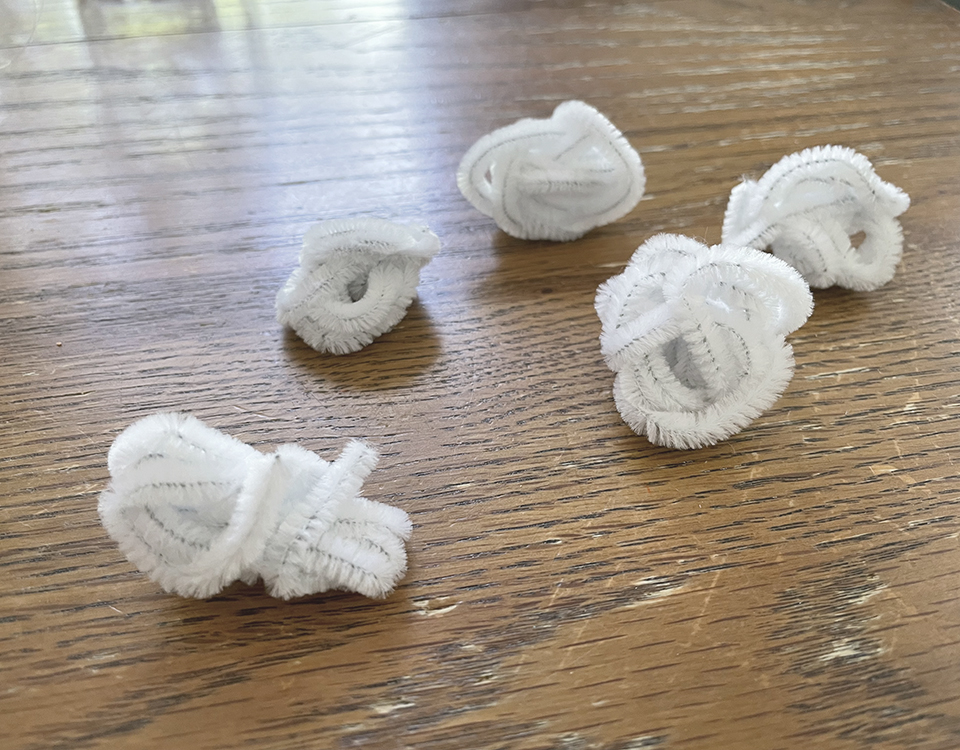
Pipe cleaners, two per crystal
Bamboo grilling skewers, one per crystal
Fishing line
Food coloring, liquid or paste
Cardboard or paper plates
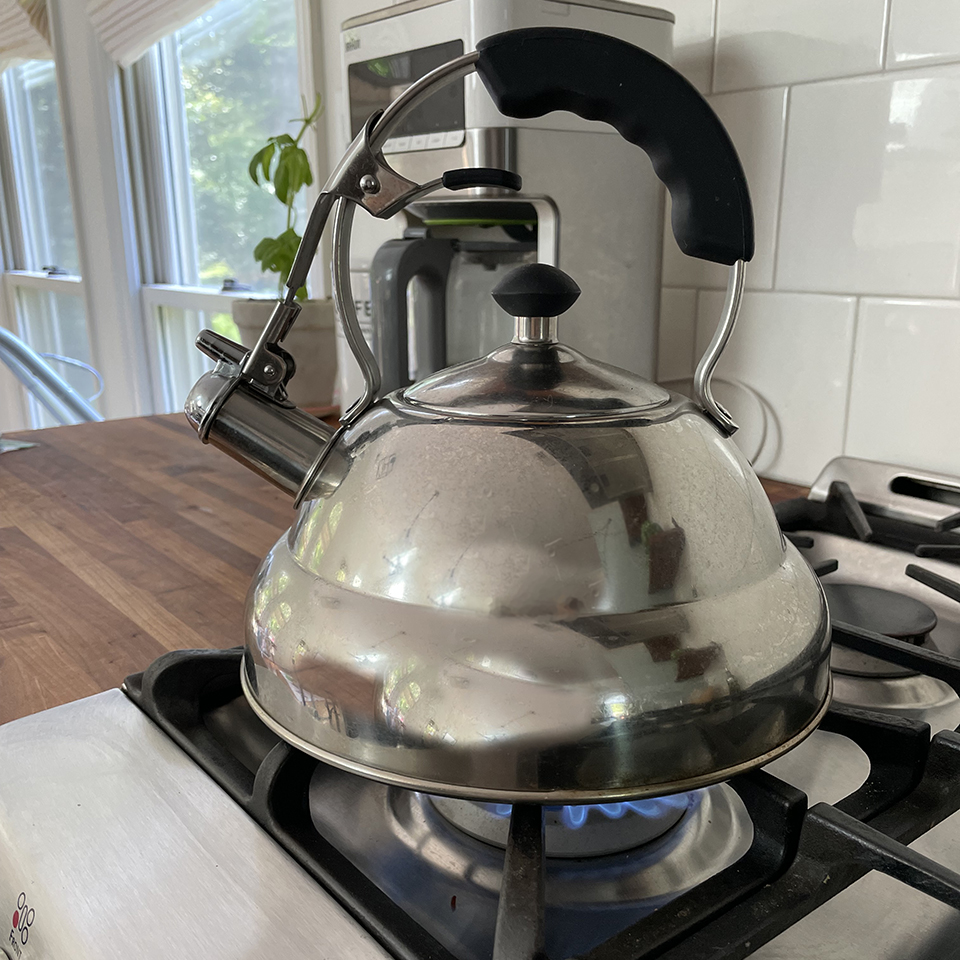
1. Fill kettle and place on stovetop to boil.
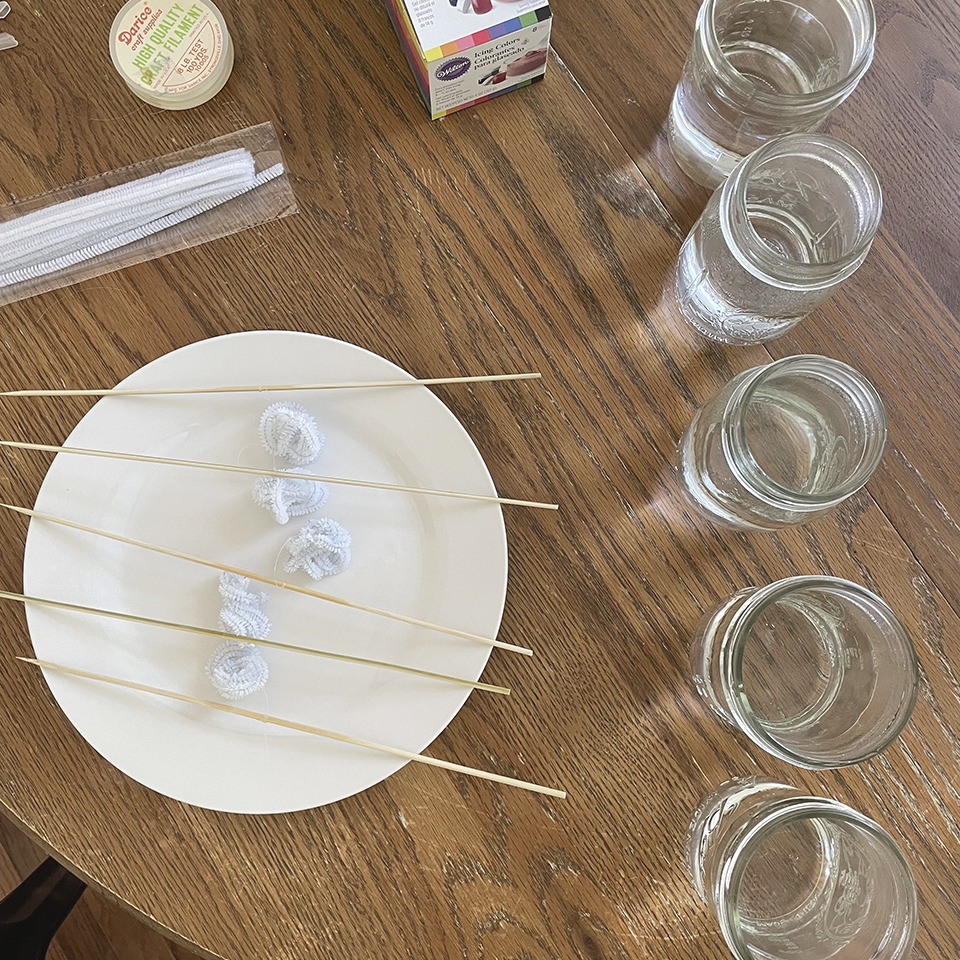
2. While the water is coming to a boil, twist two pipe cleaners around each other. Be sure to make each pipe cleaner “ball” unique in shape. These will serve as the base on which our borax crystals will grow.
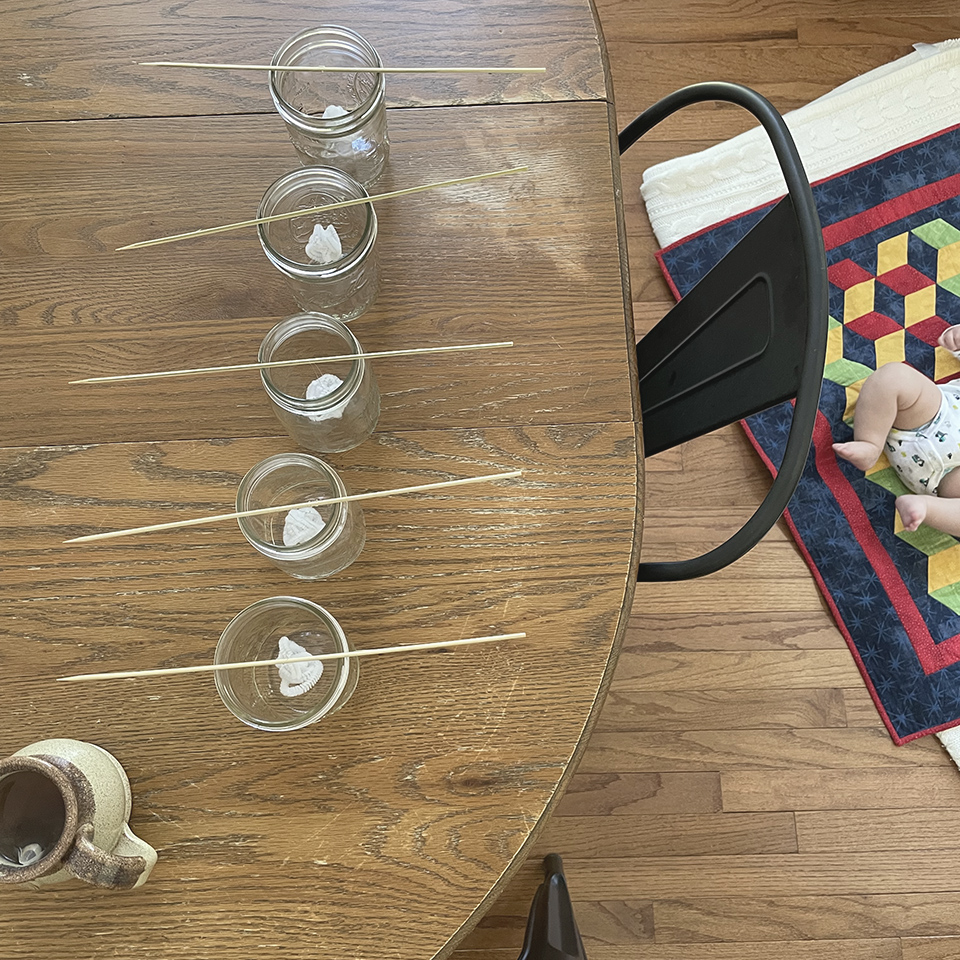
3. Using the fishing line, suspend each pipe cleaner clump from a single bamboo skewer. Hang the clump so that it dangles inside a jar. Secure the clump so that it hangs about in the middle of the jar, from top to bottom.
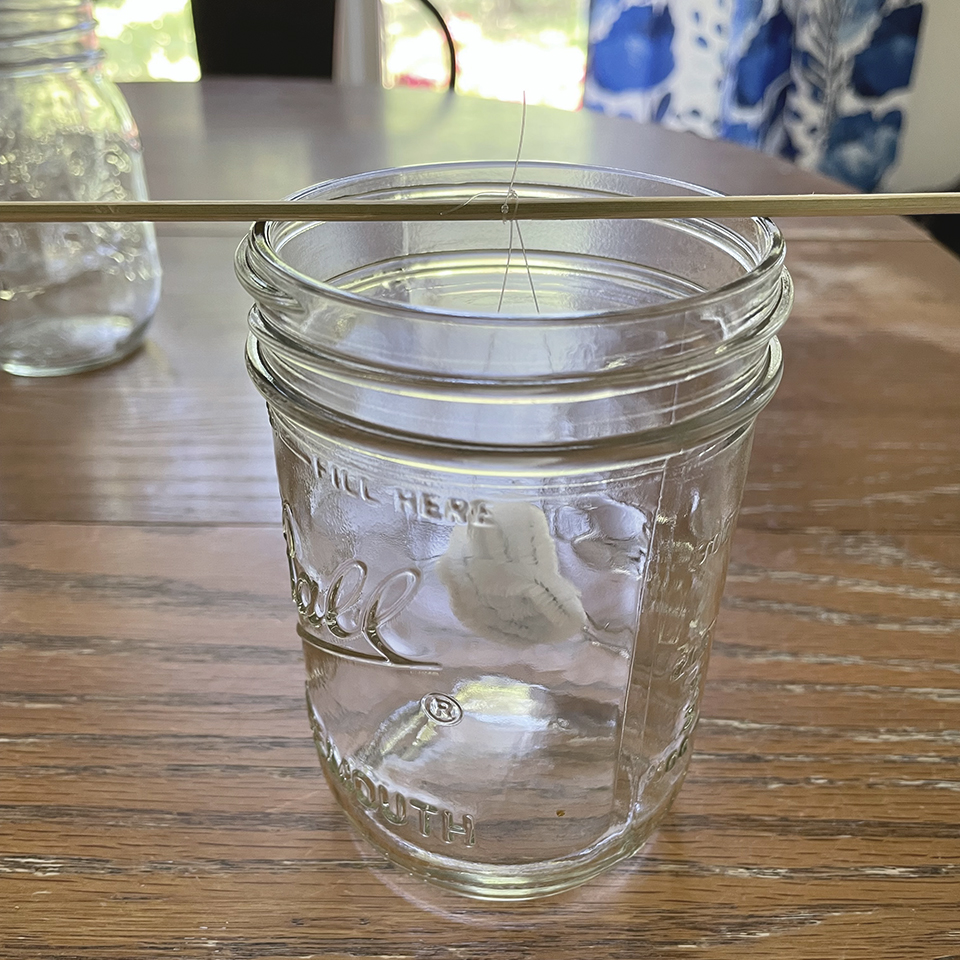
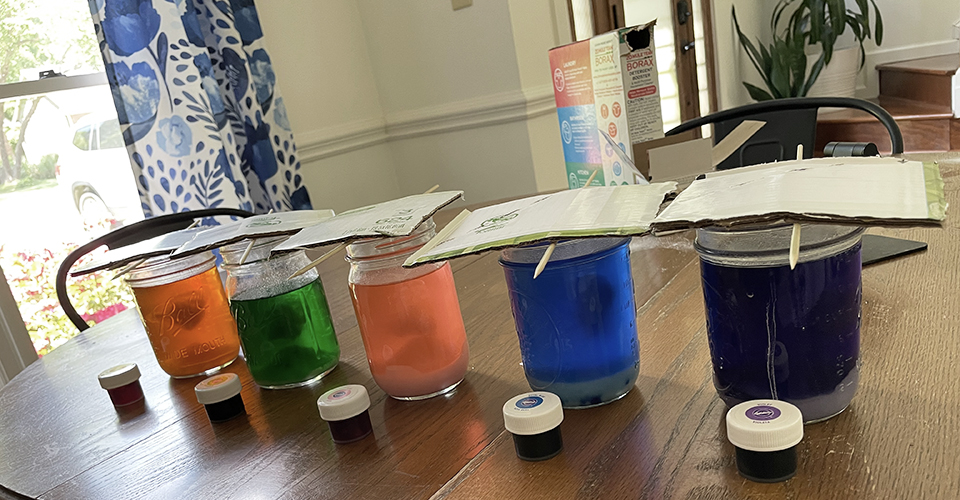
Complete this step for however many crystals you want to grow. I made a total of five.
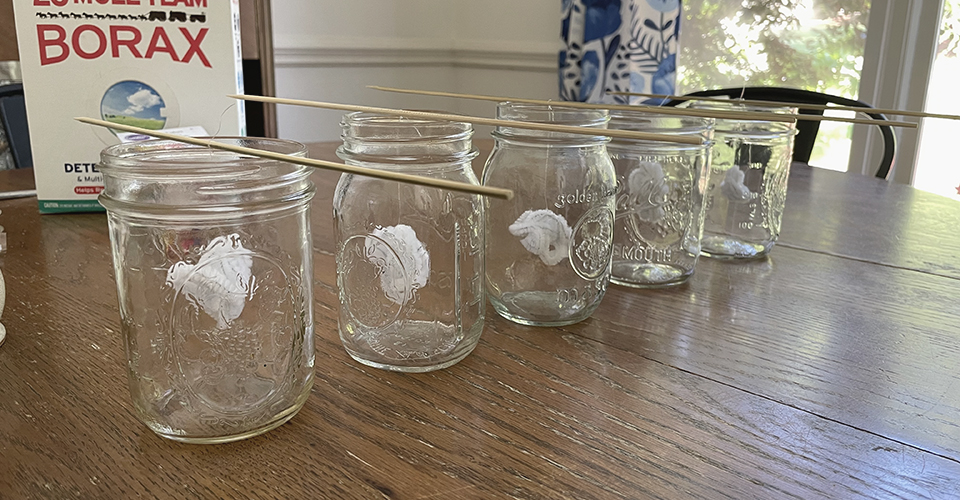
4. Fill each jar with boiling water. Add enough so that each pipe cleaner clump is submerged.
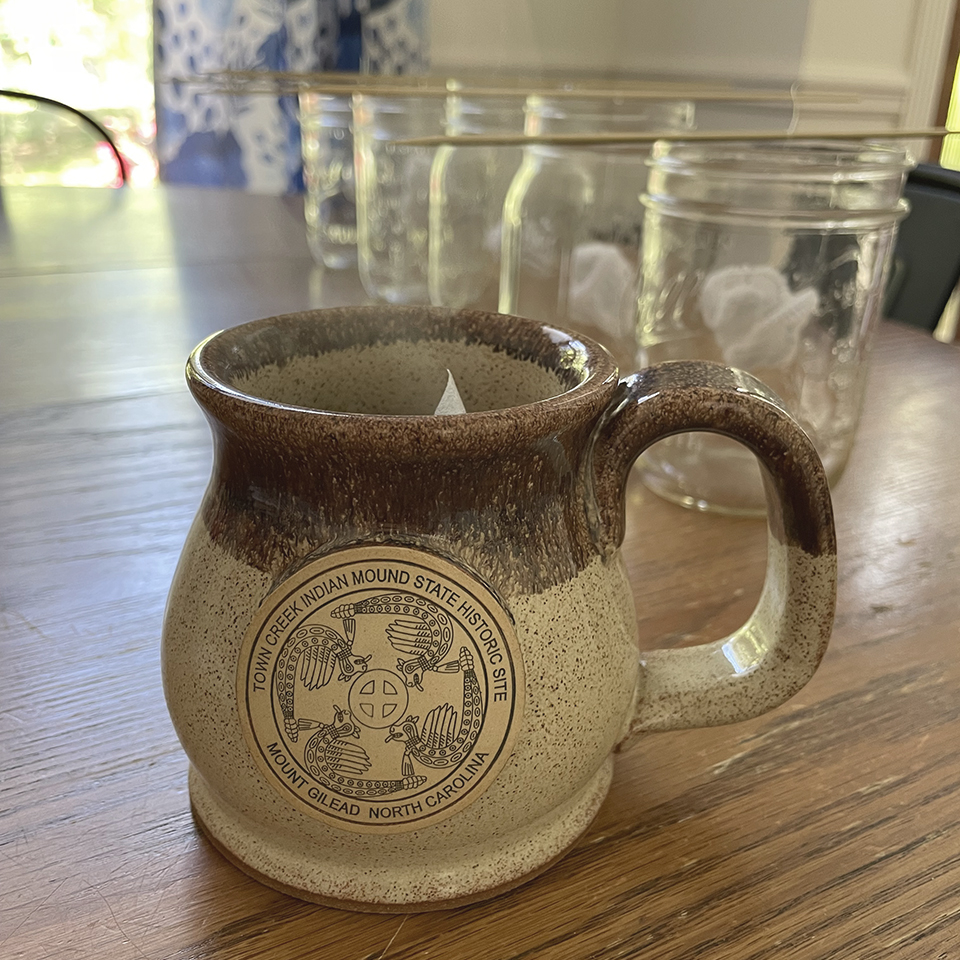
At this point in the exercise, I took advantage of having boiled a full kettle, and made myself a cup of tea. The mug is from a local historic site, and is a great place for a field trip. If you live in NC and are interested to learn more, click here to find out about Town Creek Indian Mound.
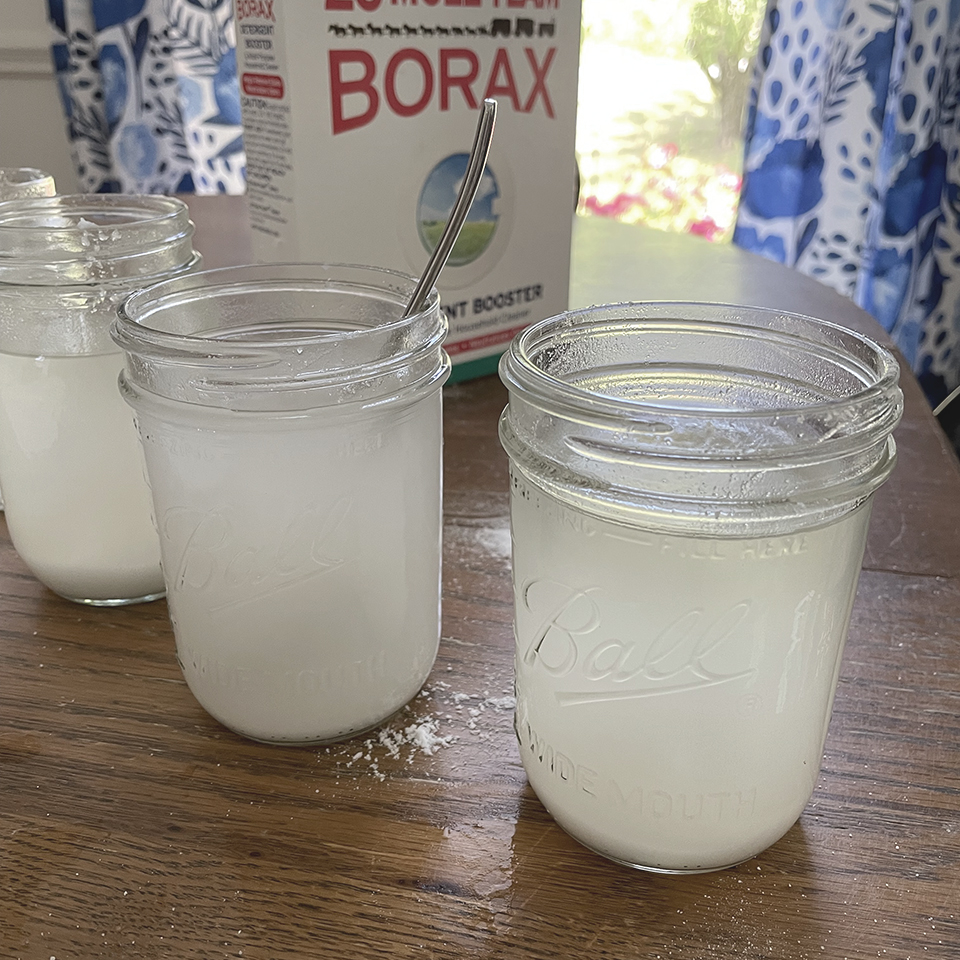
5. Slowly add borax powder to each water jar, stirring as you pour. Add enough borax until you reach the point of saturation, and the powder no longer dissolves in the hot water.
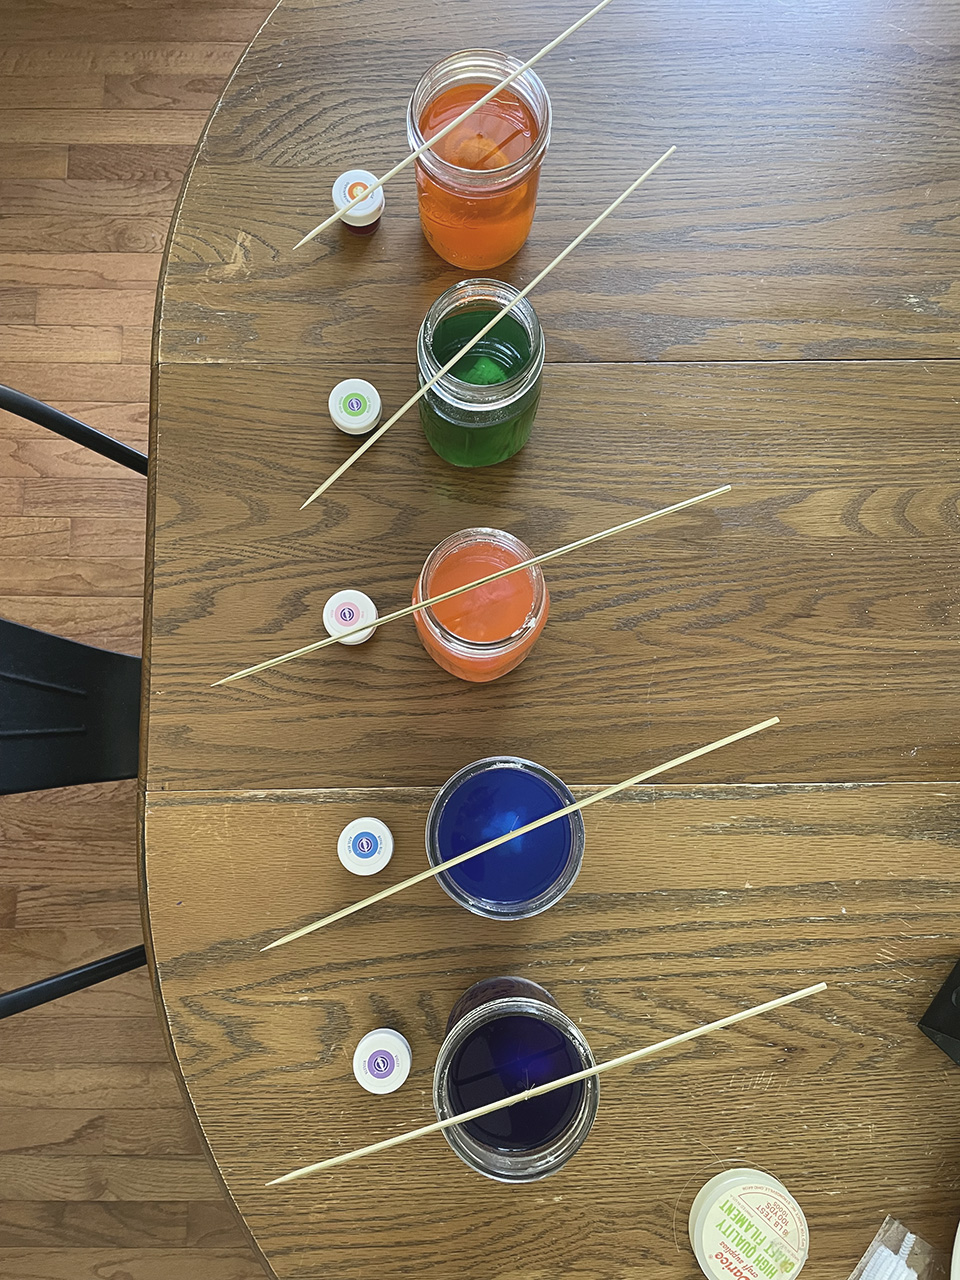
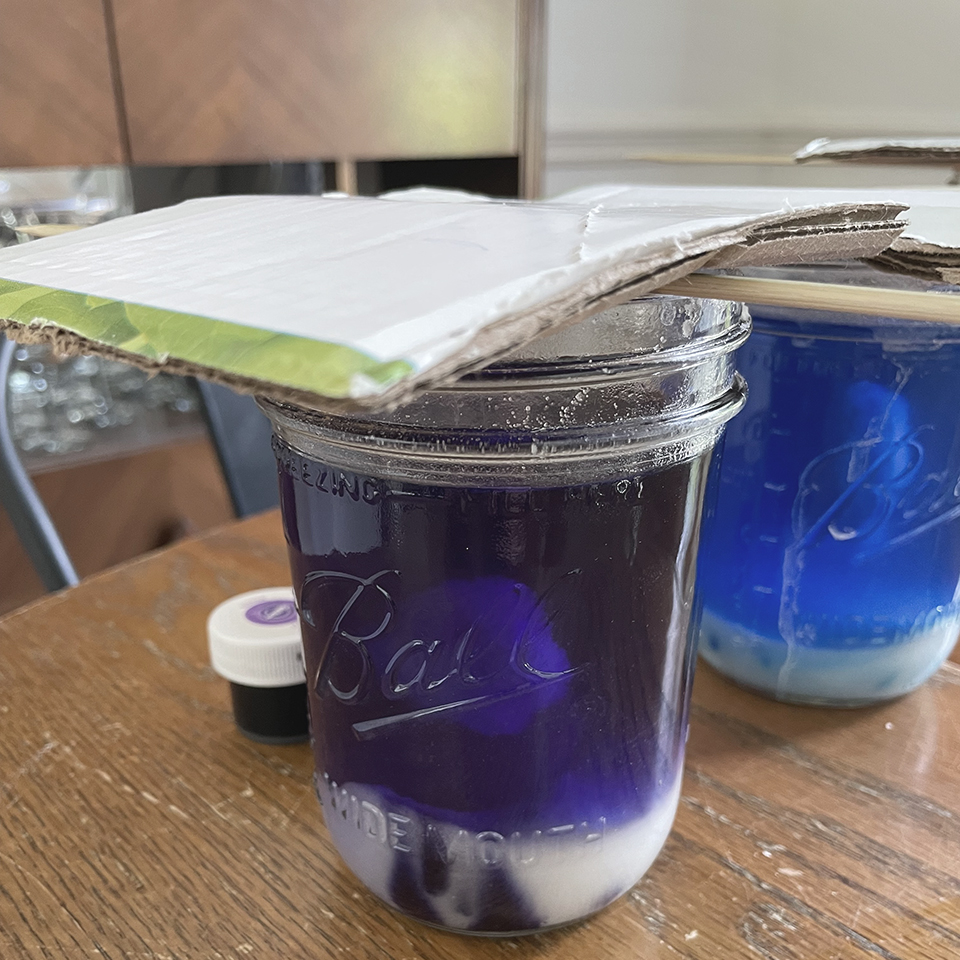
6. Add food coloring to each jar. I had paste food coloring on hand, but the traditional, liquid version works just as well.
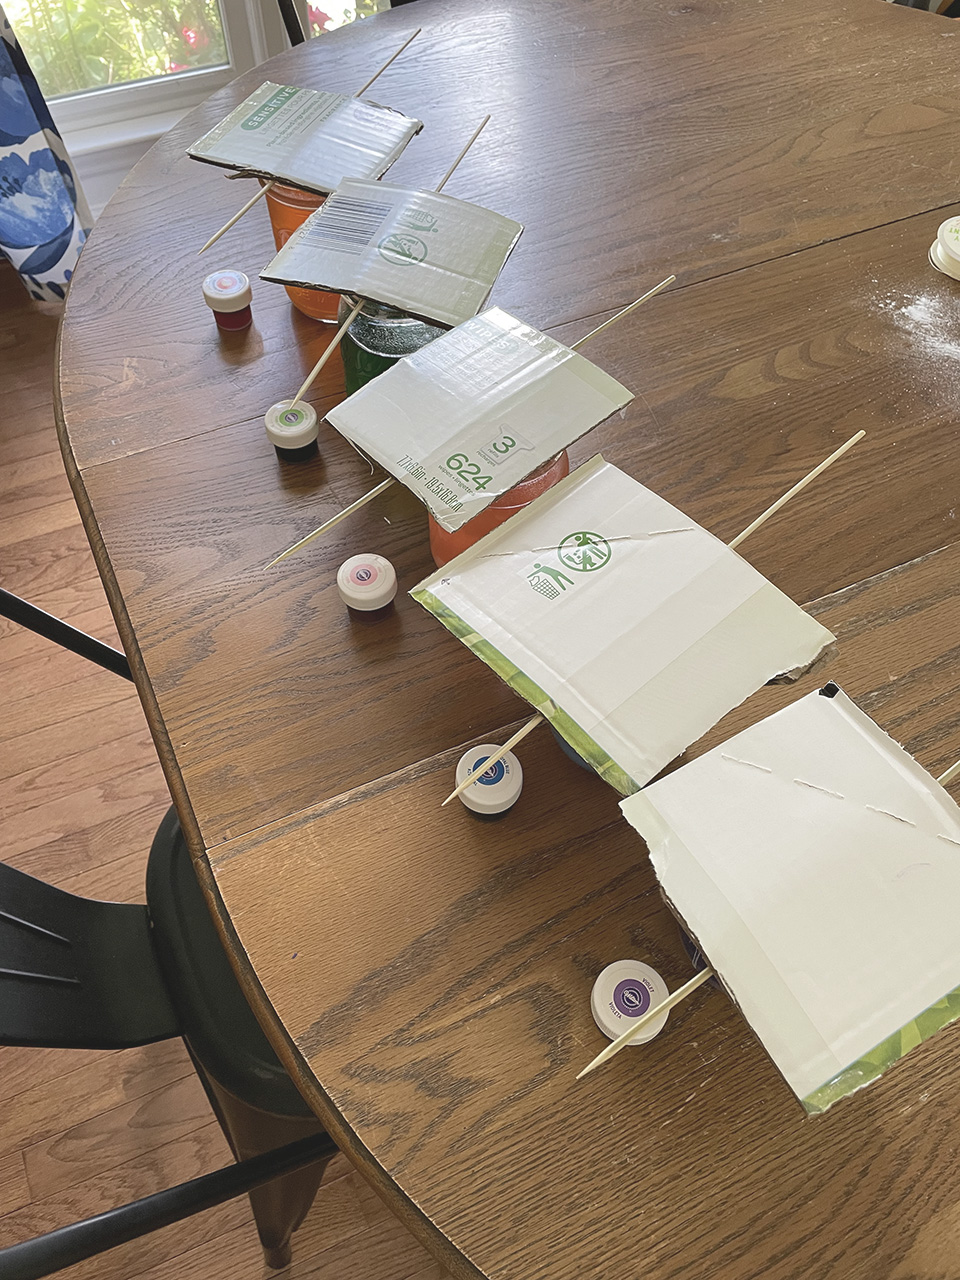
7. Cover each jar with a bit of cardboard or paper plate.
I added too much borax in some of my jars, and a powder layer was visible on the bottom of the jar. This didn’t negatively effect my crystal growth.
Let the borax crystals grow for about 24 hours.
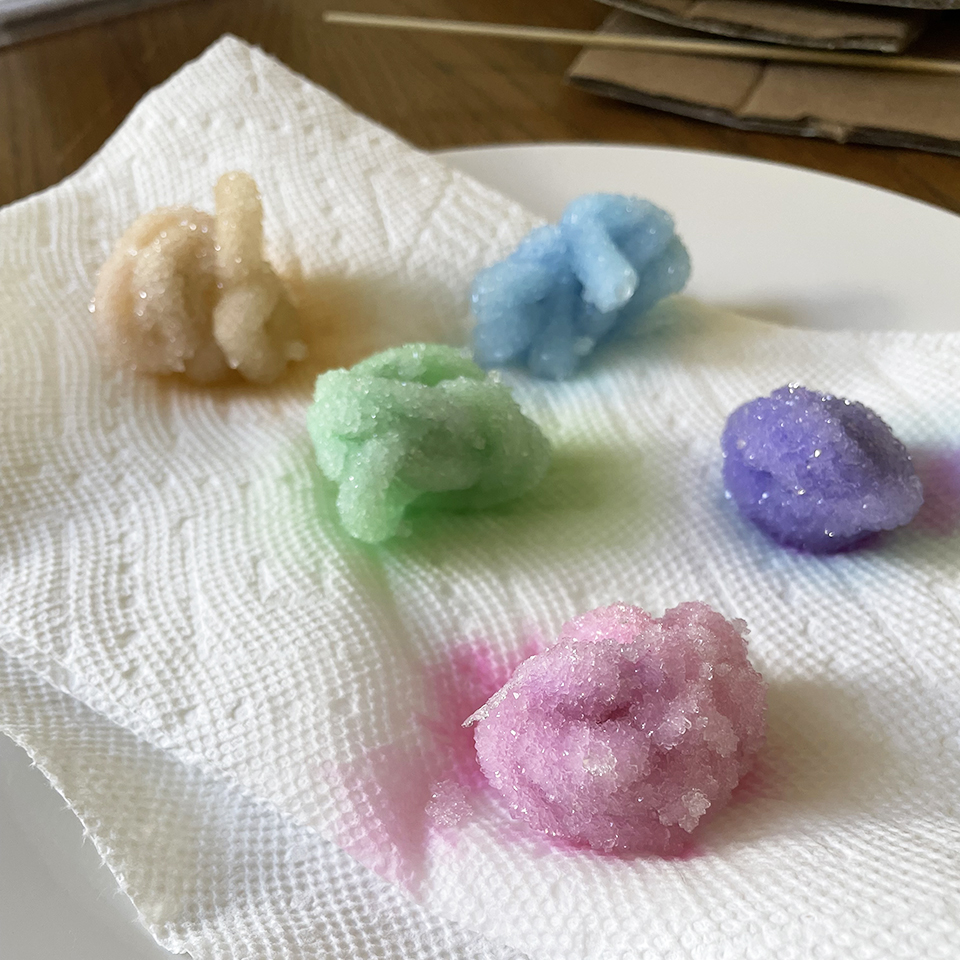
8. After 24 hours, remove the borax crystals from the jars. Place on a paper towel-lined plate to dry. Trim off all exposed fishing line.
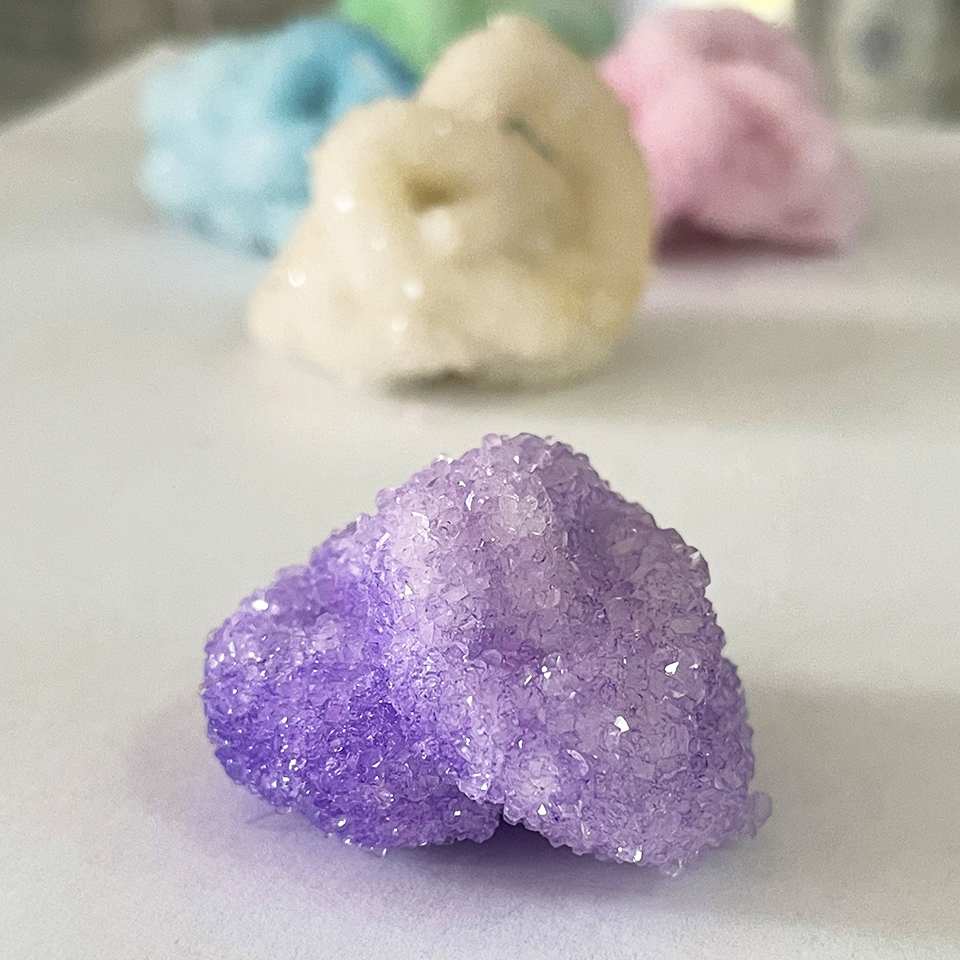
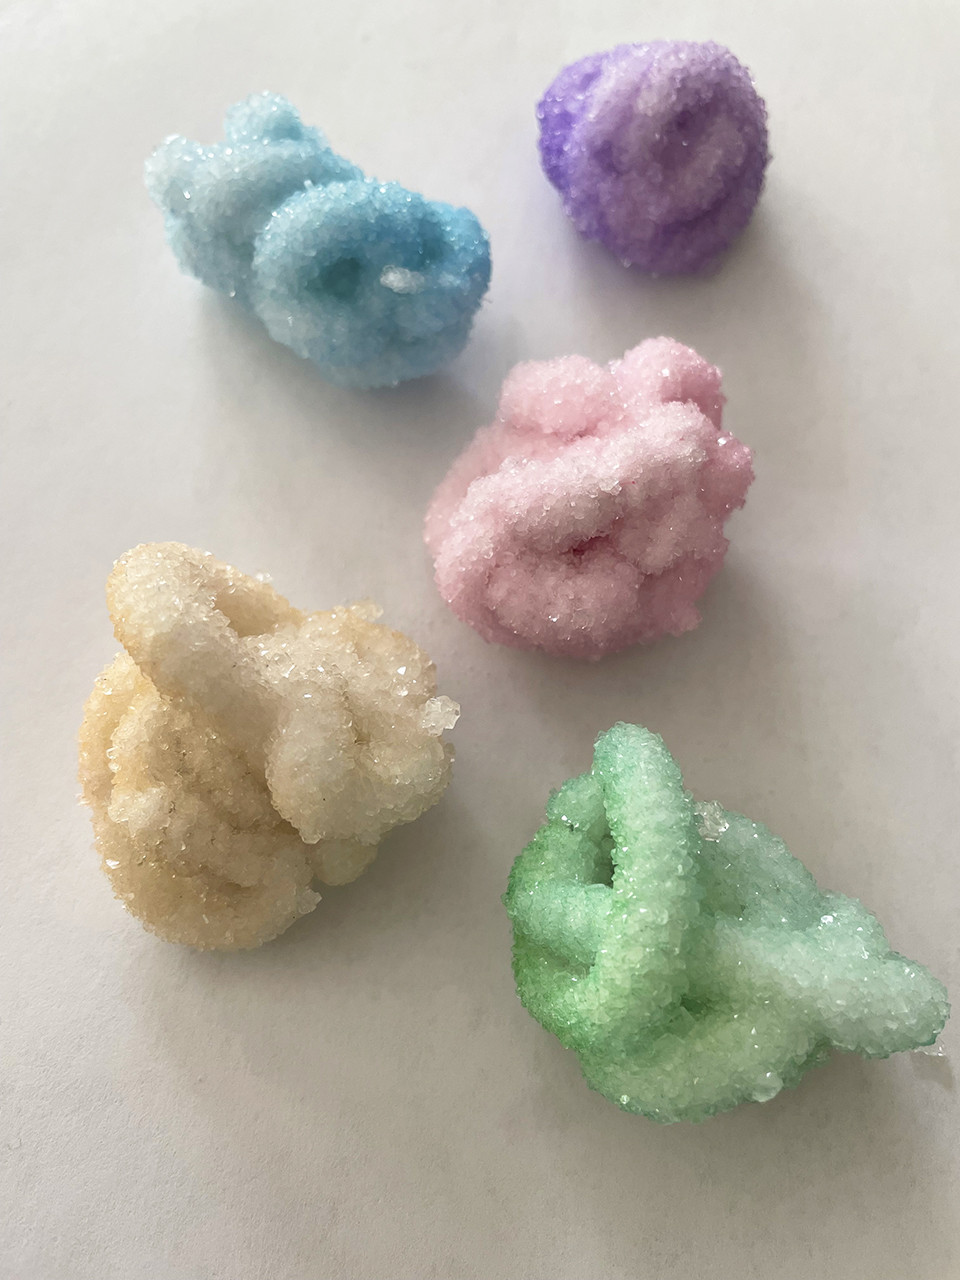
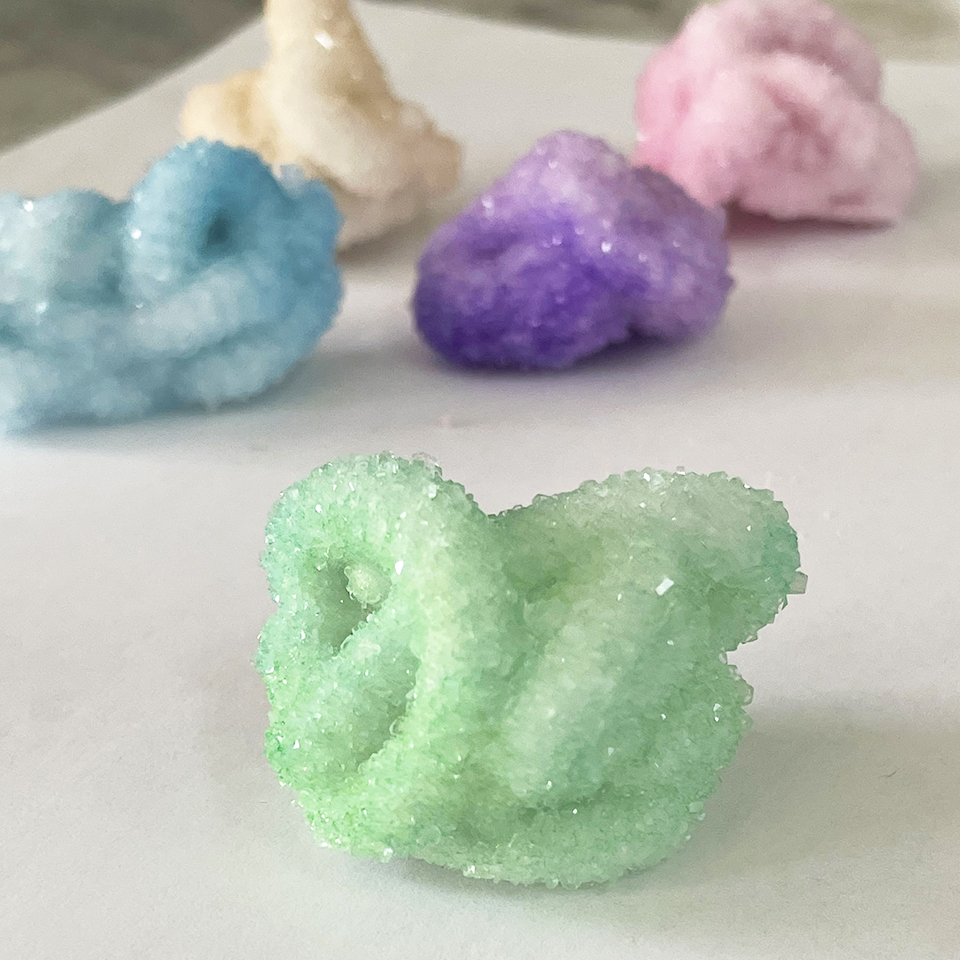
Check out the end result!

Jackie Baird Richardson is an interior designer, editor at The WON and avid junker. Watch for her design tips and occasional crafting ideas, bringing the outdoors indoors. View all posts by Jackie Richardson


