
Are you searching for a quick and easy way to decorate pumpkins this fall? Look no further than our Falling Leaf Pumpkins. Inspired by the latest issue of “Southern Living” and its article on No-Carve Pumpkin Decorating Ideas, I rustled up some leftover craft leaves and Mod Podge and created these festive squash.

This craft is appropriate for all ages, because no knives are required. Take advantage of the white pumpkins from your local farmer’s market or grocery store, and the blank canvas they provide, and get creative with dried or faux leaves.

To make these colorful pumpkins, you will need the following items:

First, be sure to clean your pumpkins. No, that is not a euphemism. Simply wipe the outsides with a damp paper towel, and let dry. Spread out your newspaper or vinyl tablecloth to protect your worksurface from the glue.
Pour a little Mod Podge into a plastic container; I used a tub that originally housed deli meat.

Use a paint brush to apply a healthy layer of Mod Podge in the area where you’d like to stick a leaf. Continue adding leaves. Gently wipe Mod Podge on top of the leaves, as well.


When you are satisfied with your decoration-to-negative (white) space ratio, move on to the next pumpkin. For my second pumpkin, I used only red leaves for the decoration.


For my third and final pumpkin, I decided to attempt a leaf pile look. To achieve this, I added one layer of leaves around the top of the pumpkin. Then, I topped that layer with a second leaf layer.


Your pumpkins will look messy until the glue dries; this appearance is totally normal. When all leaves have been added to your pumpkins, set them aside to dry for a bit (mine took about an hour or so).

When dry, arrange pumpkins to display. My zinnias are still blooming, so I incorporated a small jug of them with my pumpkins for a little extra color.


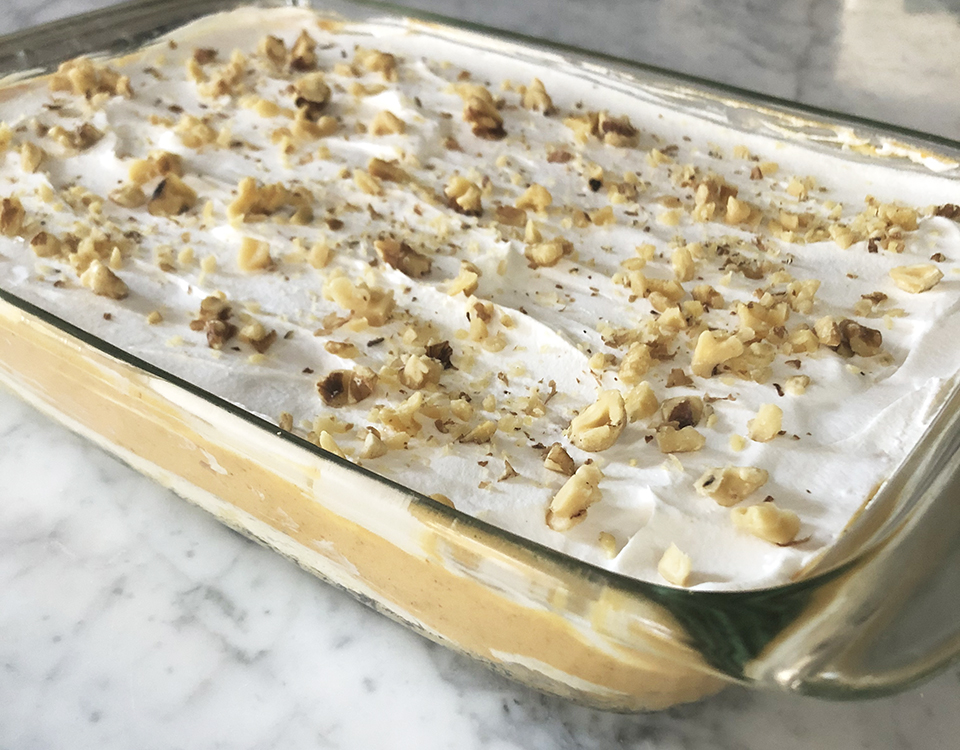
Decorating these pumpkins made me long to eat something pumpkin flavored. If you’re feeling like me, I recommend that you make this swell recipe for an Easy Pumpkin Pie Alternative dessert. It’s not just for Thanksgiving!

Jackie Baird Richardson is an interior designer, editor at The WON and avid junker. Watch for her design tips and occasional crafting ideas, bringing the outdoors indoors. View all posts by Jackie Richardson


I’m sending this article to my daughter-in-law for her two young kids, also to my granddaughters in Canada and Texas. This is such an awesome idea!!! Love this