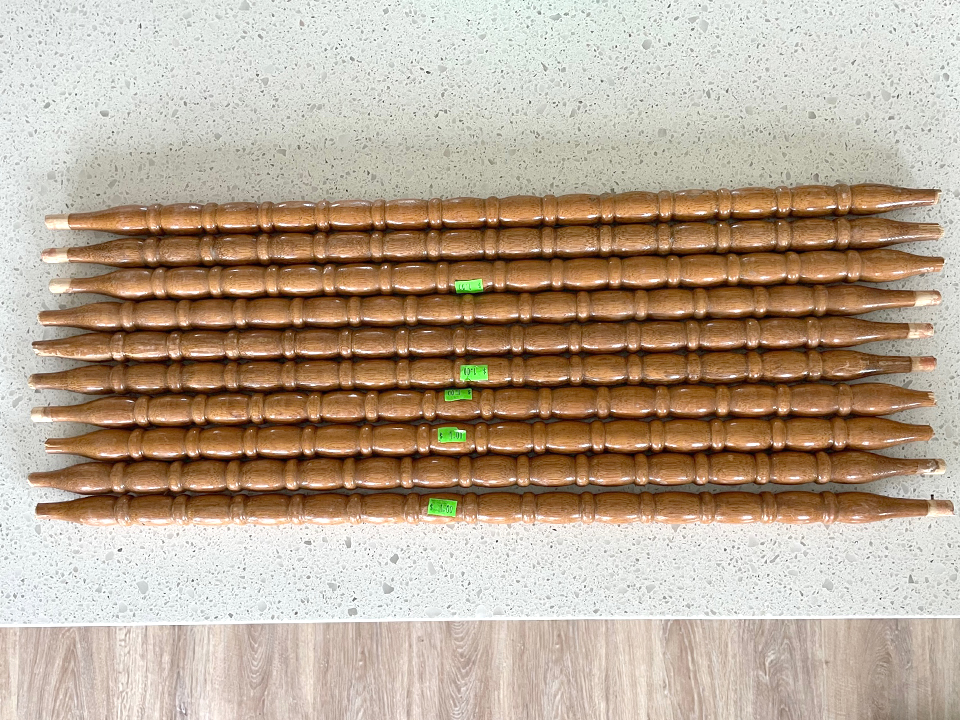
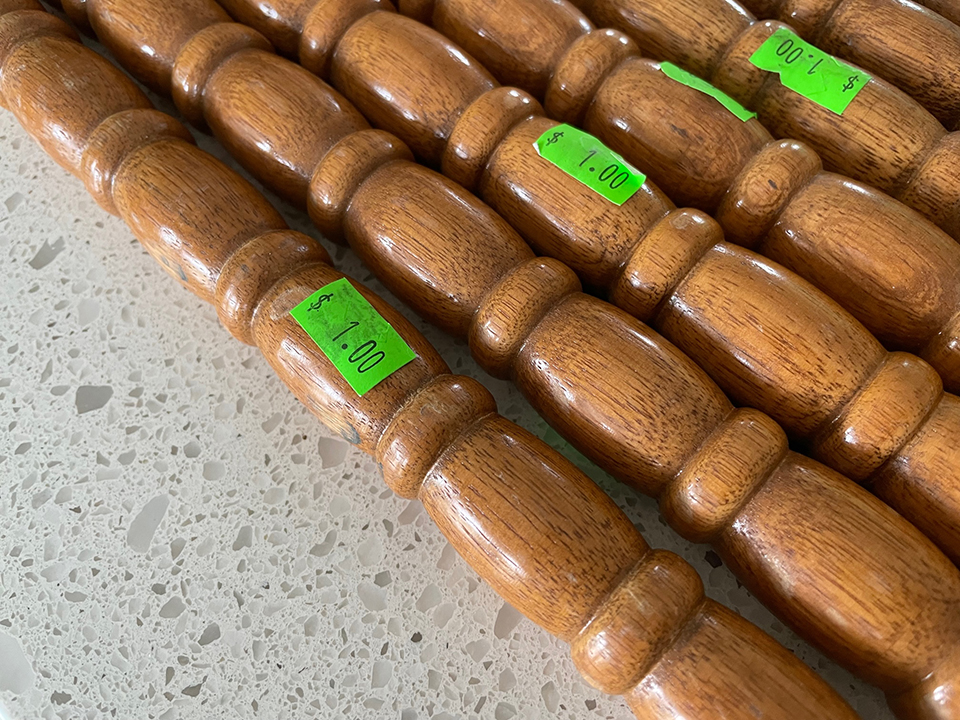
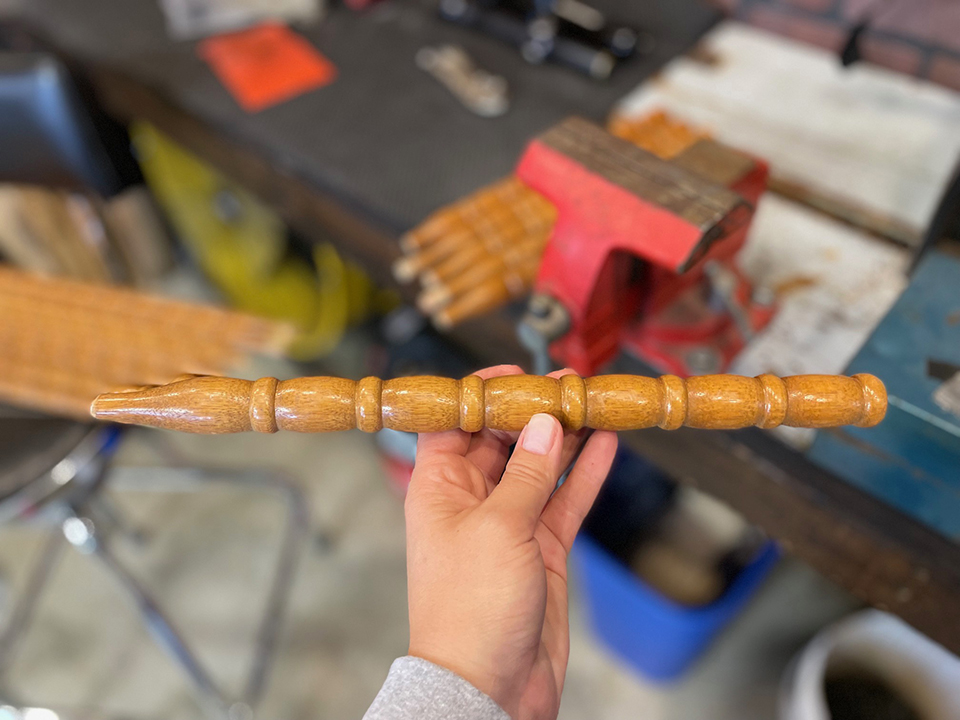
Earlier this year, our Babbs created spring carrots and parsnips from old crib spindles, for use as Easter decorations. Recently, I was browsing my local Habitat ReStore and discovered a stack of old wooden spindles for $1 a piece. I scooped them up, and in the mood for some fall-themed decor, searched the internet for DIY spindle crafts for autumn.
I didn’t turn up much, but remembered the cool spindle carrots. Another quick Google search turned up nada for fall-themed spindle produce. So, I set out into the unknown (with no Pinterest safety net) to create spindle corn. I’m pleased with the results; this craft was super easy and inexpensive. Follow along below for my step-by-step instructions for making spindle corn to help prepare your home for the cooling off of the seasons.
Gather the following items:
These tools will make life easier:
First, remove all stickers and wipe down the spindles to clean any grease or dirt from their surfaces. I used a quick spray of Simple Green and paper towels to get the job done.
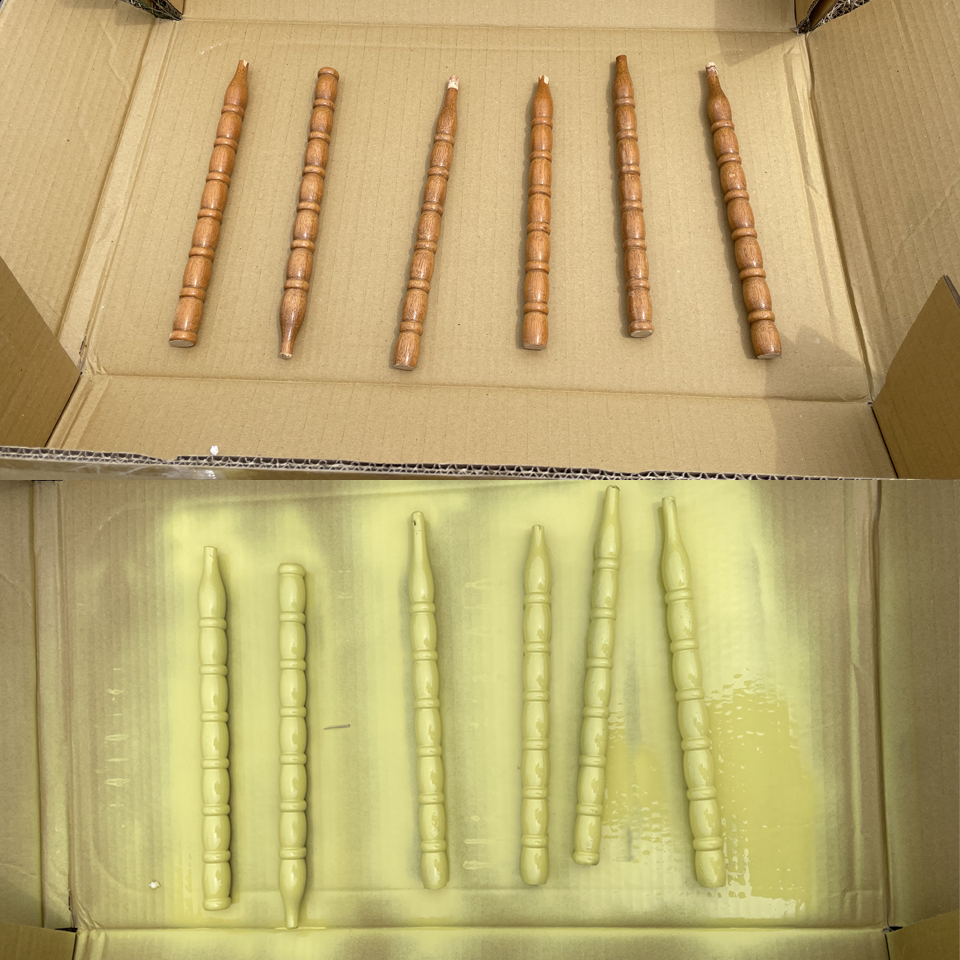
Next, chop each spindle in two. I say in two, because your ears of corn do not have to have uniform lengths. I chose to split mine roughly in the middle, but feel strongly that corn can come in all shapes and sizes. To do the chopping, I sandwiched each spindle between scrap wood and clamped the whole lot in a vice. I used a hacksaw (while wearing proper PPE, of course) and cut between the sixth and seventh wooden knuckles. I gently sanded the cut ends with 150-grit sandpaper.
Now you’re ready for the fun part: paint. Be sure to choose the windiest, hottest day of the year to paint your spindles outside, like I did. Let me tell you, chasing the spindles around my cardboard with the spray can while sweat ran in a river down my back only added “texture” to the corn, and to the experience. Uh huh.
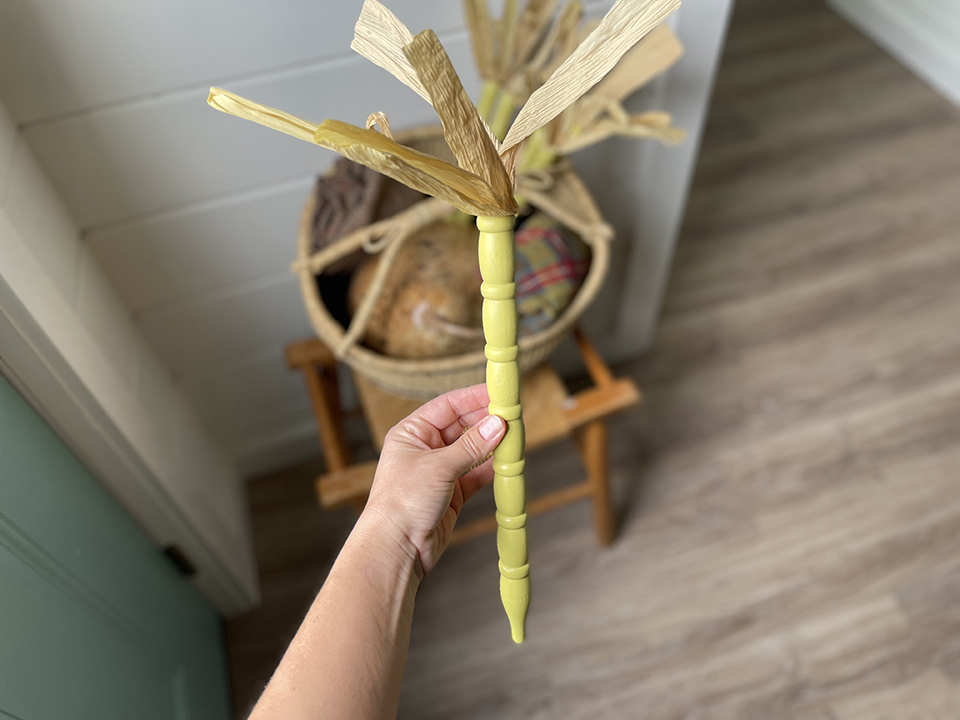
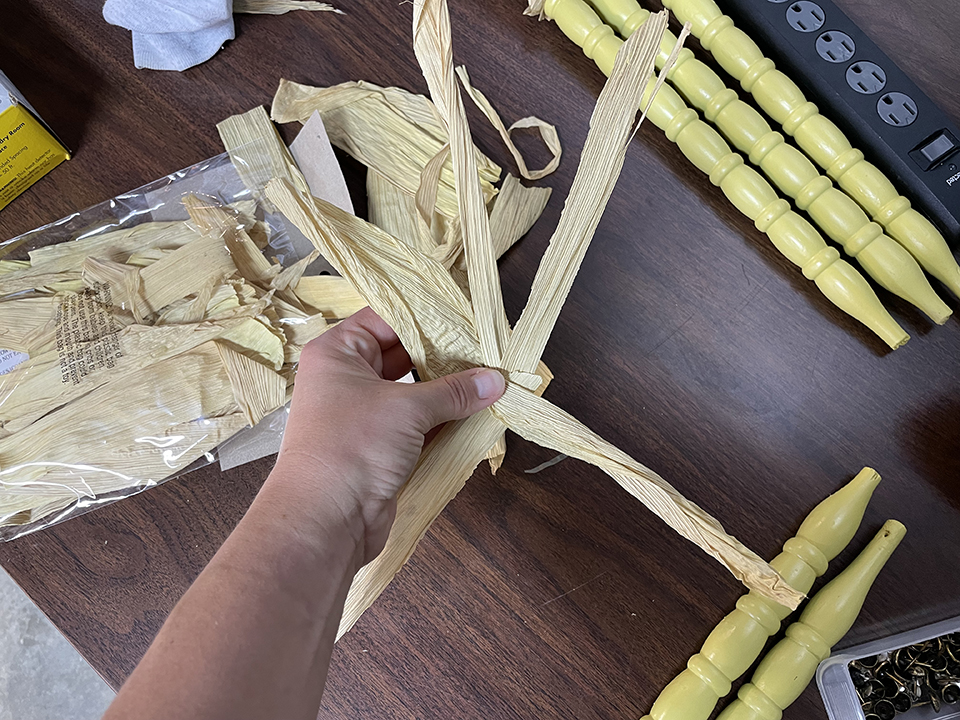
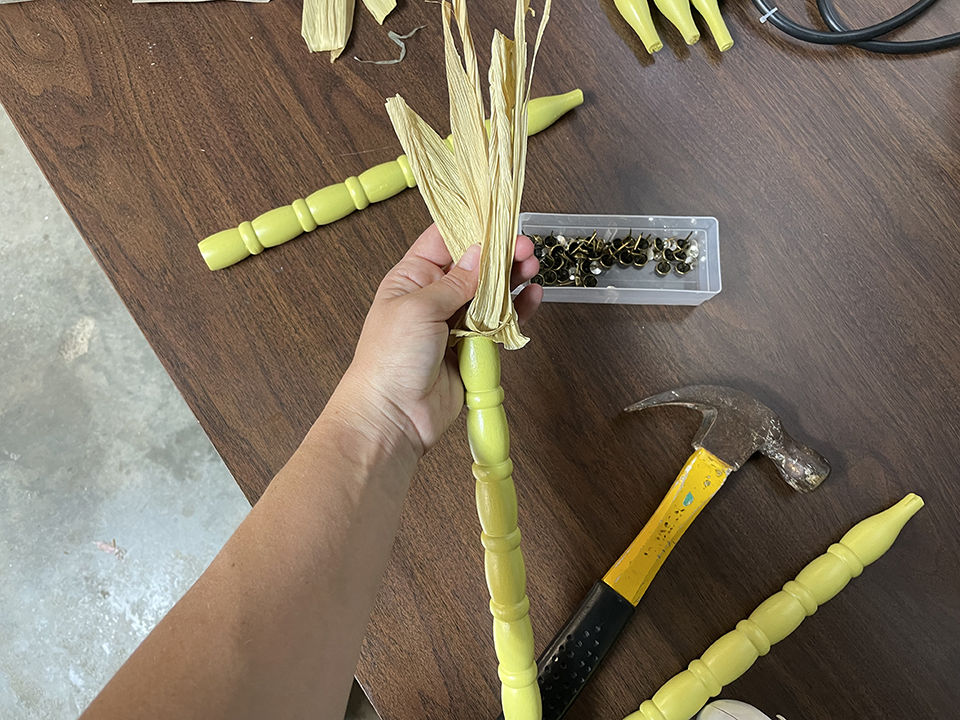
Anyway, when your spindles are dry, bring them inside and prepare to add the husks to the cut end. I purchased a bag of already-prepared corn husks from my local Hobby Lobby. You can DIY your own corn husks if you’d like to add another layer of homemade to the project. In an effort to speed up the craft, I elected not to make my own.
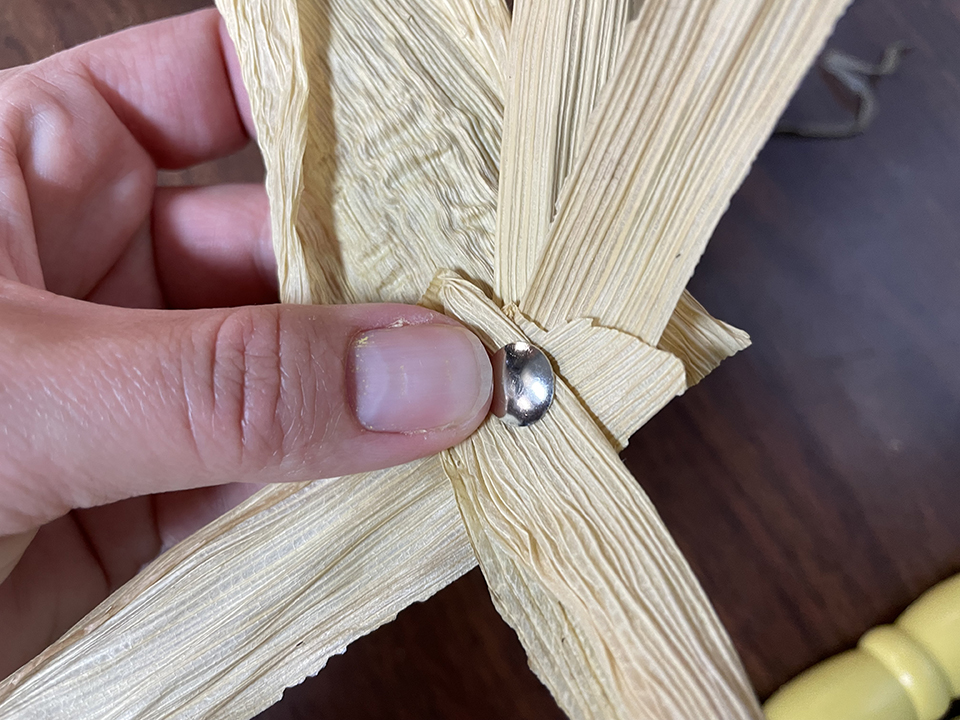
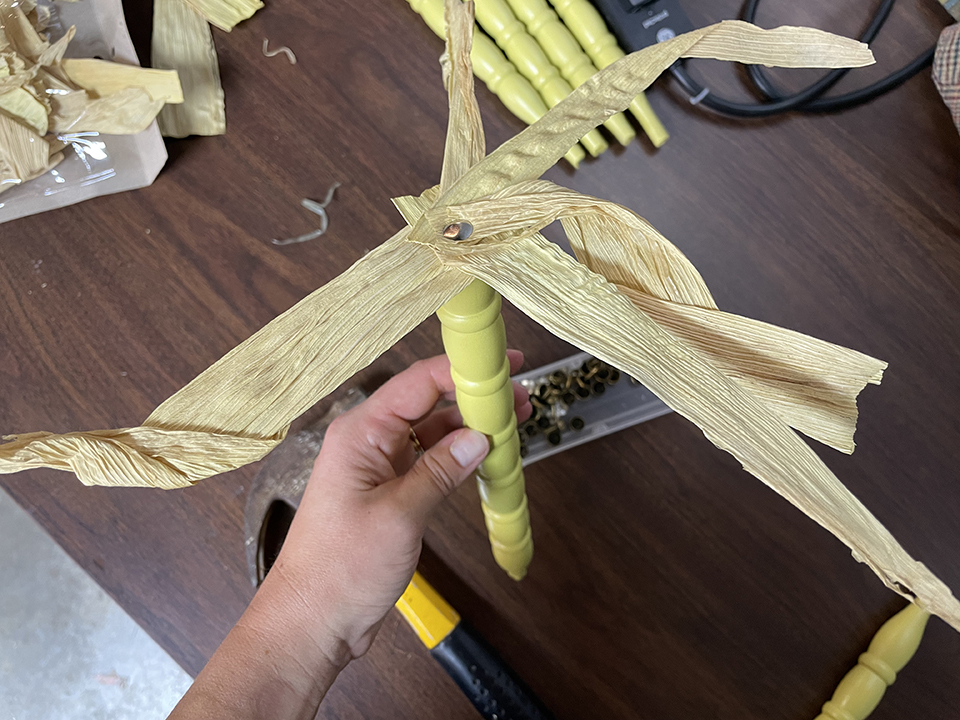
Arrange four to five husks, overlapping the ends. Push a thumb tack through the overlapped husks, and hammer the tack into the cut end of a spindle. Fluff and crunch the dried husks so that they stand upright; reshape them as you see fit.
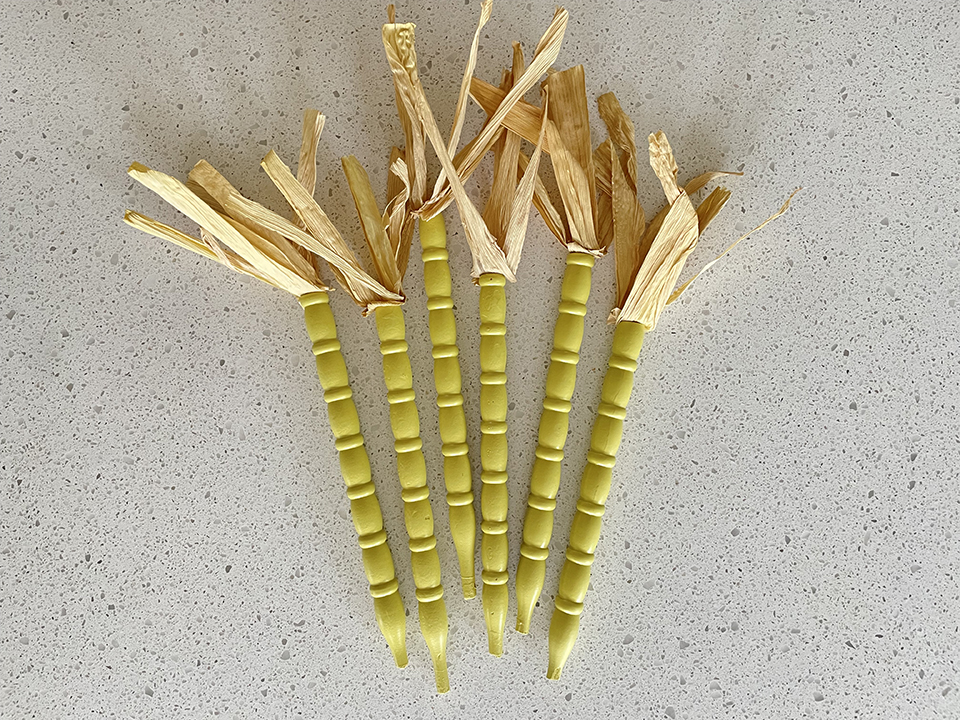
Voila – spindle corn! These babies are super easy, and because they are meant to be a little irregular in texture, are a very stress-free decor craft to make.
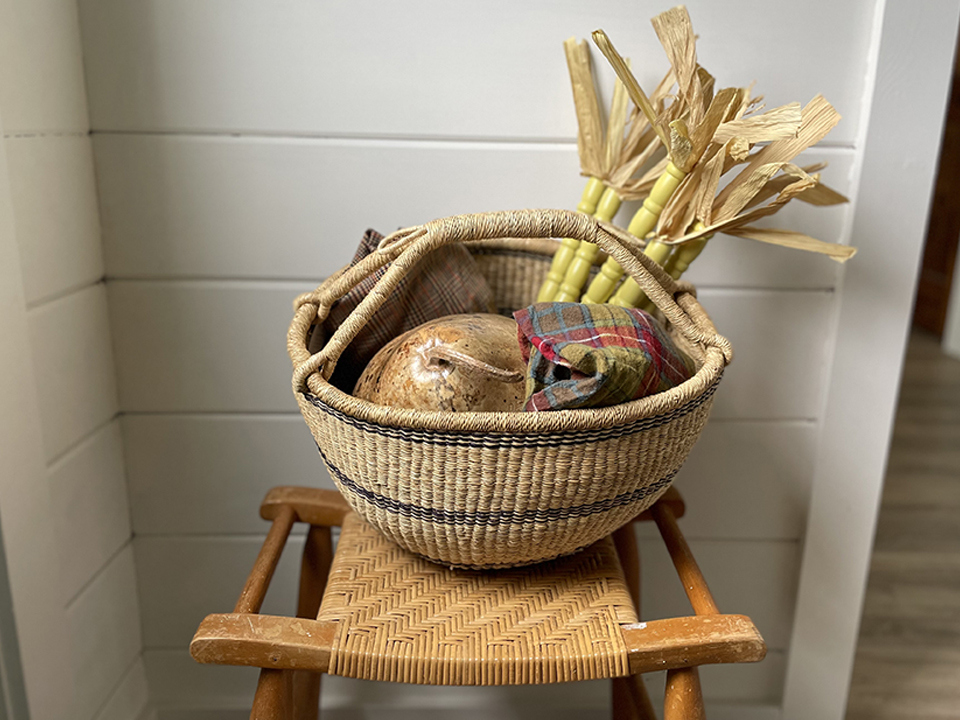
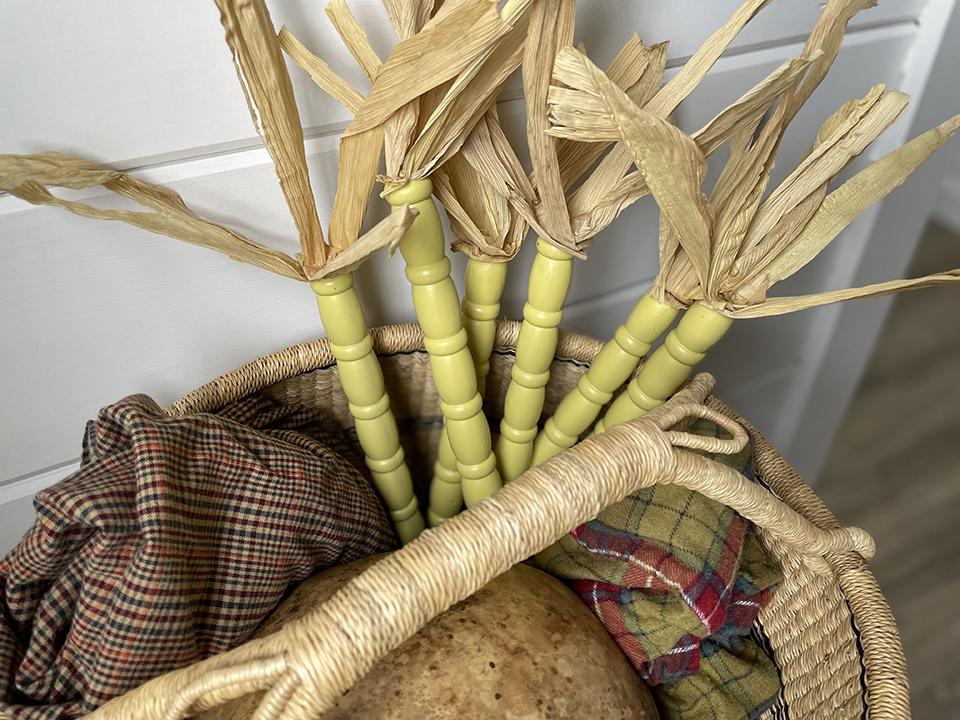
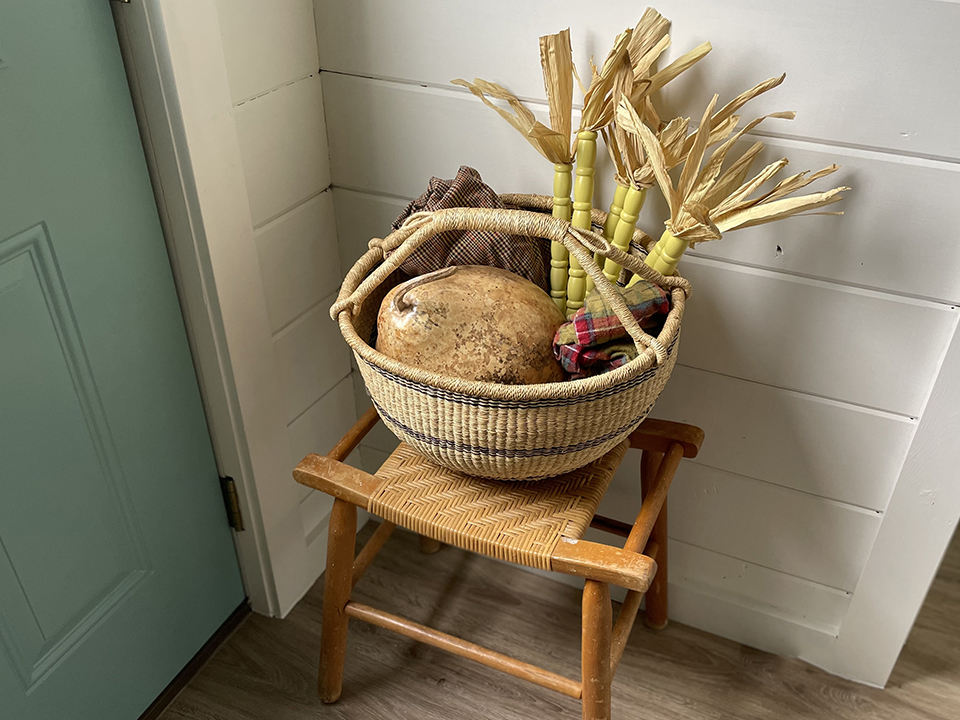
I added my spindle corn to a basket in my hallway, and finished filling it rolled up, faded flannel shirts (blankets would also work!) and a dried gourd. These would also be a lot of fun used at individual place settings at a fall-themed table.

Jackie Baird Richardson is an interior designer, editor at The WON and avid junker. Watch for her design tips and occasional crafting ideas, bringing the outdoors indoors. View all posts by Jackie Richardson