My grands are getting older, and harder to inspire for helping me with crafts – unless it’s something they are truly keen to do. With basketball and volleyball summer practices, trips to the swimming pool and a sleepover at a friend’s house for the few days I spent with them while their parents were away recently, we didn’t have a lot of time for making much of anything.

We did have time for several rounds of Farkle, one Monopoly marathon (at least, it felt like that to me), two “Spiderman” movies at home, cookie baking and trips to the bowling alley, swimming pool and movie theater, though. I knew I’d need to find something a little funky to get them interested, and also, to have them accompany me to the mecca store for crafts – Hobby Lobby.
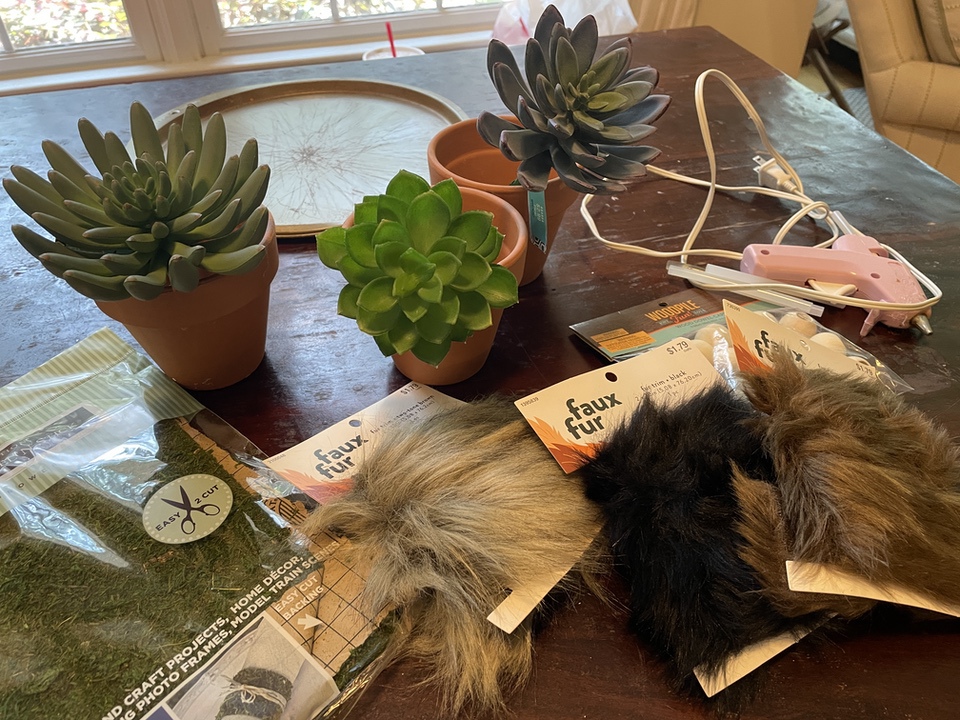
When I showed them the clay gnome pots (there are several versions on Pinterest), they thought it would be fun to make one each and hide them around the house for when their mom got home from vacation. So, we headed to the nearest Hobby Lobby, which also had a Chick-fil-A nearby for lunch, and picked up the following materials – most of which were on sale:
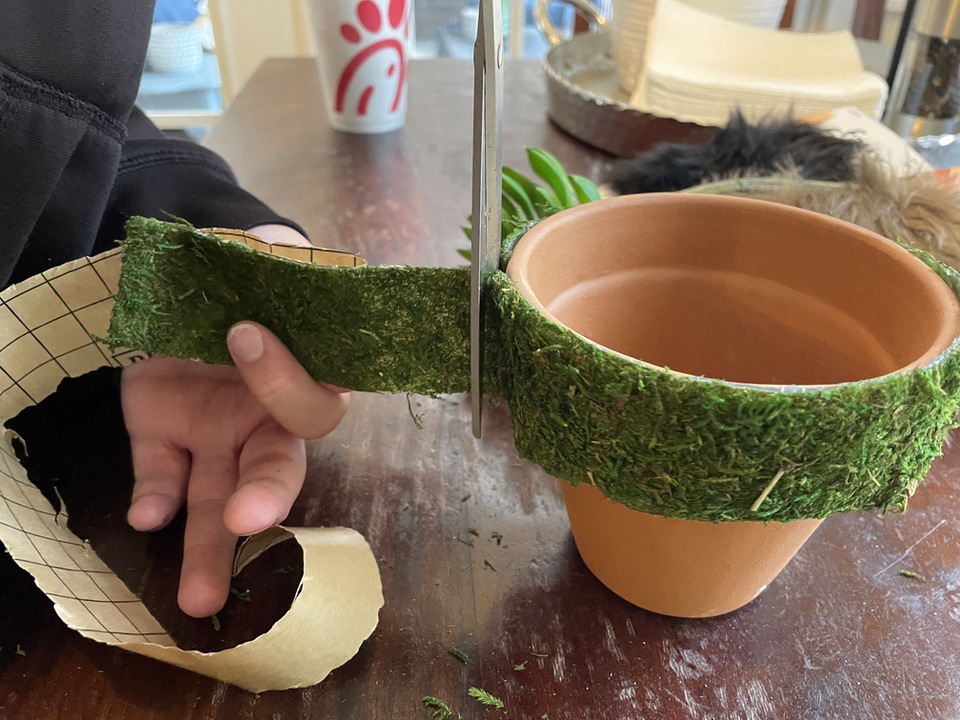
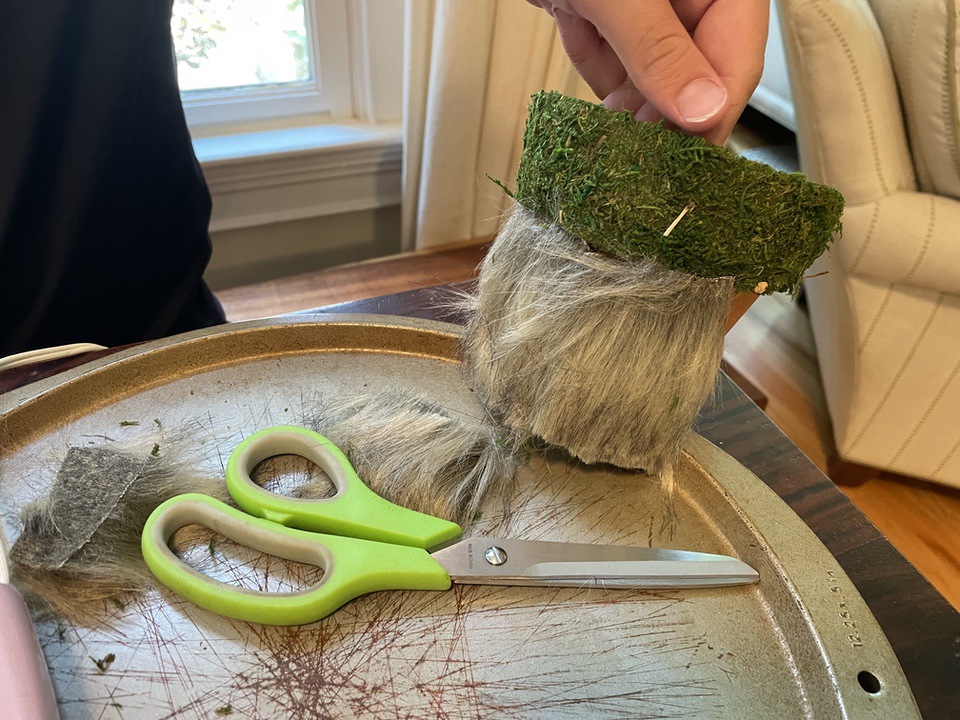
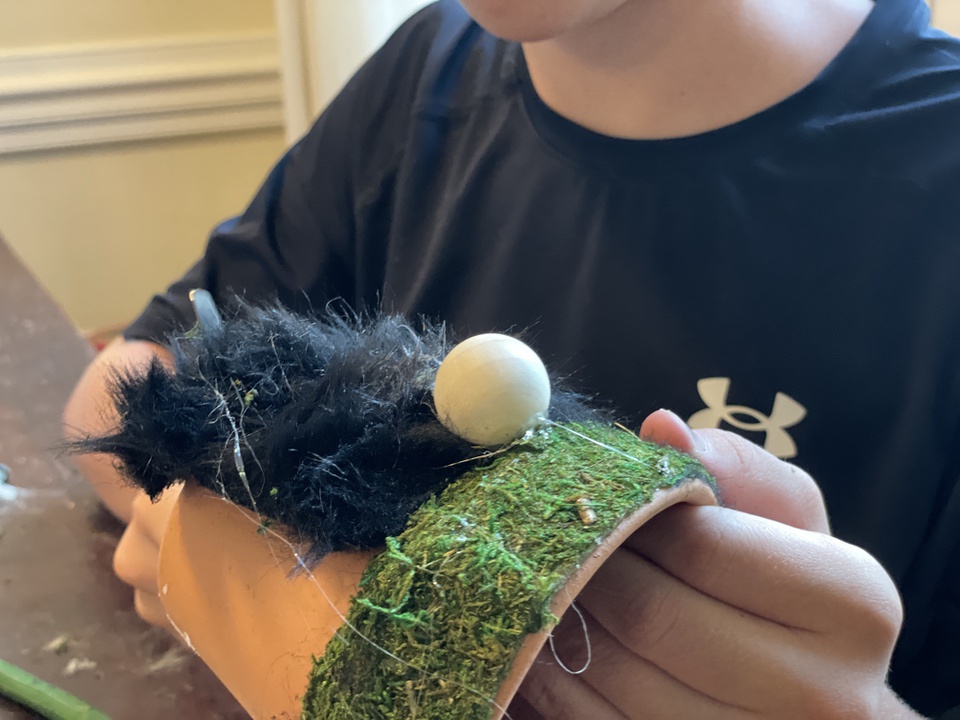
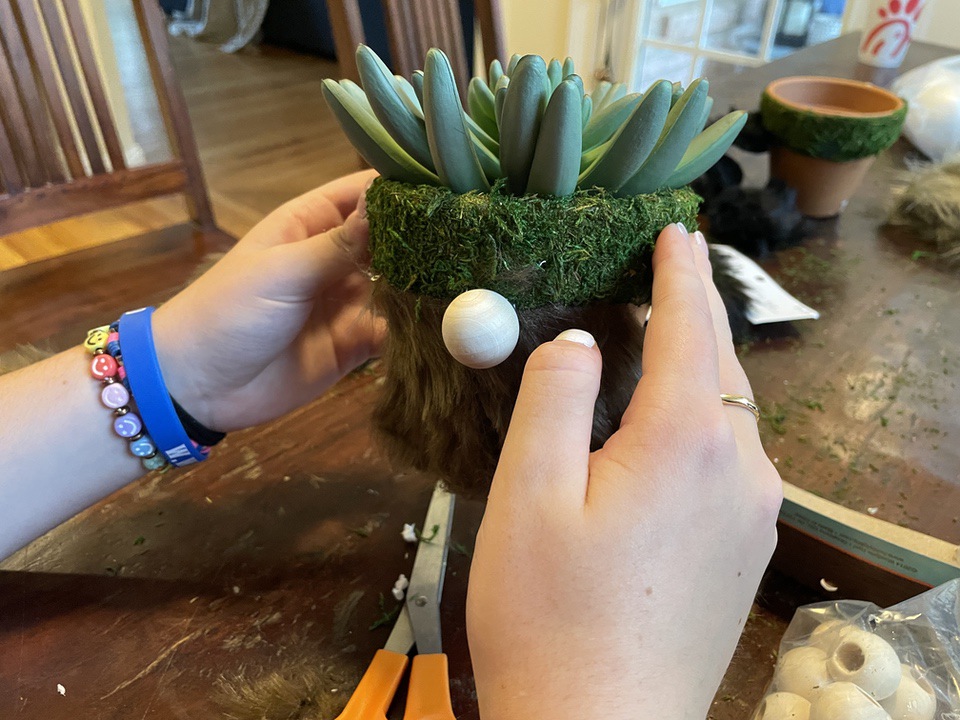
We started by gathering all our materials. Then, we cut out a band of adhesive moss and wrapped it around the top of each pot. Next came cutting the fur for a beard, and gluing it to the pot, followed by a wooden nose.
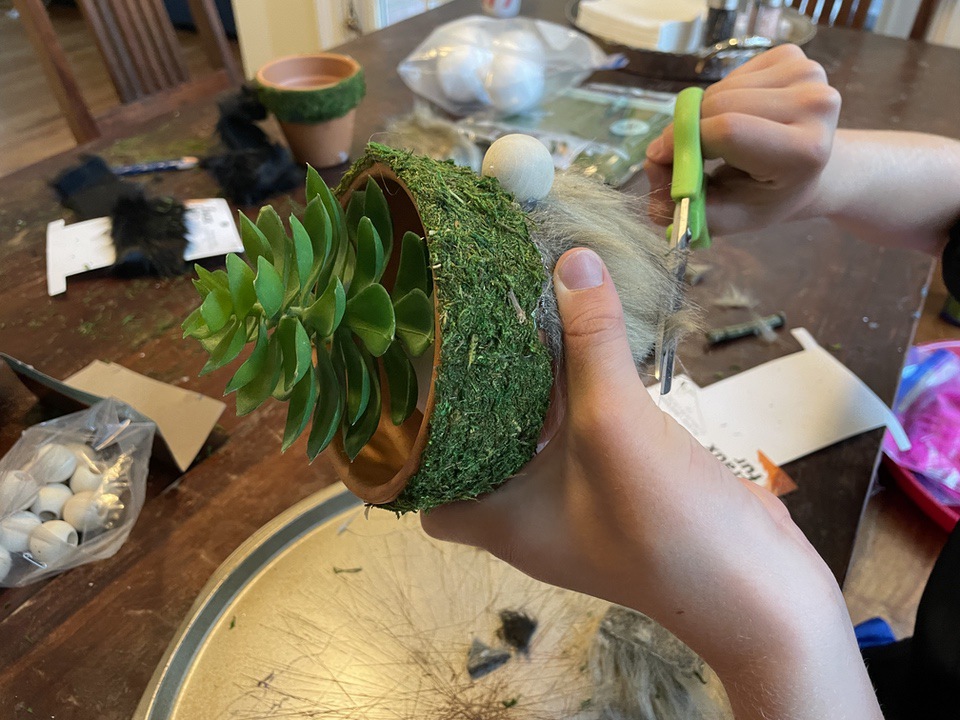
My grandson found some Styrofoam balls to stick the fake succulent stems into and place in the pots, so we used those inside each pot to stabilize the plastic succulents (which really do look lifelike, I must admit).
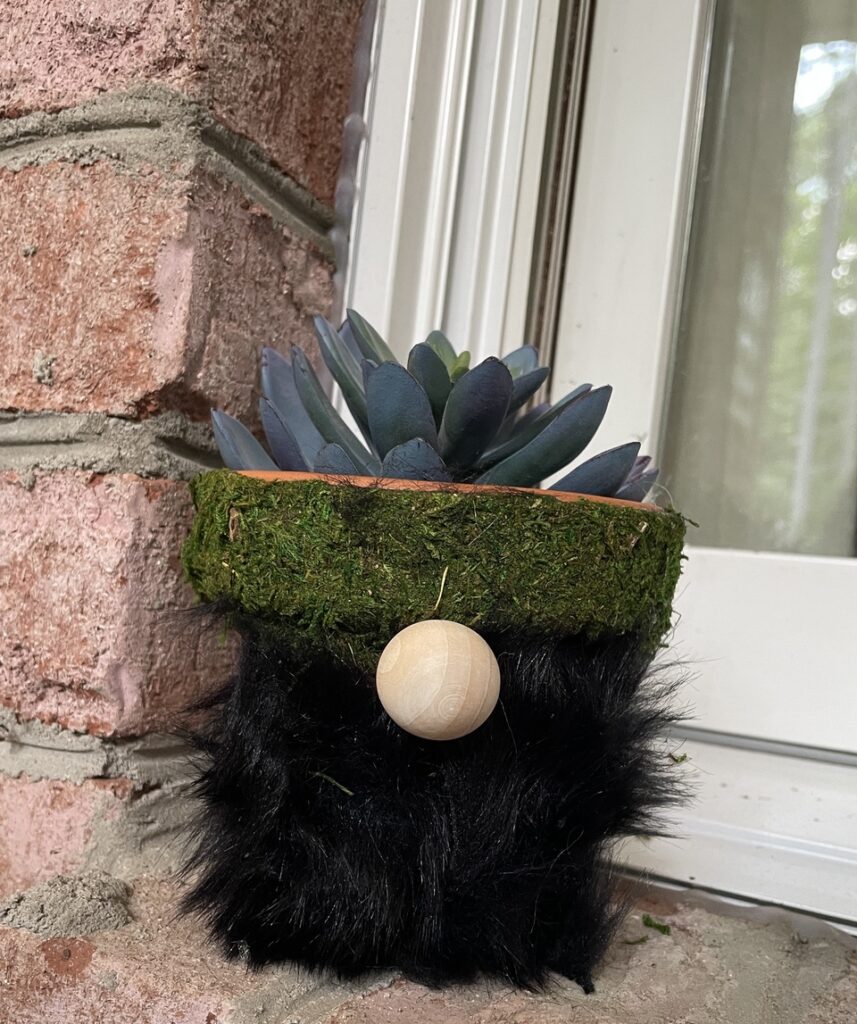
And voila! Fifteen minutes and we were finished and had placed the funky clay gnome pots around the house and back porch area.
All in all, the pots cost about $10 to make each. They would cost more if you actually bought live succulents, I’m sure.
These would make fun gifts for people who might need a little cheering up. I’m thinking, especially for an elderly or infirmed person, a little silly pot with a plant that they don’t have to water might go a long way to brighten their days.

Publisher/Editor Barbara Baird is a freelance writer in hunting, shooting and outdoor markets. Her bylines are found at several top hunting and shooting publications. She also is a travel writer, and you can follow her at https://www.ozarkian.com. View all posts by Barbara Baird