
Last month I wrote about Springfield Armory’s HEX red dot optic. As I mentioned in the post, red dot optics are new to me and something I need to practice with before I ever head to the range.

Sponsored by Springfield Armory
Rather than try to figure out this whole red dot thing on my own, I reached out to Brian Hill, owner and head coach at The Complete Combatant. Brian began using a red dot sighting system many years ago. He believes pistol mounted optics offer a tremendous advantage in speed, accuracy and application. The simplicity of using a red dot aligned on a target offers an opportunity for fast and precise target acquisition.
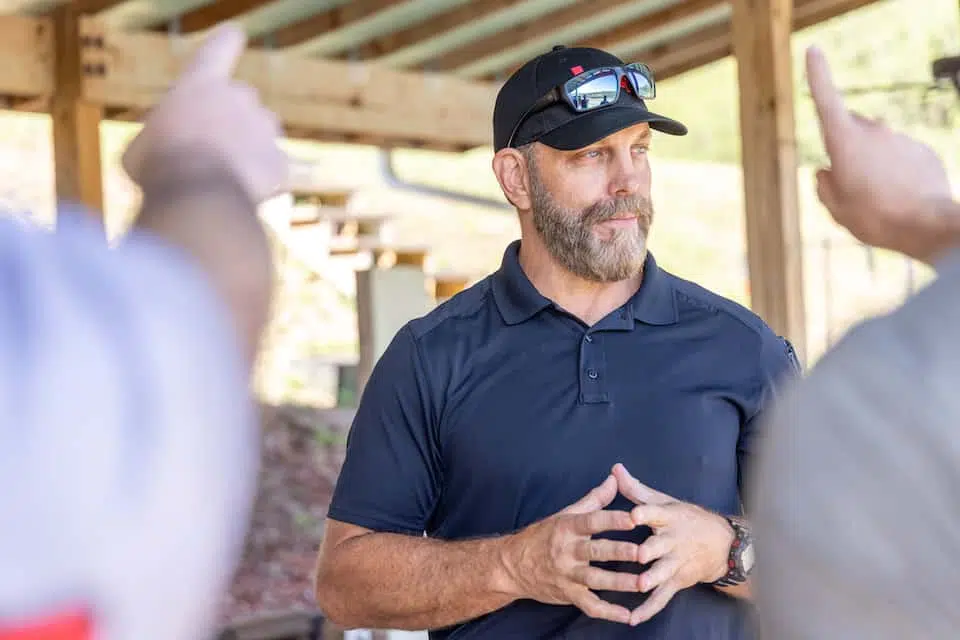
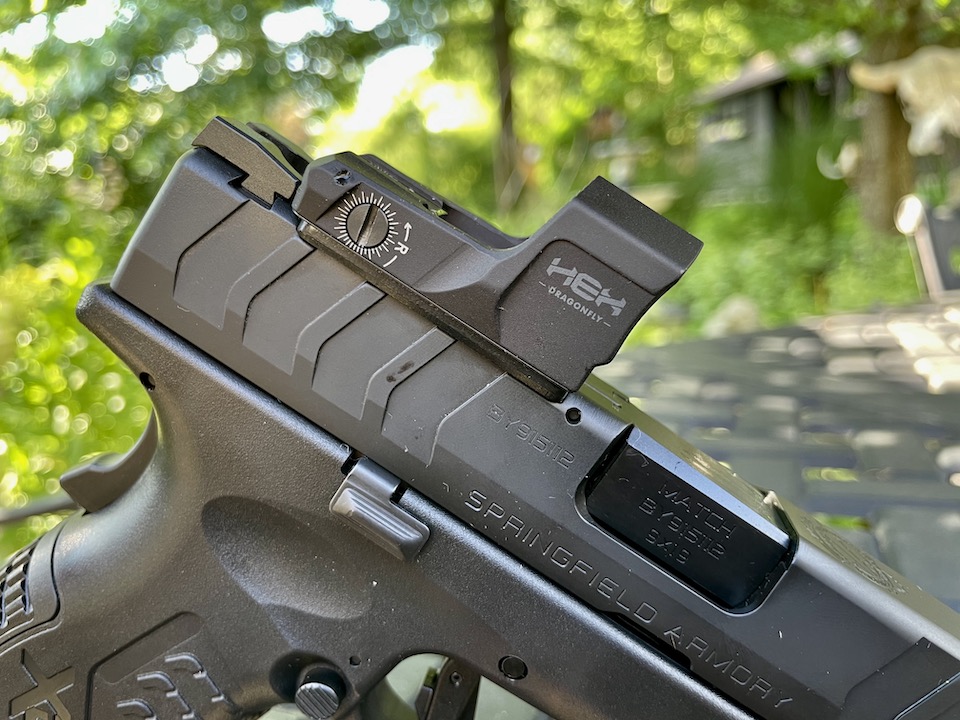
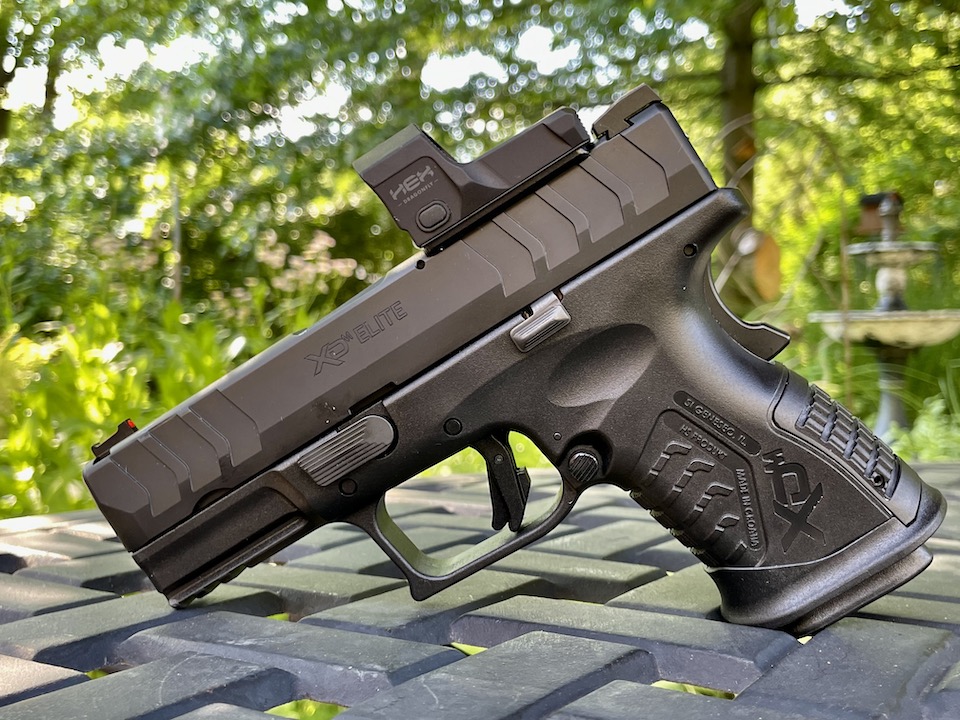
I asked Brian for some suggestions on becoming familiar with a red dot sight (RDS) and a few dry fire drills to get me started. So, with my new Springfield Armory XD-M Elite 3.8-inch OSP handgun with a HEX Dragonfly mounted on it, I began my red dot journey.
Begin with an empty gun. Confirm by removing the magazine, lock the slide to the rear, visually and physically verify the firearm is unloaded. Make sure there is no ammunition in the room.
Target focus is the hardest part of using an RDS. Stereoscopic vision is the single perception of a slightly different image from each eye, which results in depth perception. There are two ways to learn how to use it.

1. Read an eye chart or sign, through the optic, placed on a wall that is in a safe direction. Although you see the dot, concentrate on the letters with both eyes. This exercise helps relax the eyes to the proper distance while seeing the dot.

2. Tape the front of the optic (side closest to the muzzle) with painter’s tape. Look at a target with both eyes. If done correctly, the target and the dot both come into focus. However, if you are focused on the dot, the tape and the dot are seen, but not the target.
1. With arms fully extended, press the trigger while observing the dot. Watch the dot for erratic or sudden movement. The dot will wobble naturally, but any suboptimal trigger press will show up in the drop. Find a way to press the trigger straight and to the rear so as not to disturb the RDS.

2. Start from a compressed fighting position. This is the place that both hands join together. Press the pistol smoothly to the target at eye level, with specific place to aim. The dot should drop into the screen from the 12 o’clock position by applying grip pressure in the pinkies.

3. Now, add the trigger drill from the first exercise to complete this drill.
I plan on working on these dry practice drills every day for a week. Like I mentioned above, using a RDS is new to me. I’m hoping with time on task that finding the dot becomes easier and drops right into the screen like Brian suggests.
Up next … drills for live fire on the range.

Michelle Cerino, aka Princess Gunslinger, first entered the firearms industry in 2011 as co-owner, president and trainer at a national training company. She immediately began competing in both 3-Gun and NRA Action Pistol, becoming a sponsored shooter. Michelle is currently a columnist and Managing Editor of Women’s Outdoor News, as well as owner of Pervenio LLC. She also manages social media for Vera Koo and FASTER Saves Lives. Michelle encourages others to step out of the comforts of home and explore. View all posts by Michelle Cerino
Hi Becky,
If you look at the 4th photo in the article with the close-up of thee red dot on the eye chart you can see the “red dot” in the optic. By covering the optic with tape, you will find out where your focus is. If it is down range, on the chart (like it should be) you will see the chart with the red dot on it. If it is in the optic, you will see the back of the blue tape.
It’s something you have to just try and kind of hard to visualize until you do it.
Let me know when you try this exercise and how it works for you.
Thanks,
MC


What exactly did you mean by “tape the front of the optic”? Can you elaborate on that please?