The following guest post is from our teenage writer, Anna. She has written several craft tutorials and a recipe review for The WON, and is getting us ready for the Christmas season with this festive wood Christmas ornaments craft. ~ The Editors
Every year, our family chooses a Christmas ornament to make, and we give them as gifts. This year, we decided to go rustic, using berries picked from our own backyard. Pokeberries, found on the poke plant, can create a beautiful plum-colored dye, ink or stain. My mom, my sister, Rose, and I enjoyed putting our own spin on each ornament.
Early Americans used the ink for writing letters, especially since commercial ink was expensive. Pokeberry ink was often used in the Civil War by soldiers who could find nothing else. Pokeberry juice has also been found in paintings to add a pink tint.
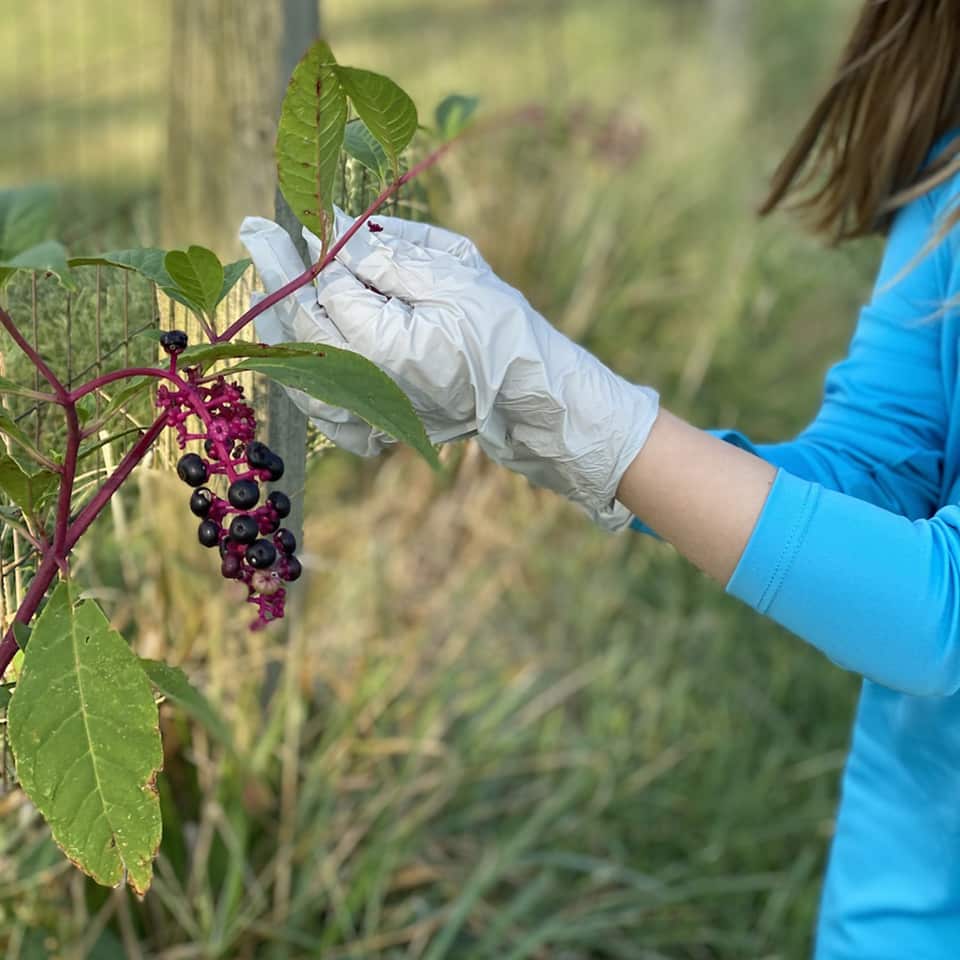
To make our stain, we picked the ripe berries. You’ll know they’re ripe when the stems are magenta and the berries are plum colored.
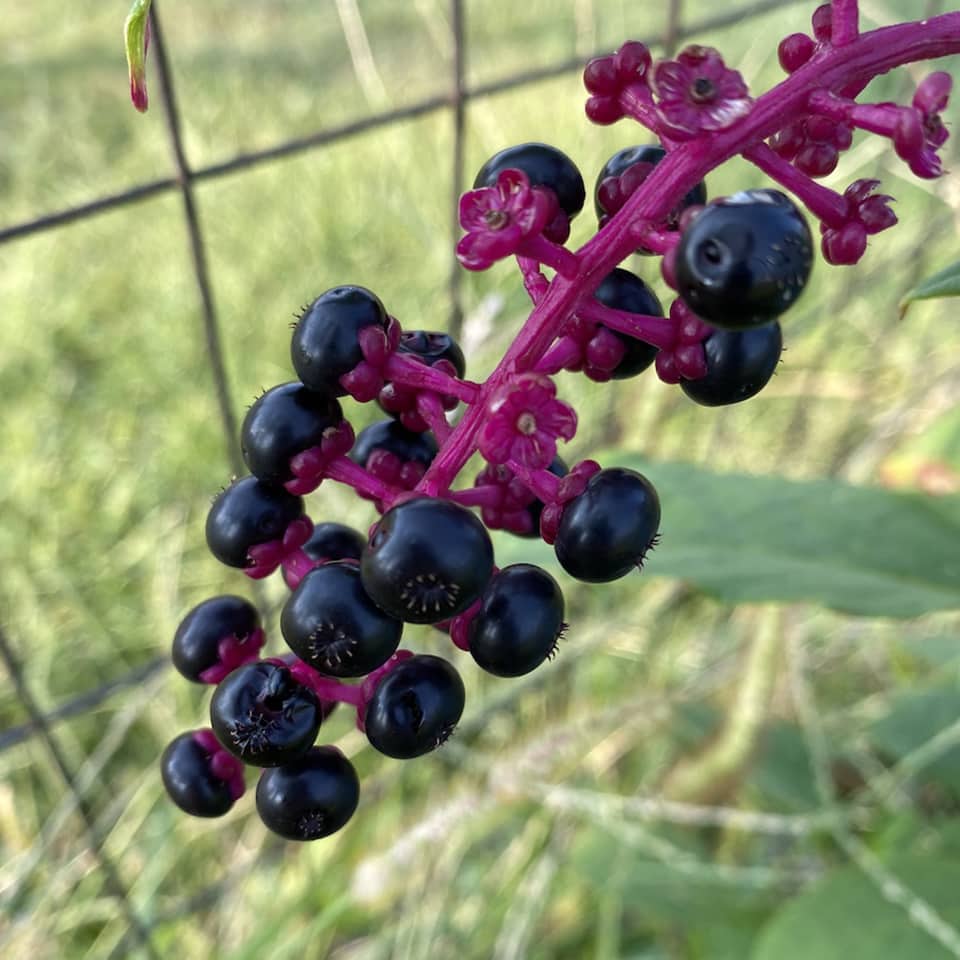
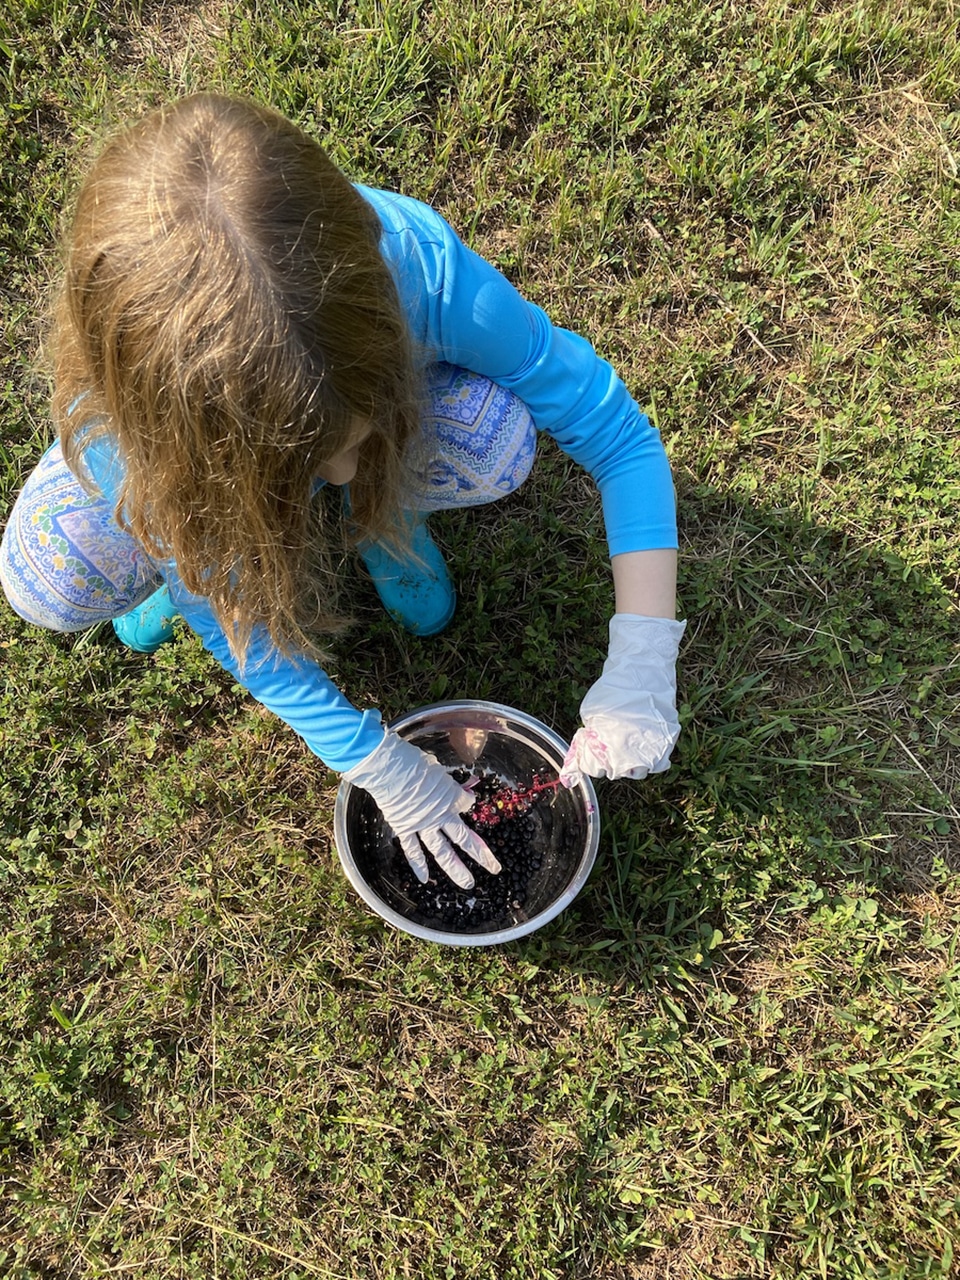
Rose removed the berries from their stems. Then we sealed the berries in a zip-seal bag and stored them in the freezer. When we were ready to make our stain, we let the berries thaw.
Next, we squeezed them while they were still in the bag to extract the juice and make less mess. We also pressed the berries through a strainer, leaving only the violet juice. We read how you can mix the stain with isopropyl alcohol or vinegar to thin the dye, but we chose not to.
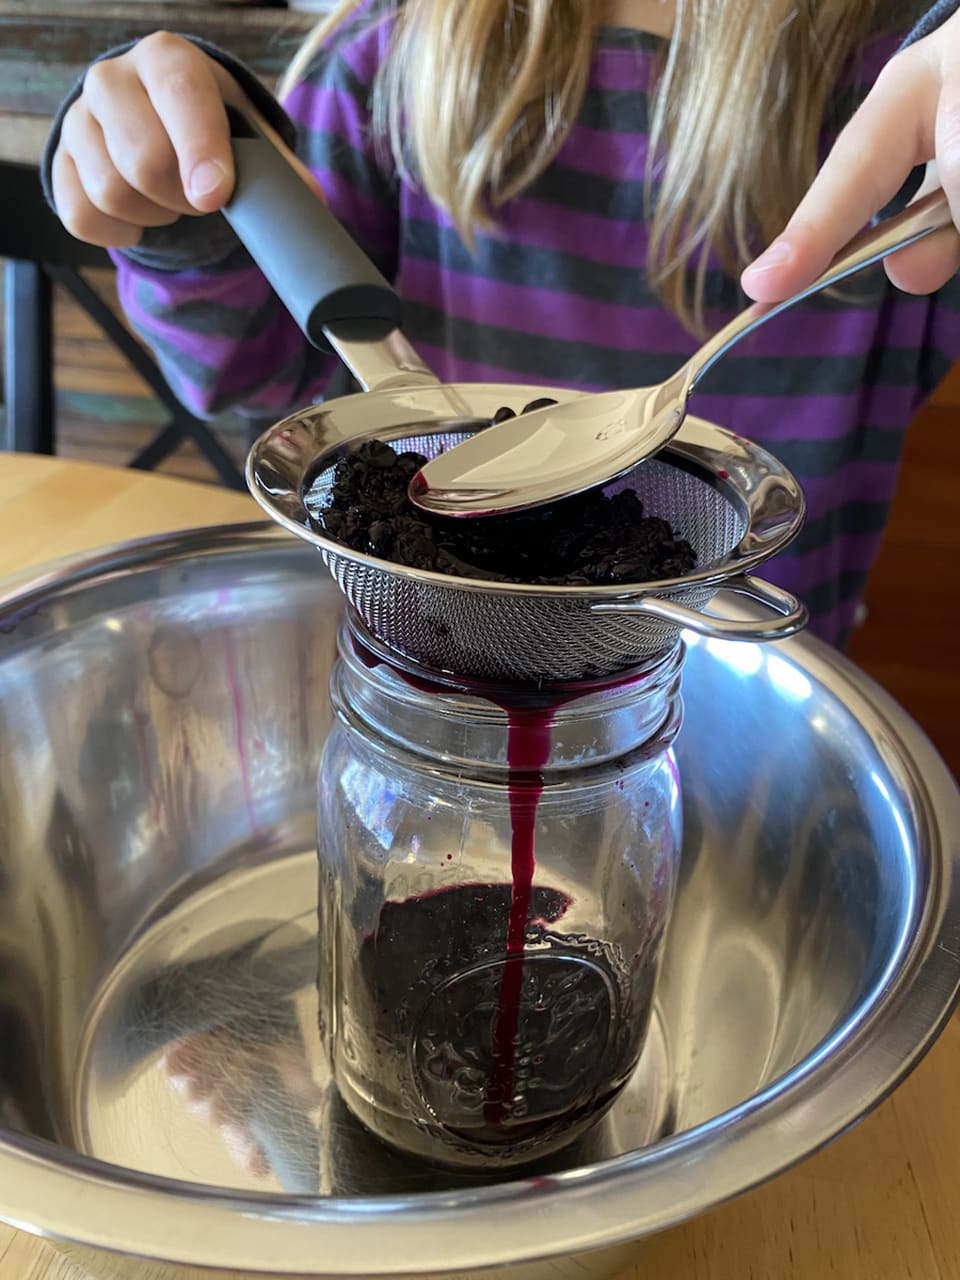
Be very careful when making the dye. Pokeberries stain very easily, so we only used stainless steel bowls. The berries are also poisonous, so make sure kids or animals don’t accidentally ingest any.
Wood cookies are very easy to find for this project. If you have a large branch, you can saw your own, or you can buy them. You can find commercial wood cookies that already have a hole bored through them, too. If you do cut your own cookies, try to let them dry before using them; otherwise, they could split. We used cookies that were between three and four inches, though you could make smaller ornaments, or even large signs.
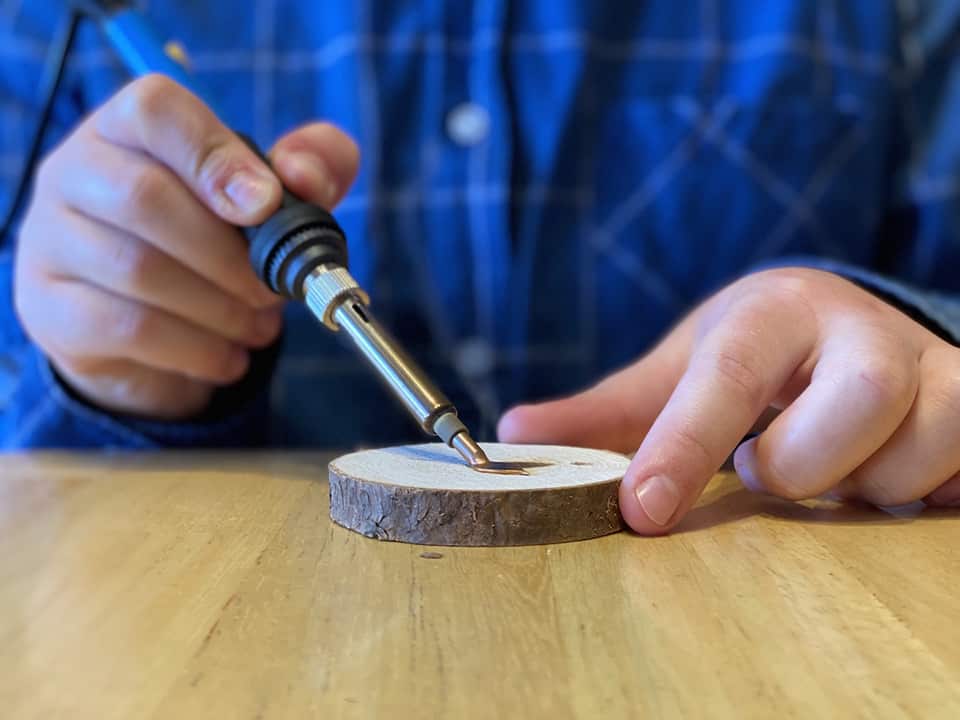
We spent a lot of time experimenting on practice cookies, with different paint mediums and tracing tools. We learned that our berry stain by itself created a wonderful color, but spread out, creating uneven lines. Markers also bled into the cookies. The wood burning pen was the best way to prevent this bleeding.
The burning pen that Mom purchased came with many different tips. This particular pen’s temperature range was from 200 to 450 degrees Fahrenheit. Because of this, Mom always supervised us when we were using it.
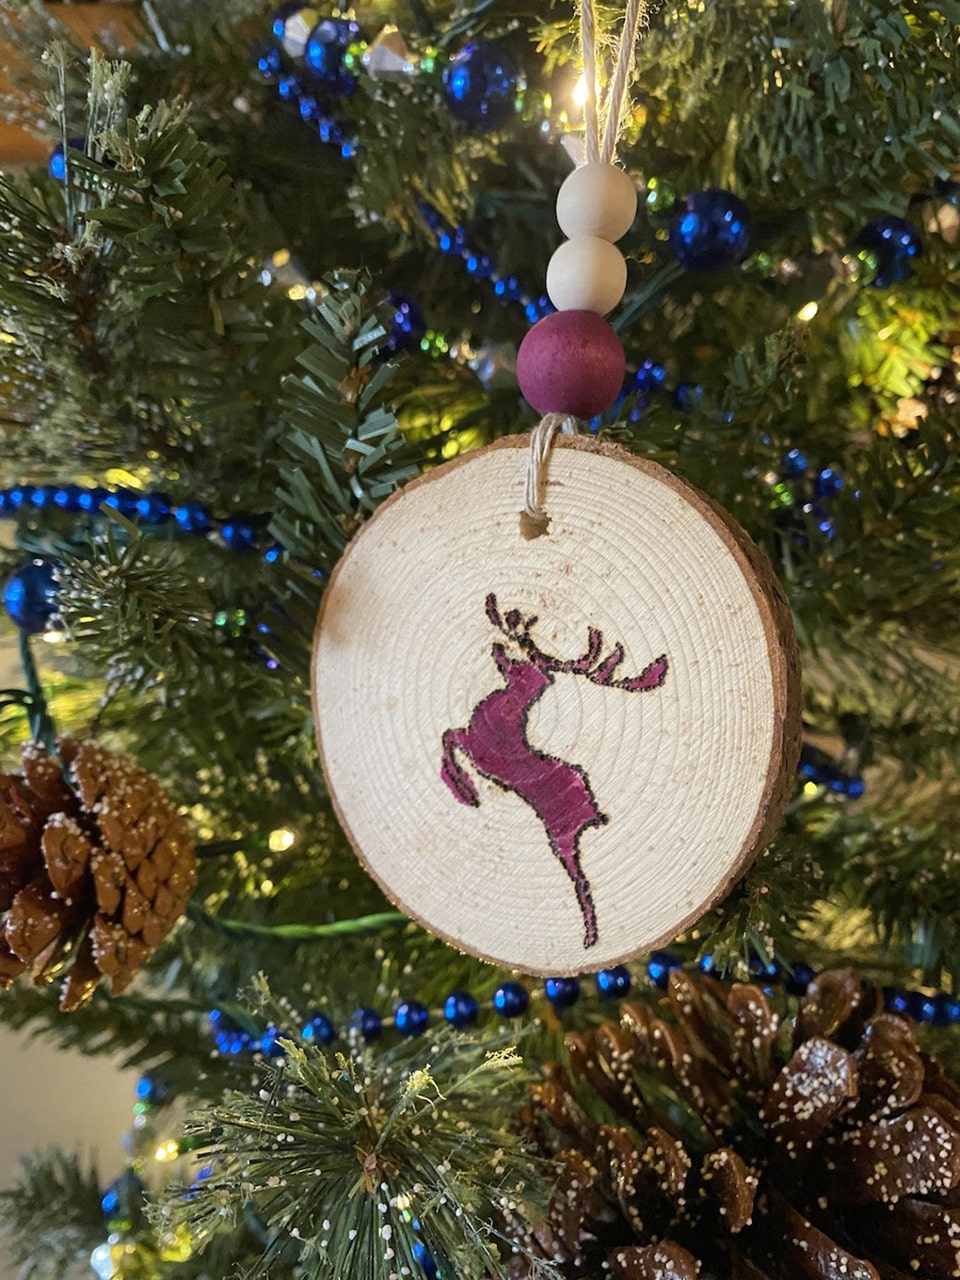
Rose chose to use a reindeer stencil on her wood Christmas ornament. She traced the design onto her cookies, and outlined it with the wood burning pen. Afterwards, she filled the reindeer in with the pokeberry ink. Her ornaments turned out beautiful, both with the woodburning and the stain.
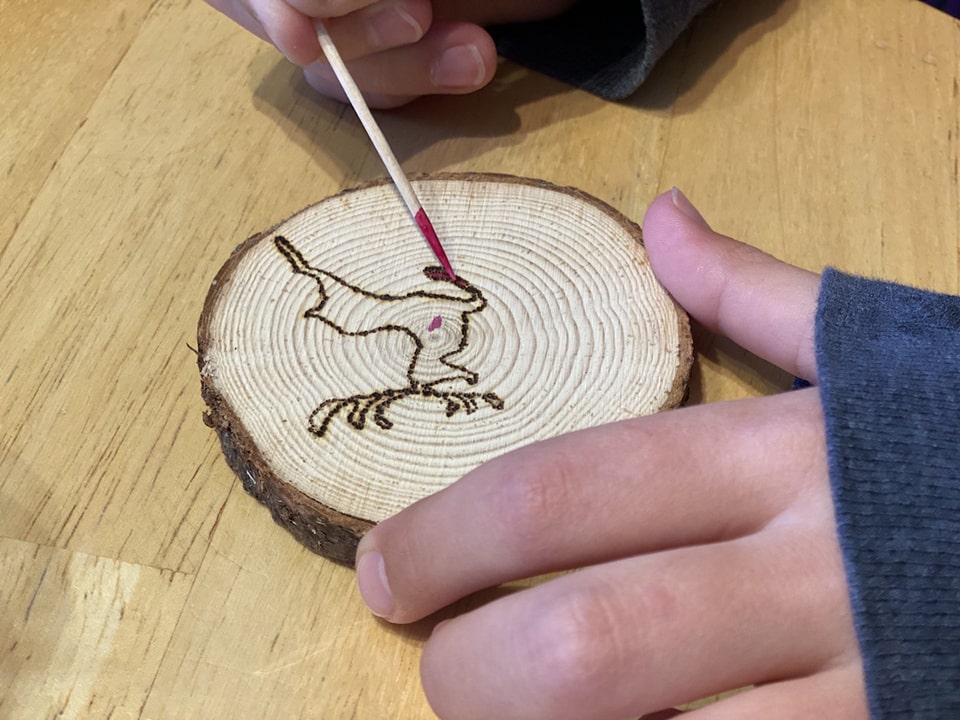
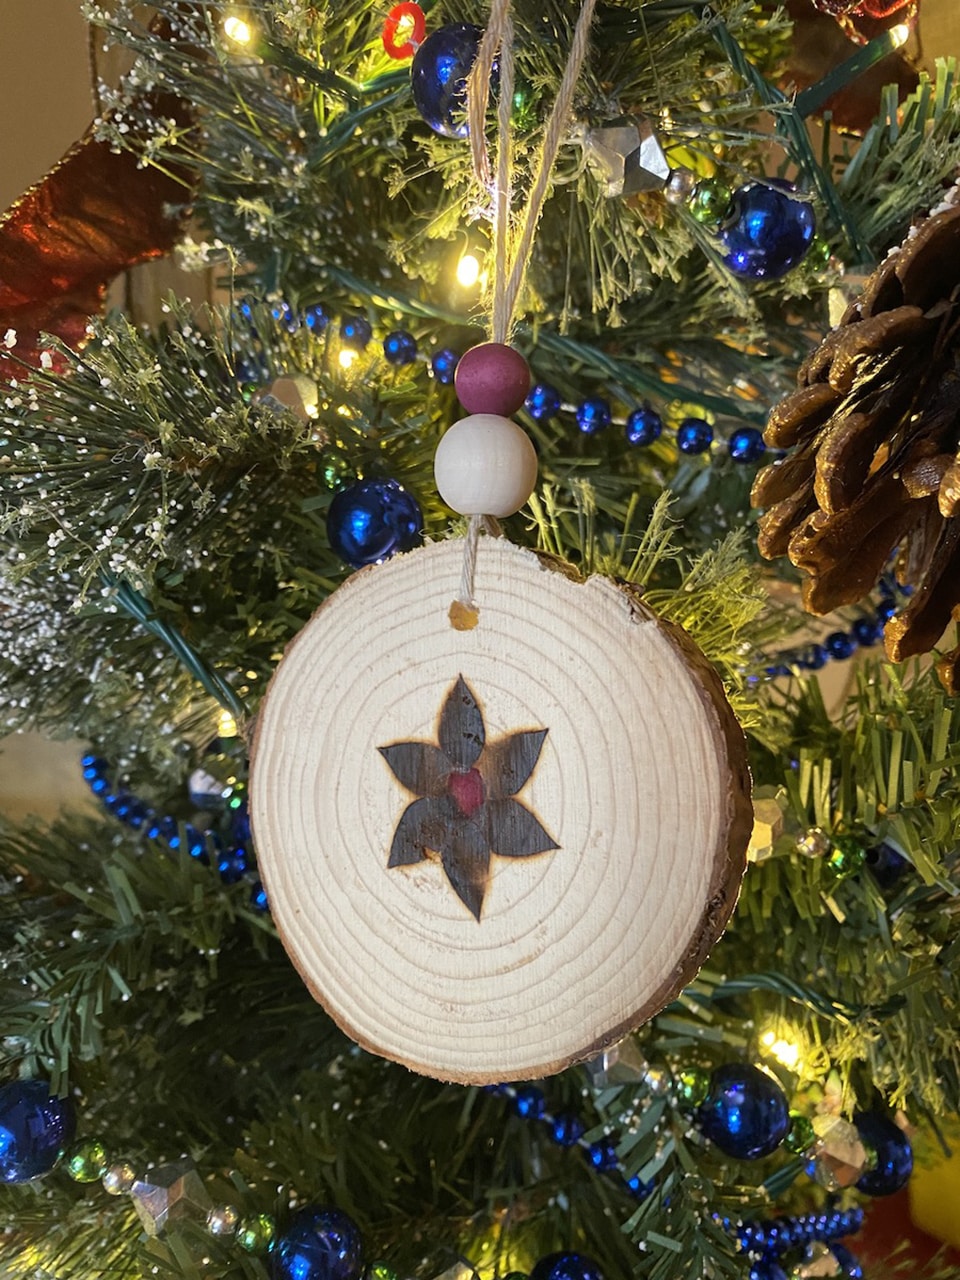
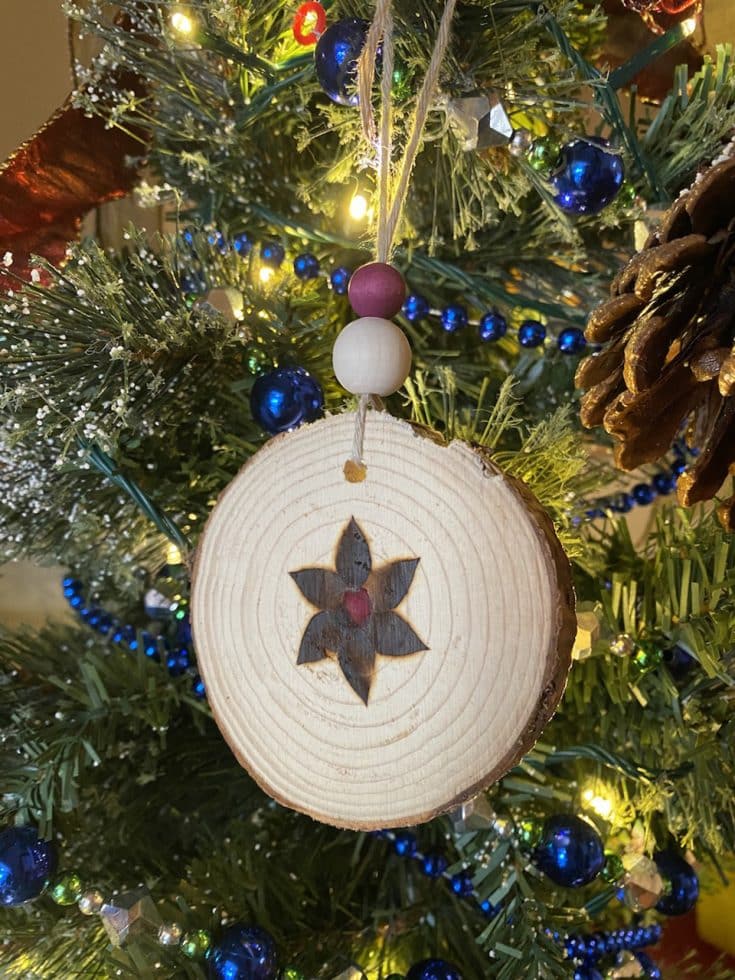
When I tried to burn my design, it looked more like a wood burnt massacre. After that, I decided to go with an even simpler design, making use of the burning tip that looked like a flower petal. Five or six of these petals around a circle make a nice Poinsettia. Then I filled the center with stain.
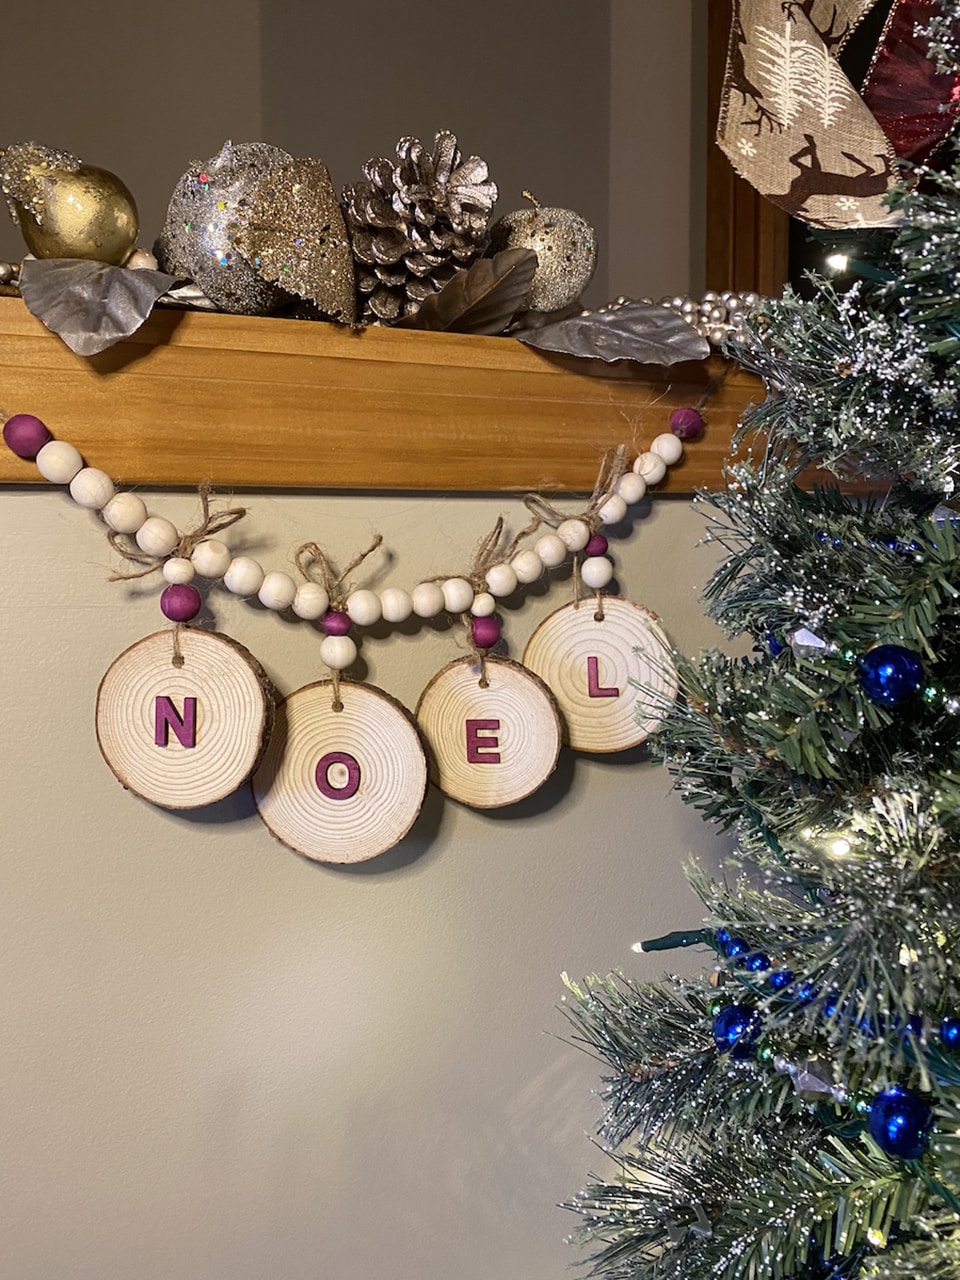
If you don’t have a wood burning tool, another option is to buy small wooden letters. Mom chose this route, and stained the letters to form the word ‘Noel.’ Then, she glued them onto her cookies.
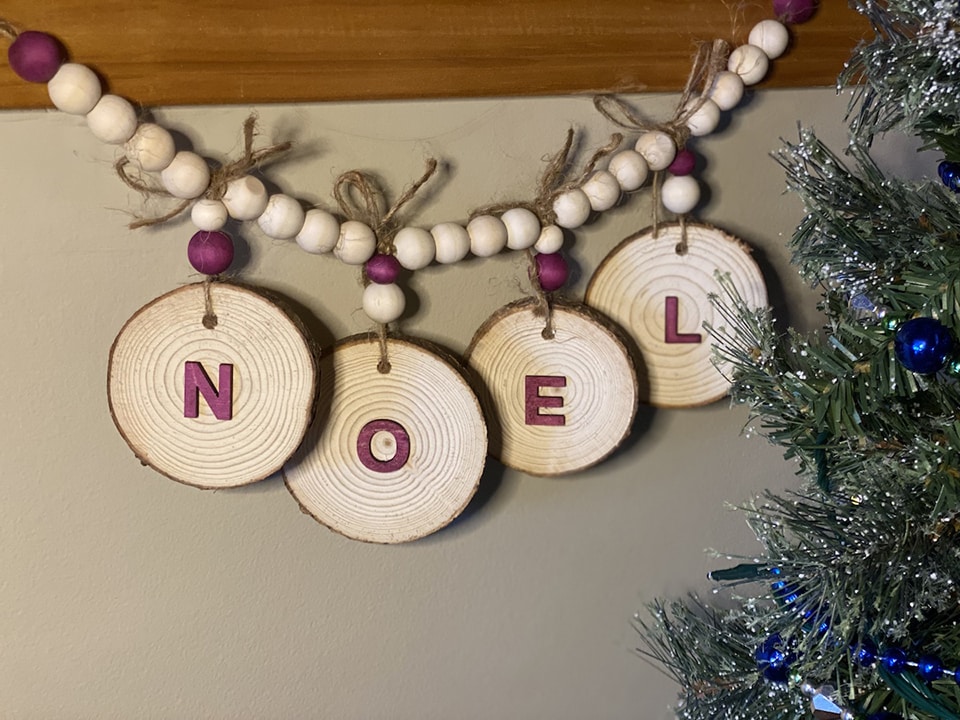
To tie in our color scheme, we stained three different sizes of wooden beads, and threaded them onto the twine we used to hang our ornaments. We liked how it added more color. It was a great way to decorate the ornaments a bit more while still keeping it simple.
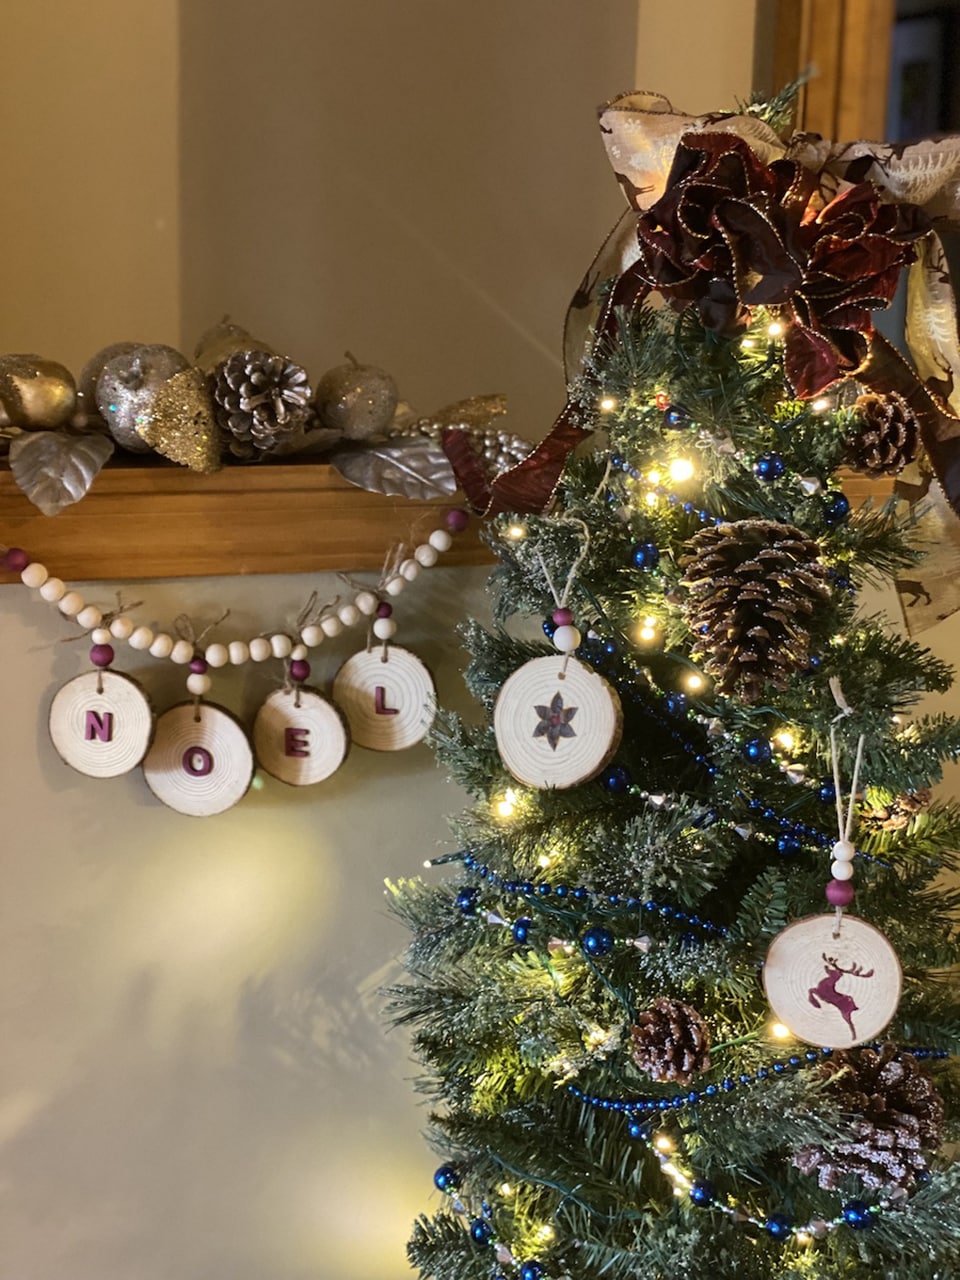
Here is the simplified version of this Christmas craft. Enjoy!
"Anna" is a teenage girl who loves to write, read, and do just about anything artsy. She enjoys writing about nature crafts and her experiences while learning to hunt and cook wild game. Anna firmly believes that backyard chickens lay the best eggs and that spending time outside with her flock every morning will start the day off happily. She is extremely grateful to her best friend, who inspired her to really take writing seriously. You can find her lost in her latest idea or listening to her sister "Rose" read book quotes. View all posts by Anna