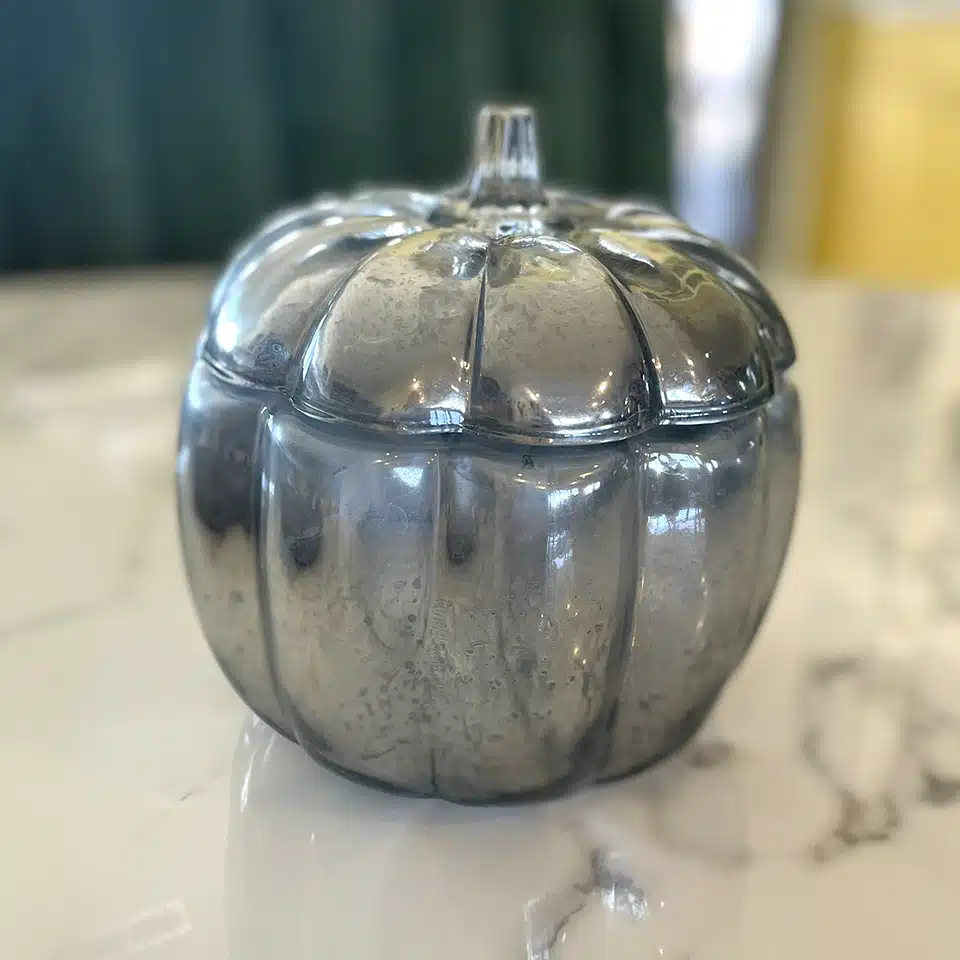
I love homemade holiday decor. In previous fall seasons, we’ve made these leaf pumpkins, an upcycled bike wheel wreath, ombre pinecones, spindle corn ears and even spooky paintings to help decorate our home. This year, I tried my hand at making a more budget-friendly version of a stylish faux finish: mercury glass. My version adds attitude to the classic glass pumpkin candy jar, using simple materials. Keep reading to learn this method for creating easy mercury glass decor for any season.
Gather the following items:
I used the instructions from Thistle Wood Farms as a guideline for this DIY project. First, protect your work area. Lay down newspaper or cardboard, and make sure that you are working in a well-ventilated area. Your glass decor object should be clean and dry.
Second, tape off any areas you would like to avoid over spraying with paint. I taped the rim of my glass pumpkin.
Next, mix up a solution of 1/2 white vinegar and 1/2 water in a clean spray bottle. Mist the inside of your glass object with this solution. Then, spray a light coat of looking glass spray paint on the inside only. After spraying all the interior surfaces, turn the object over and let it dry completely.

Add two to three more coats of the looking glass spray paint until the desired mercury glass finish has been achieved. There is no need to spray the water/vinegar solution between coats.
Last, when the looking glass paint is dry, spray a coat of sealing spray paint. I purchased a matte can and a glossy version of this finishing spray several years ago, and have used both for quite a few projects. The matte version was used to finish the interior of my glass pumpkin.
I enjoyed this process so much, I created a faux mercury glass finish on a pair of vintage glass cloches. I think the final effect is really striking!


To decorate my table, I nestled my newly-finished mercury glass pumpkin inside a pile of miniature, real pumpkins. Now, my house is starting to feel more like fall, even with the blazing hot weather outside!

Here are a few projects that benefitted from a healthy coat of sealer spray to keep them pristine for the future!
Creekin’ for Craft Rocks
My children are six, five and two. They enjoy a range of activities at the creek. The older two are great at catching tadpoles, swim bugs and snagging an assortment of sticks. On this particular outing, they found strawberry-shaped rocks and placed them inside my perforated garden basket. This allowed the creek water to prewash the rocks before we took them back home.

Learn how to make these fun, garden treasures here.
From Flakey to Fab: Old Picture Frame Rehab
This week’s craft requires a little elbow grease, and some imagination. During a recent visit to my grandparents’ home up north, my mom rescued a few old picture frames out of their detached garage.
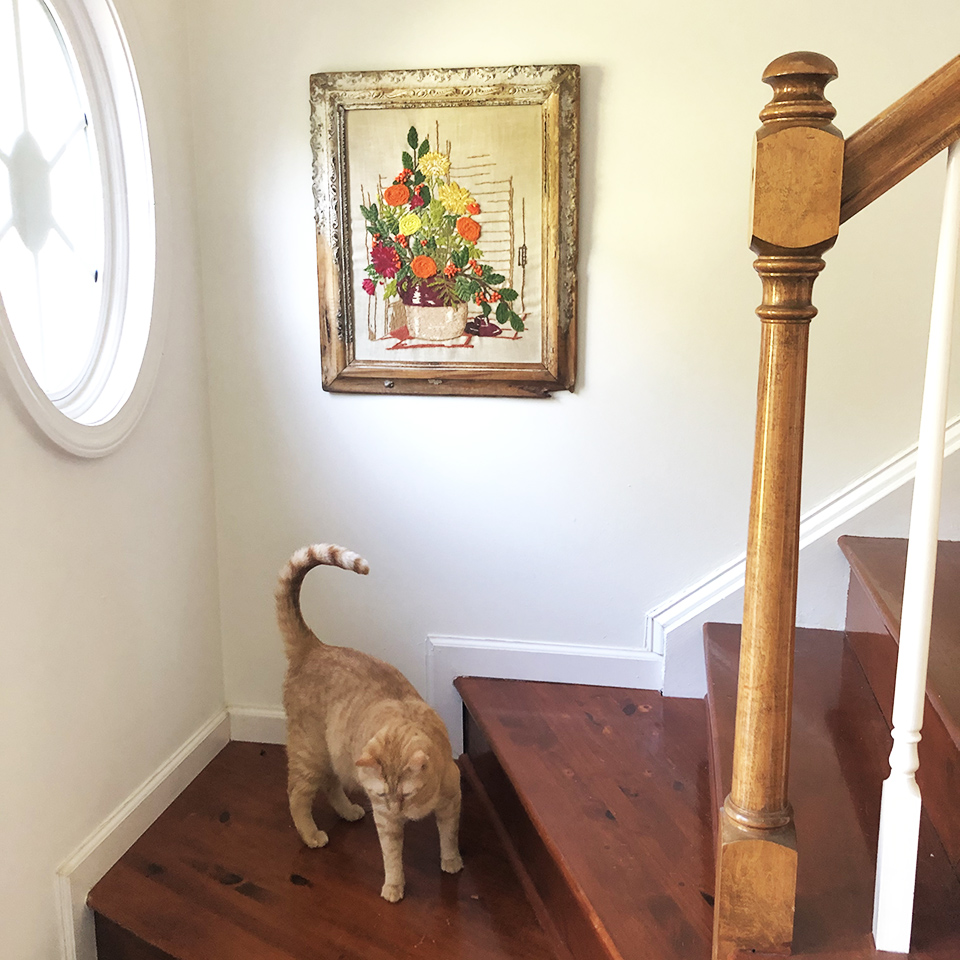
Click here to learn how I transformed, and preserved, this old frame into something that will decorate my family’s home for years to come.
Weekly Craft: Easy Clay Leaf Bowl for Tchotchkes and More
In this craft, I used Mod Podge to seal and protect a craft. While browsing Pinterest, I found several ideas (like this and that) of how to create a bowl, using a leaf from my backyard as the template. Being a sentimental sort, I immediately loved the idea.
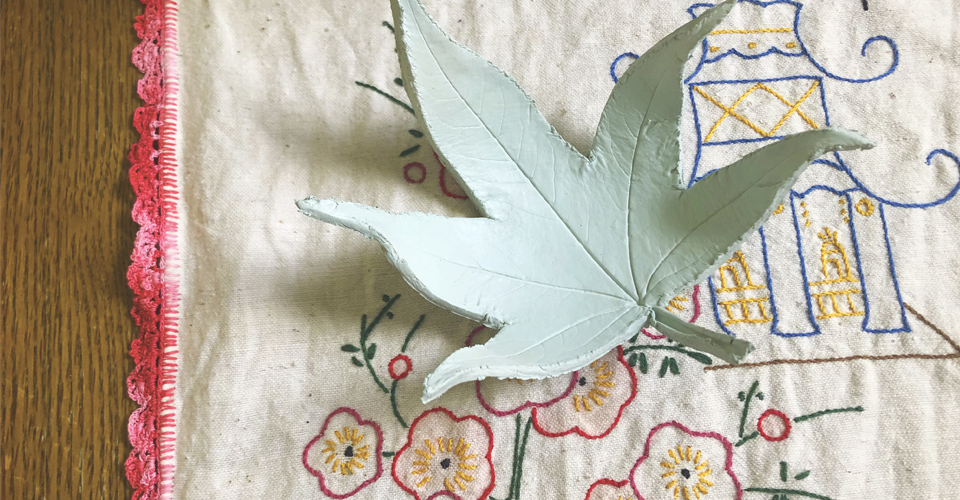
Click here for my step-by-step to create an Easy Clay Leaf Bowl to hold your Tchotchkes.

Jackie Baird Richardson is an interior designer, editor at The WON and avid junker. Watch for her design tips and occasional crafting ideas, bringing the outdoors indoors. View all posts by Jackie Richardson